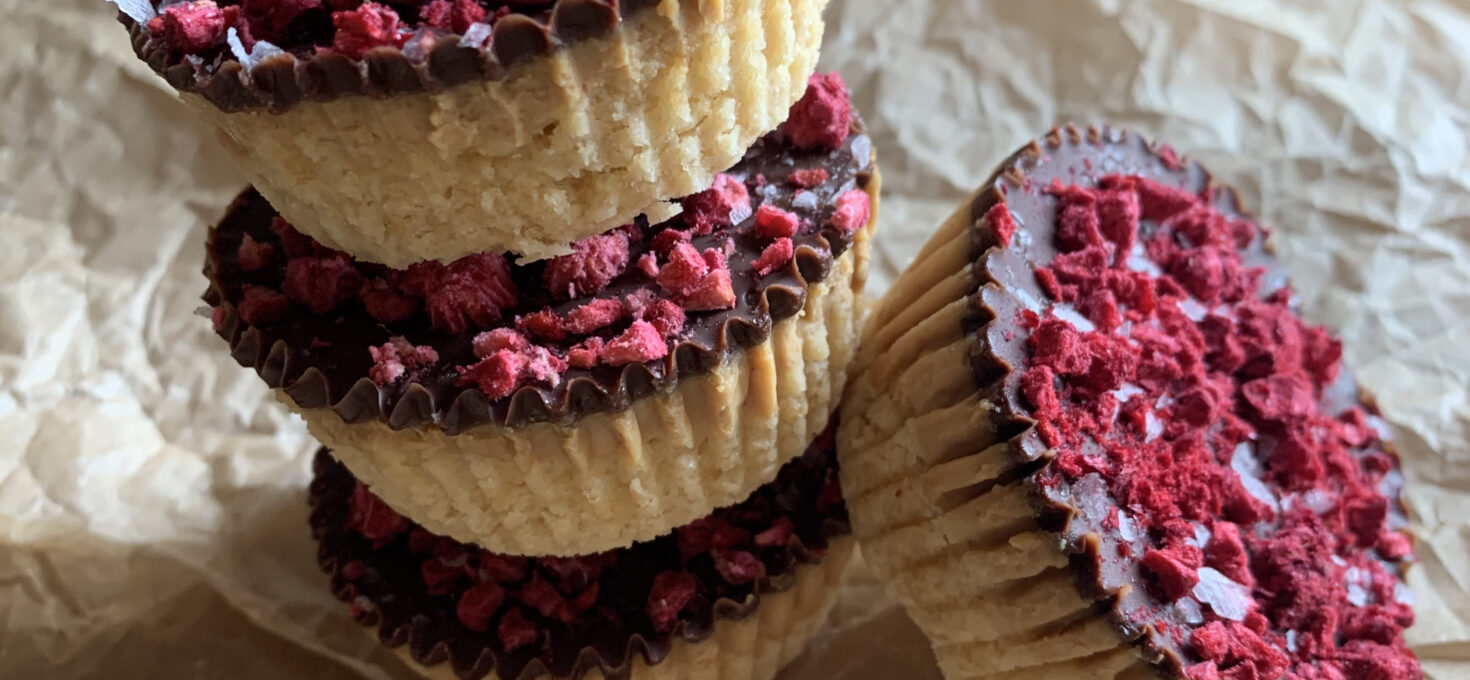
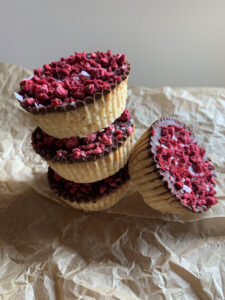
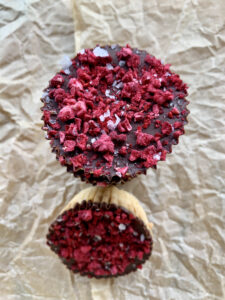
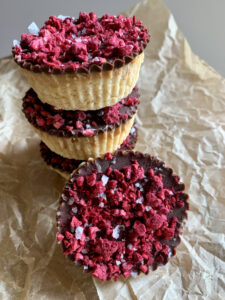
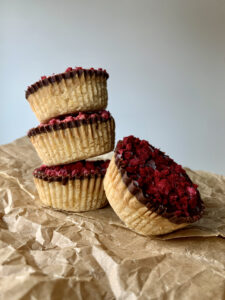
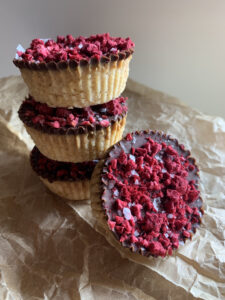
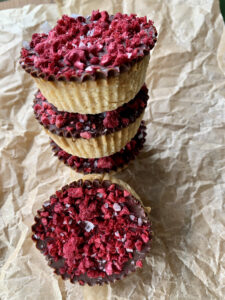
So what do you get when you combine dark chocolate, a gooey peanut butter and soft baked gluten free shortbread and freeze dried raspberries with flakey sea salt on top…? Perfection, that’s what I’m calling it. This is my idea treat line up. Last year around this time I started following a girl on Instagram who motivated me to really give home workouts a go. I wasn’t someone who thought they enjoyed working out at home or could motivate myself to do so. After spending all of quarantine following along and doing her workouts, I’m totally hooked and never want to look back. However, she makes these amazing gluten free Twix and that’s where I got the inspiration for these! Long story short.
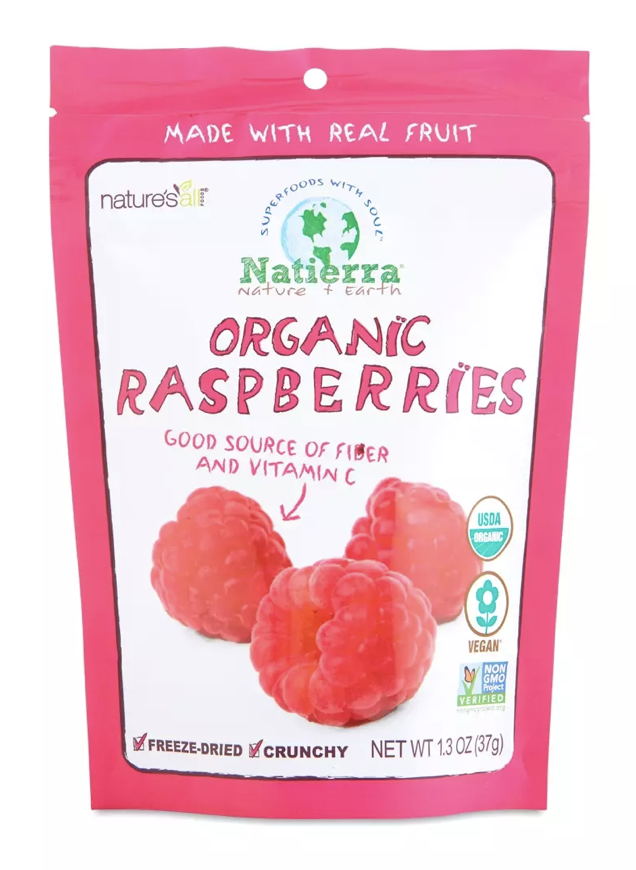
These Dark Chocolate Raspberry Twix Cups are so easy and once you make them a couple times, you’ll have this recipe memorized and I bet they will be in your weekly rotation. If you don’t have freeze dried raspberries, you can easily make them or I love getting a bag of them off Thrive Market to keep it simple. Otherwise, fresh fruit or some nuts and seeds would be a great way to go, too!
Dark Chocolate Raspberry Twix Cups
- February 12, 2021
- 12
- 45 min
- Print this
Ingredients
- Shortbread Layer
- - 1/2 cup almond flour
- - 1/4 cup coconut flour
- - 1/4 cup almond protein flour (optional) *if not using this, then add 1/4 cup coconut flour)
- - 2 tbsp maple syrup
- Twix Layer
- - 1 cup creamy peanut butter (I love Santa Barbara's creamy peanut butter or sometimes we opt for powdered peanut butter)
- - 1/4 cup maple syrup, or honey or Lakanto maple syrup
- - 2 tbsp coconut oil
- - sprinkle of sea salt
- - 1 tsp vanilla extract
- - sprinkle of cinnamon (optional)
- Chocolate Layer
- - 1/2 cup dark chocolate chips
- - 1 tbsp coconut oil
- - sea salt flakes
- - 1/2 cup + extra freeze dried raspberries
Directions
- Step 1
- – Preheat oven to 350 degrees.
- Step 2
- - In a medium bowl, add almond flour(s) along with coconut flour.
- Step 3
- - Drizzle in maple syrup and melted coconut oil.
- Step 4
- - Fold together the mixture so that it creates a thick dough.
- Step 5
- - Line muffin tin with liners (I prefer the foil ones because it makes it SO easy to peel off when frozen unlike normal muffin liners)
- Step 6
- - Taking a spoon or a small ice cream scoop, measure out about 1-2 tbsp of dough in each muffin liner.
- Step 7
- - Once the dough is all evenly distributed, lightly press down in each muffin tin so that it’s flat and secured into liner.
- Step 8
- - Place in oven and bake for about 12 minutes.
- Step 9
- - In a small sauce pan over low heat, add peanut butter, maple syrup, coconut oil, sea salt, vanilla extract and some cinnamon.
- Step 10
- - Once the “caramel” starts to bubble and thicken, remove it from heat and let it cool down a little.
- Step 11
- - After the gluten free shortbread is done baking, remove and set aside to cool.
- Step 12
- - Should take about 5-10 minutes and then pour the cooled caramel mixture over the top of the mini shortbreads.
- Step 13
- - Set the muffin pan inside the fridge for about 30 minutes to set.
- Step 14
- - In another small sauce pan over low heat, add chocolate chips and coconut oil.
- Step 15
- - Once the chocolate has melted, set aside.
- Step 16
- - Pull the muffin pan out of the fridge and check to see if it has set. If it’s ready, then pour the melted chocolate over the caramel layer.
- Step 17
- - The chocolate should start to set right away with the caramel layer being cold already.
- Step 18
- - I like to crumble up the freeze dried raspberries and sprinkle them on top.
- Step 19
- - Sprinkle a bit of Maldon sea salt flakes on top and place in the freezer for at least 15 minutes.
- Step 20
- - Take out, peel off liner and try not to eat the ENTIRE batch!!
