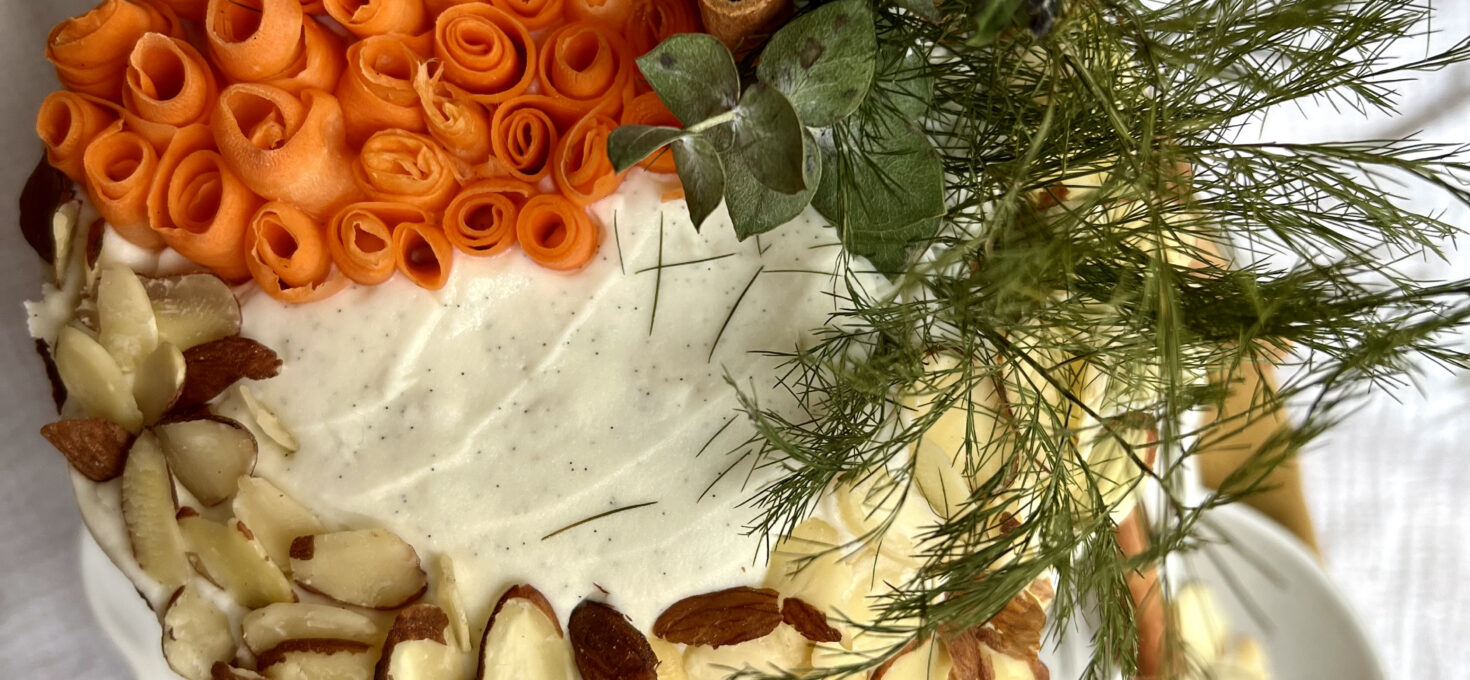
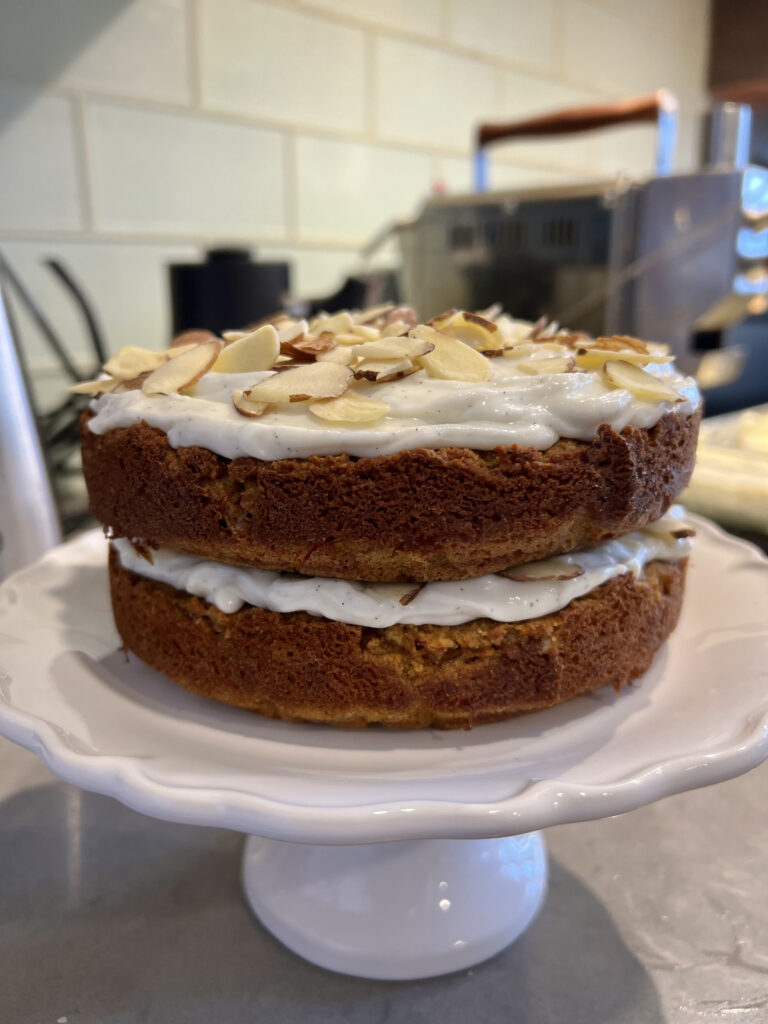
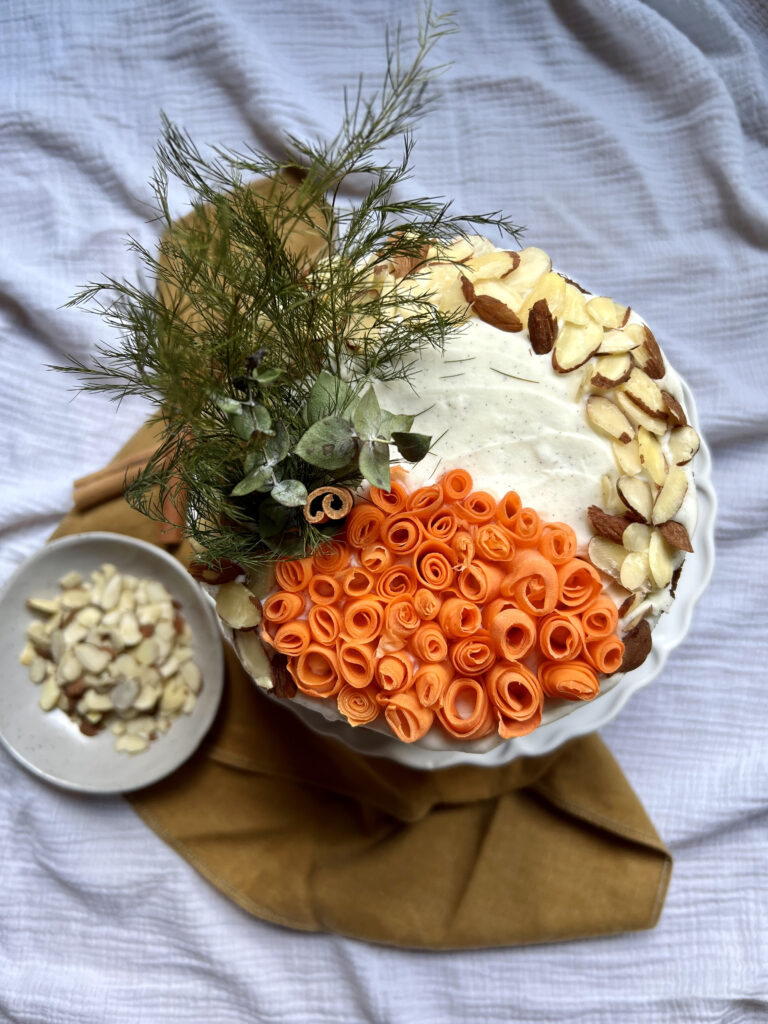
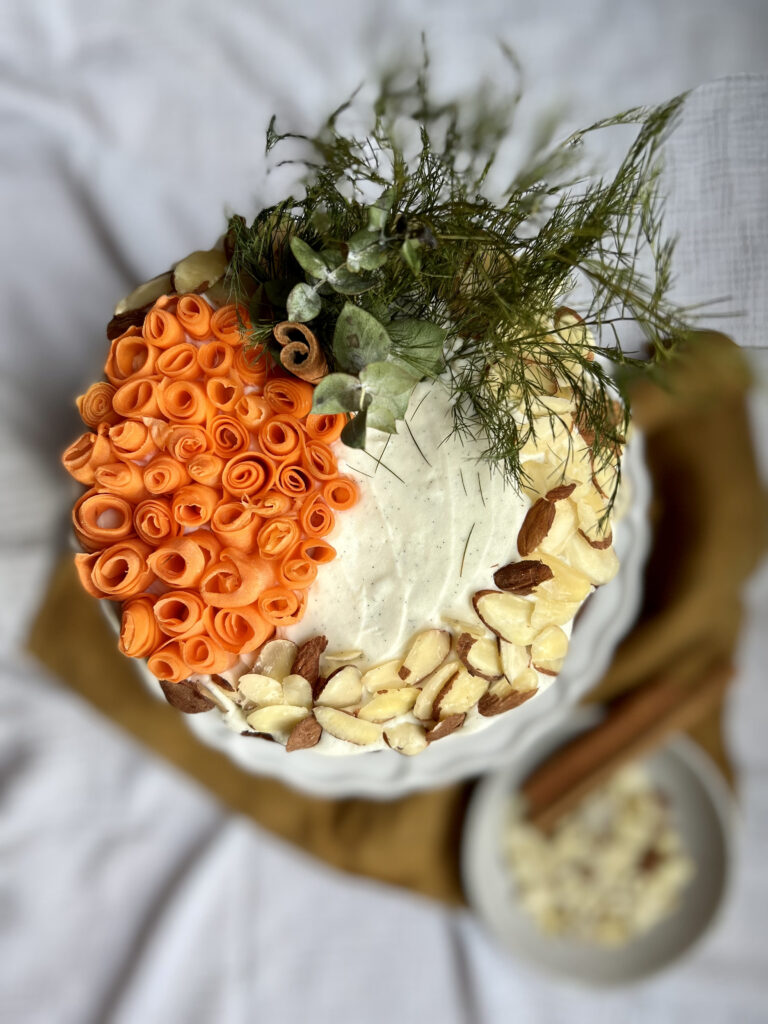
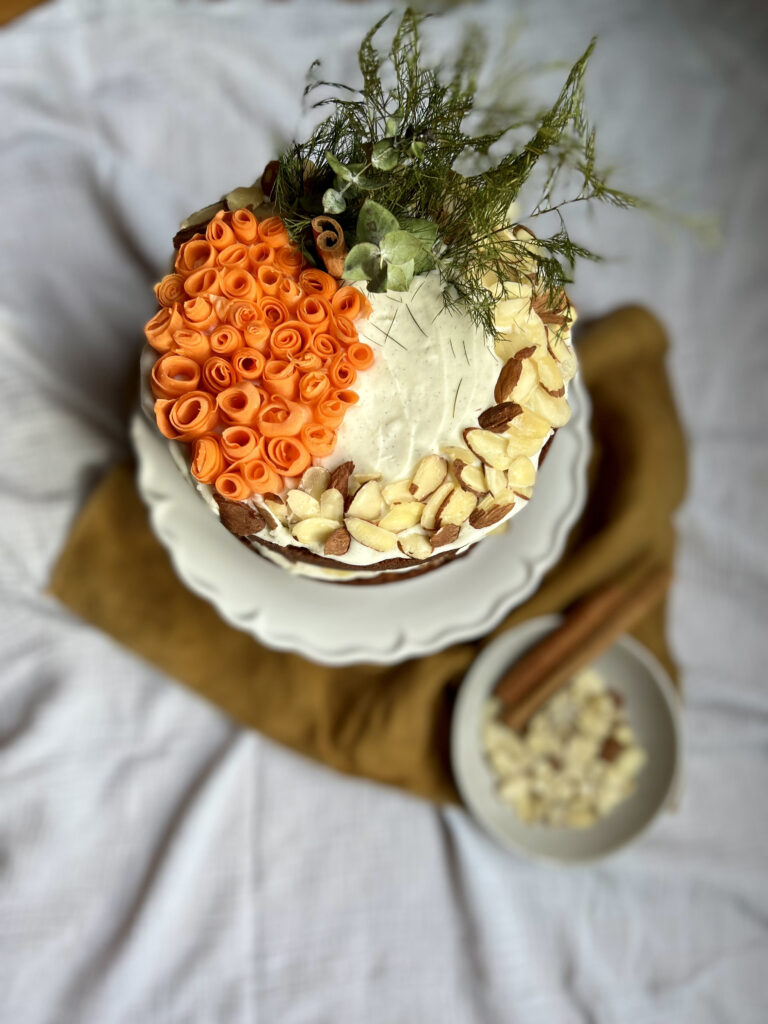
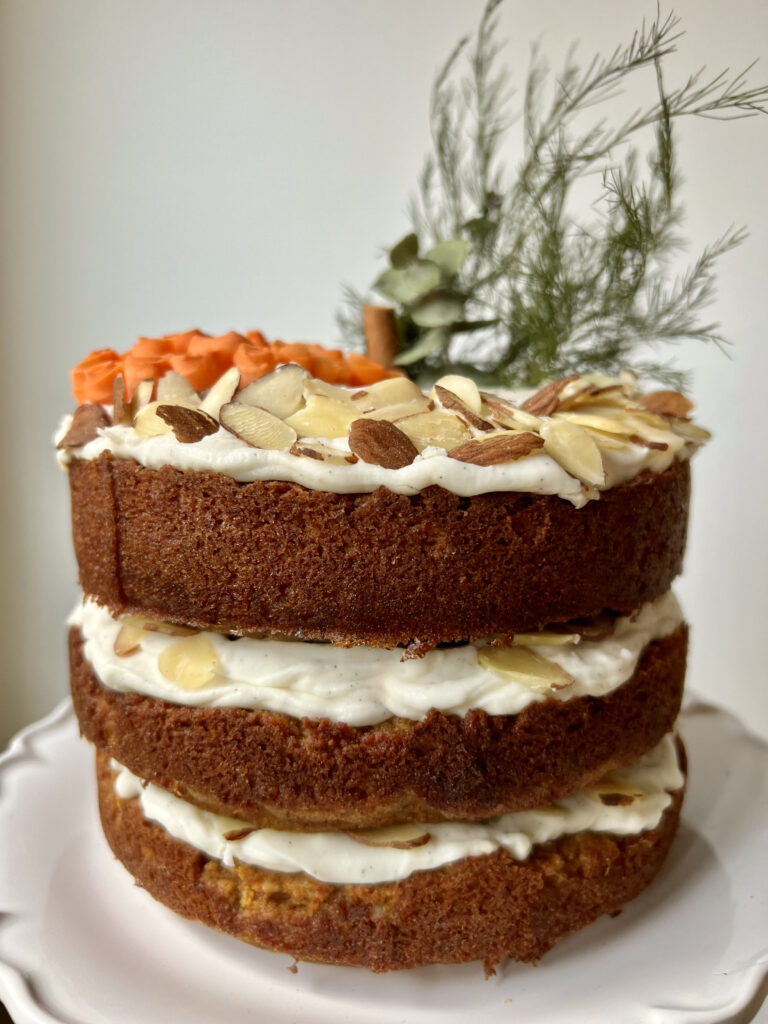
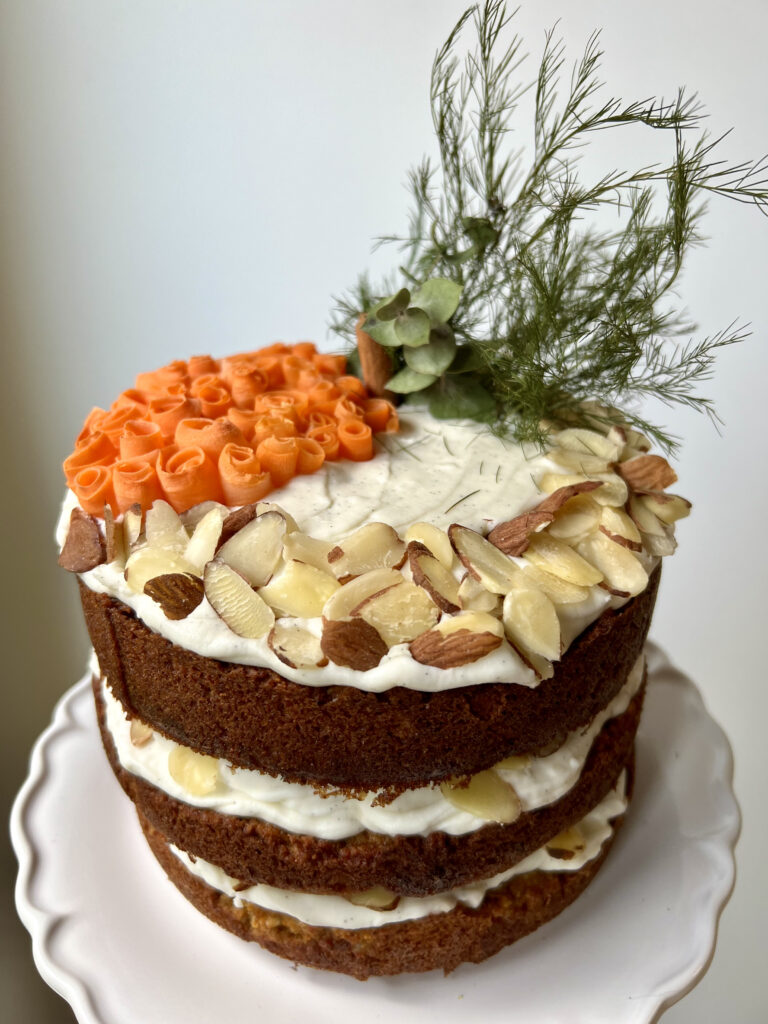
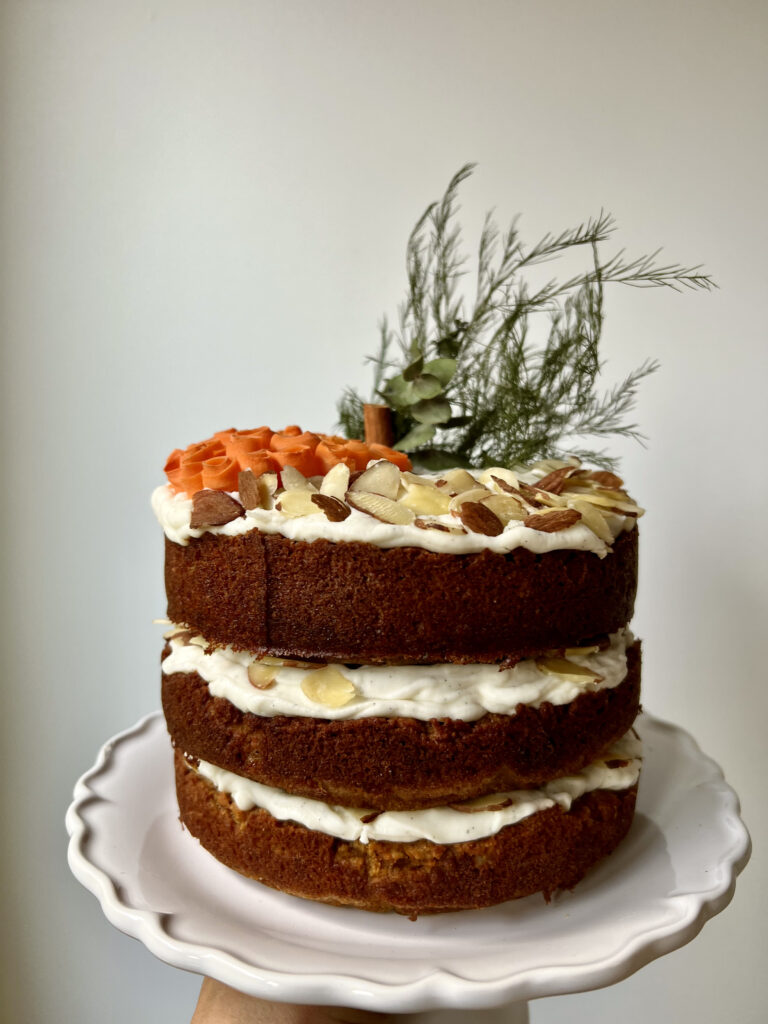
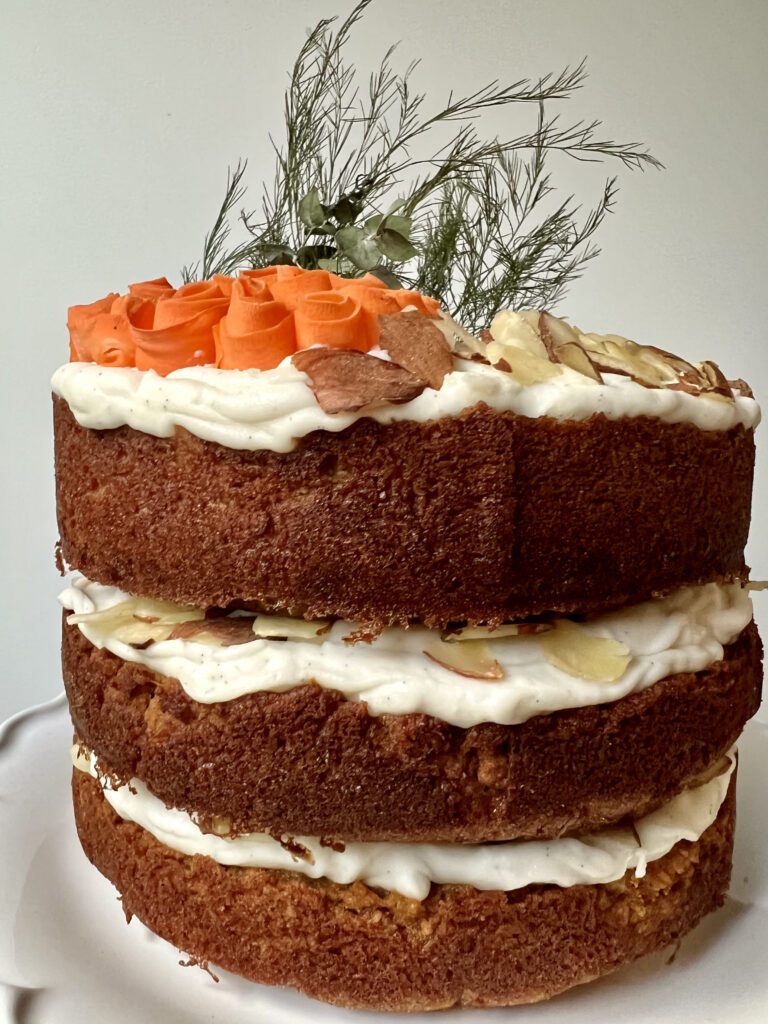
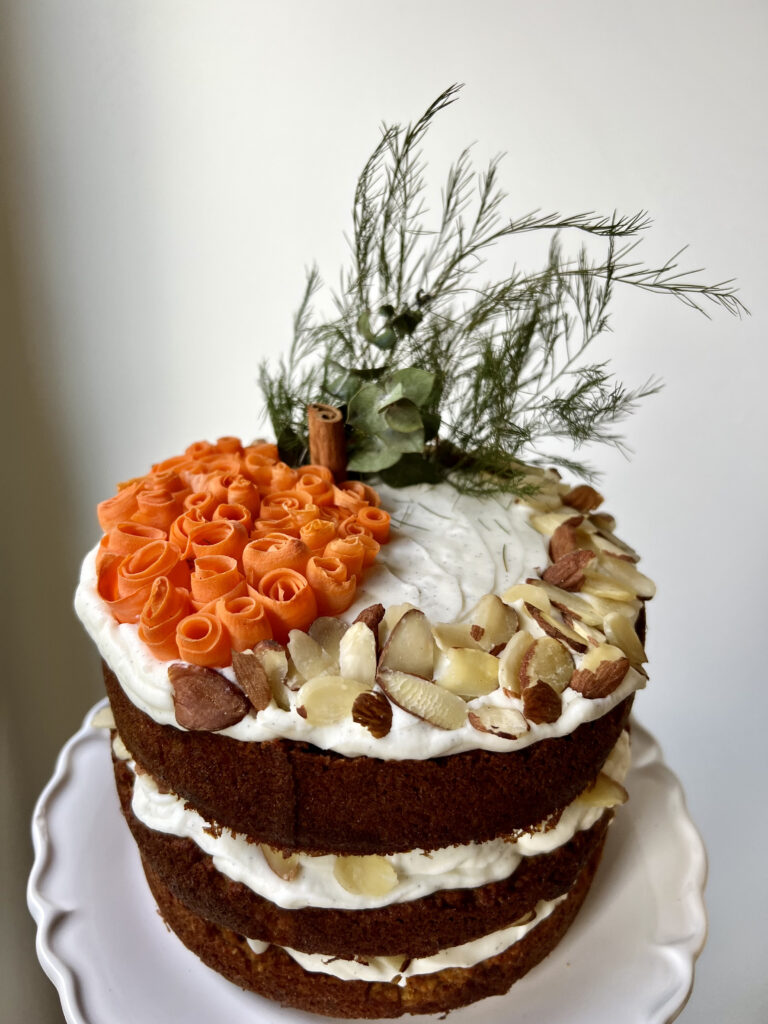
If you haven’t already picked up on it, decorating cakes is my favorite. I have always loved adding greenery and natural elements to baked goods, but have especially enjoyed getting more creative with little intricate details recently. This gluten free carrot cake with vanilla bean cream cheese frosting and toasted almonds was one of my all time FAVORITE cakes to make and decorate. I had a hard time not cutting into it. In the last few months, I have been creating more cakes for special friends and family. To say the least, it’s been a highlight. If you are local and are interested in having me make you a cake, don’t be bashful to reach out :).
Gluten Free Carrot Cake w/ Vanilla Bean Cream Cheese Frosting and Toasted Almonds
The most fragrant, moist and delicious cake to create for your special loved one. This cake is naturally gluten free and full of flavor with the seasonal spices. Plus, it's relatively low in sugar. There's only natural sugar from maple syrup and a touch of coconut sugar. It's the perfect dessert to bring to your holiday get togethers. If you would prefer a single layered cake, feel free to make it into a sheet cake or even cupcakes!
- November 16, 2021
- Print this
Ingredients
- DRY INGREDIENTS
- 2 cups almond flour
- 1/2 cup coconut flour
- 1/2 cup sliced almonds
- 1 tsp baking soda
- 1 tbsp cinnamon
- 1/2 tsp nutmeg
- 1/2 tsp cloves
- 1/2 tsp sea salt
- WET INGREDIENTS
- 4 eggs (have not tried with flax eggs, but would believe it should work okay)
- 3/4 cup maple syrup
- 1/3 cup almond butter (can sub for any of your favorite nut/seed butters but the family I made this for had a peanut allergy so went with almond!)
- 1/4 cup almond milk
- 1 tsp vanilla
- 3 tbsp melted and cooled coconut oil
- 1/3 cup apple sauce
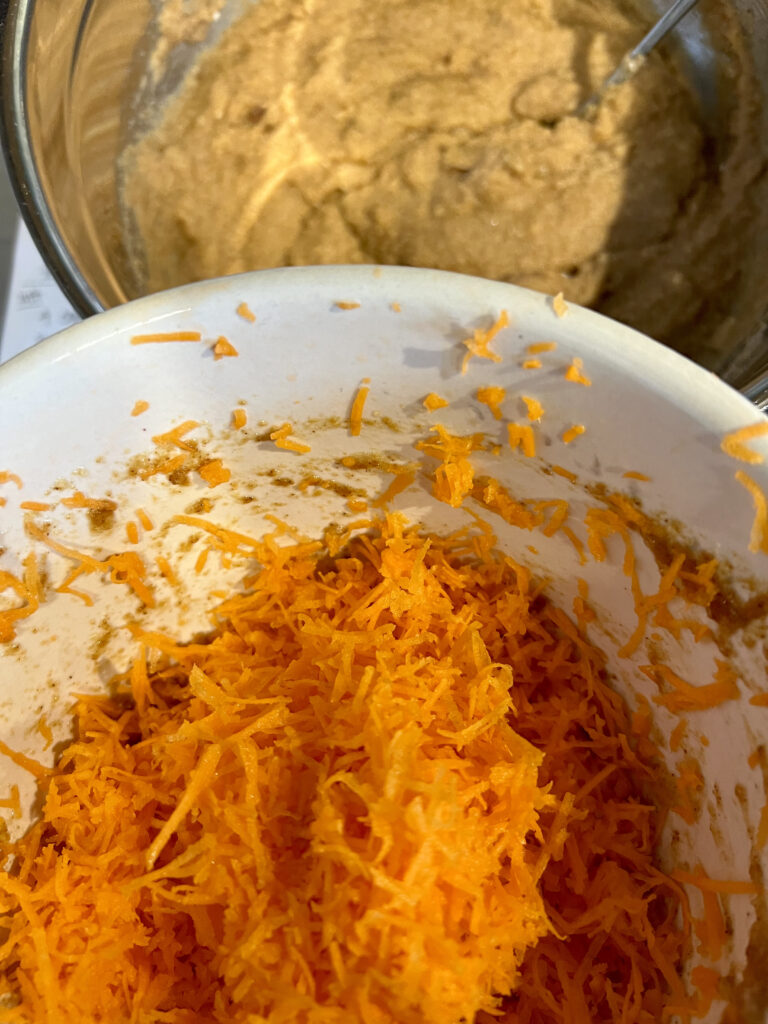
- 3 cups shredded carrots
- VANILLA BEAN CREAM CHEESE FROSTING
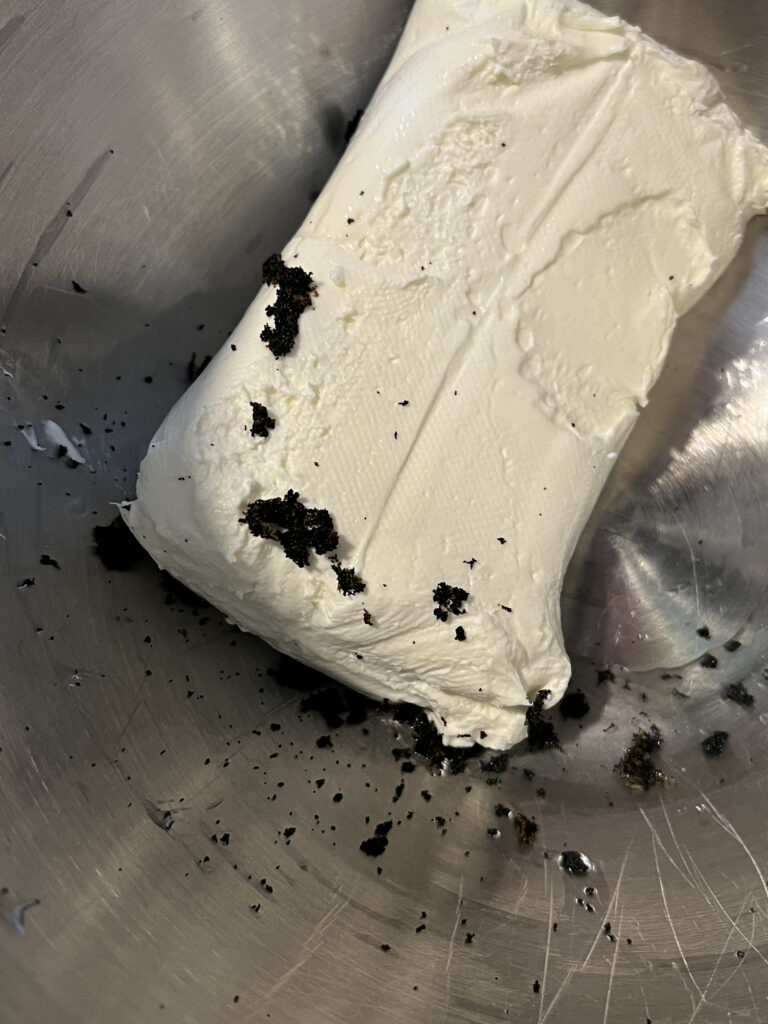
- 1 8 oz package of reduced fat cream cheese, at room temperature
- 1 cup monk fruit powdered sugar (or regular powdered sugar)
- 1-2 vanilla beans, cut in half and scooped out
- 2-4 tbsp almond milk
- 1 cup sliced almonds for toppings, toasted in the oven for about 2-3 minutes per side.
- small cinnamon stick (optional)
- carrot strips, rolled into little flowers (optional)
- greenery (optional)
Directions
- Step 1
- – preheat oven to 350 and line a springform pan (ideal to use) with parchment paper. *I also sprayed the inside sides of the springform with avocado oil.
- Step 2
- - This cake took me quite a while because I just have the one springform pan in a 6″, but I definitely recommend thinner pans for quicker baking times or cupcakes or a sheet cake!
- Step 3
- - Next, mix your dry ingredients together in a large mixing bowl.
- Step 4
- - Then add, your wet ingredients together.
- Step 5
- - After that, shred your carrots {this is the most difficult part in my opinion. You really need to use that arm muscle
- Step 6
- ).}
- Step 7
- - Once you have shredded about 3 cups, I think I personally had a little over, but as much as you can get is great, then taking paper towel, try to remove any of the added moisture from the carrot shreds.
- Step 8
- - Then transfer the carrot to the wet ingredients and fold together.
- Step 9
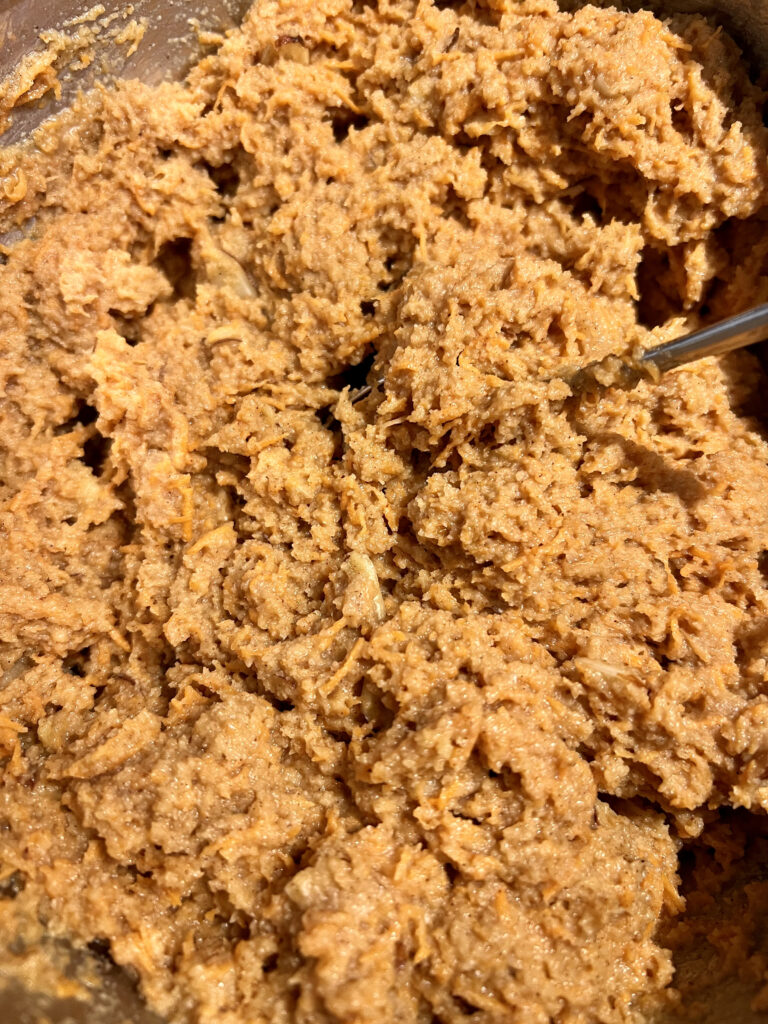
- - After that you are going to add your wet into the dry and fold together again, ensuring there’s no lumps and bumps.
- Step 10
- - Now, transfer either the entire batter if making a sheet cake to the pan of choice, or divide between cupcake tins, or do what I did and place 1/3 of the batter into the lightly greased and lined springform pan.
- Step 11
- - Then place in the oven for about 33-35 minutes.
- Step 12
- - During this time, make your vanilla bean cream cheese frosting!
- Step 13
- - Make sure your cream cheese is at room temperature, then add it to a high speed mixer.
- Step 14
- - Then add the scooped out vanilla bean into the mixer.
- Step 15
- - Proceed with adding powdered sugar little by little. I usually try and eyeball about 1/4 cup at a time.
- Step 16
- - Add in a tablespoon or two slowly along with more powdered sugar until you get a thick and creamy and well combined frosting. Should have little brownish black specks all throughout from the vanilla bean.
- Step 17
- - Do a little taste test to make sure it’s how you would like it.
- Step 18
- - Then scoop it out from the mixer and transfer to a glass dish, or leave it in the mixer if you can fit the entire bowl in your fridge.
- Step 19
- - Refrigerate the frosting until you’re ready to assemble your entire cake.
- Step 20
- - Check on your cake after your 33-35 minutes are up and poke with a toothpick/knife etc to make sure it’s fully cooked.
- Step 21
- - Then remove from the oven and let cool for about 5 minutes. *If making a 3-tiered cake like I did, then you’re going to want to release the springform and carefully remove the warm cake from the pan. Then set on a cooling rack. **If making a sheet cake, just remove from heat and let cool for about 20ish minutes until cooled down enough so it can be frosted, same with the cupcakes.
- Step 22
- - As for the next layers
- Step 23
- reline the springform with parchment paper + avocado spray and place another 1/3 of batter into pan and place into oven. Cook again for 33-35 minutes. Do this a third time after all the batter is used up. This is where the time is used up in the recipe.
- Step 24
- - Then, on a small baking sheet, add the 1 cup of sliced almonds and place in oven for 2-3 minutes per side, tossing. Once a little golden, remove from oven and cool.
- Step 25
- - Once your cake(s) are cooled, place a dollop of cream cheese frosting on cake stand to secure the first tiered layer.
- Step 26
- - Otherwise, top your cupcakes/sheet cake with frosting!
- Step 27
- - Next, add about 1/3 cup of almonds to the bottom tiered after the frosting is lathered.
- Step 28
- - Then add your middle layer and top with frosting and sprinkled almonds.
- Step 29
- - Once you’re at the top, add the remainder of vanilla bean cream cheese frosting, carrot flowers (if using), greenery (if using) and cinnamon stick (if using), otherwise I would recommend decorating with some additional sprinkles of cinnamon and coconut sugar for color and contrast!
- Step 30
- - Serve immediately to dear friends and family or place in the fridge until ready to enjoy!
- Step 31
- - I hope you save this recipe for all the fun holiday spreads were about to have. Let me know if you’d like me to create a cake like this for you or a loved on (must be local in Leelanau County/TC) !!
