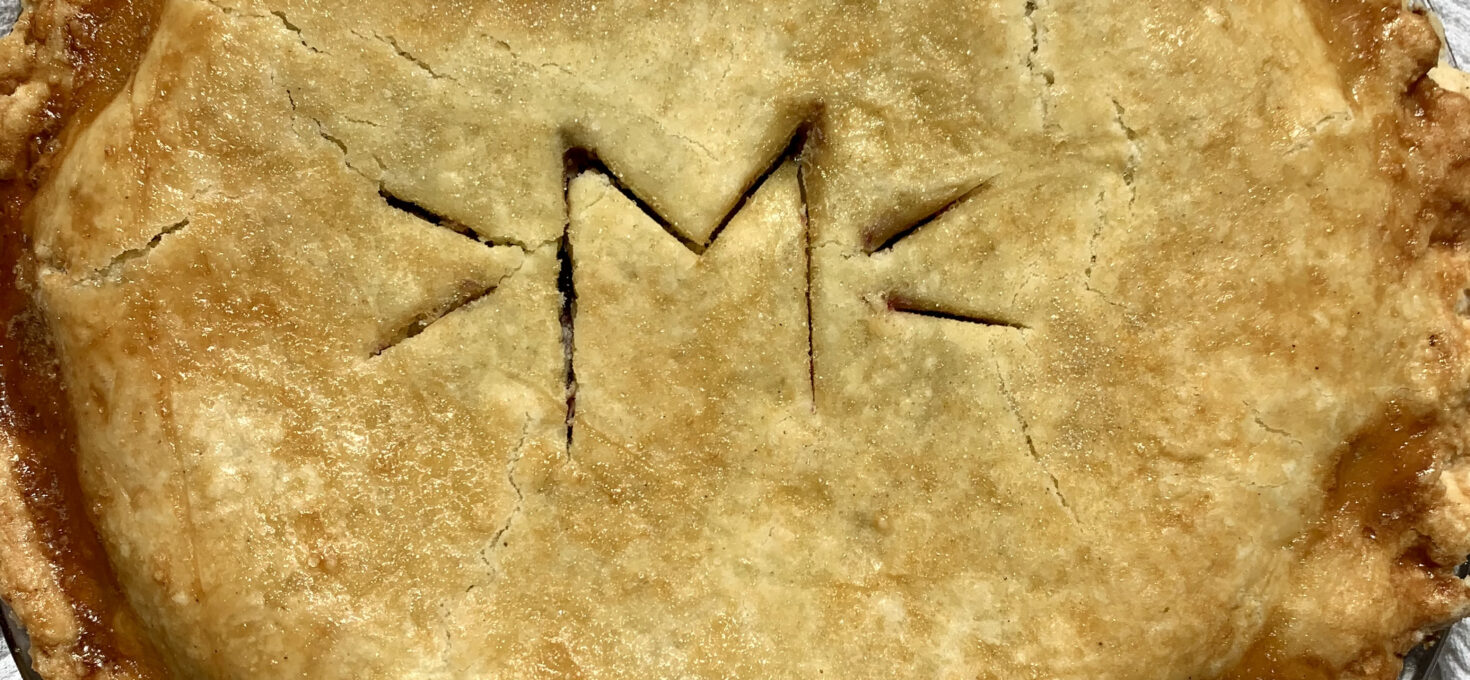
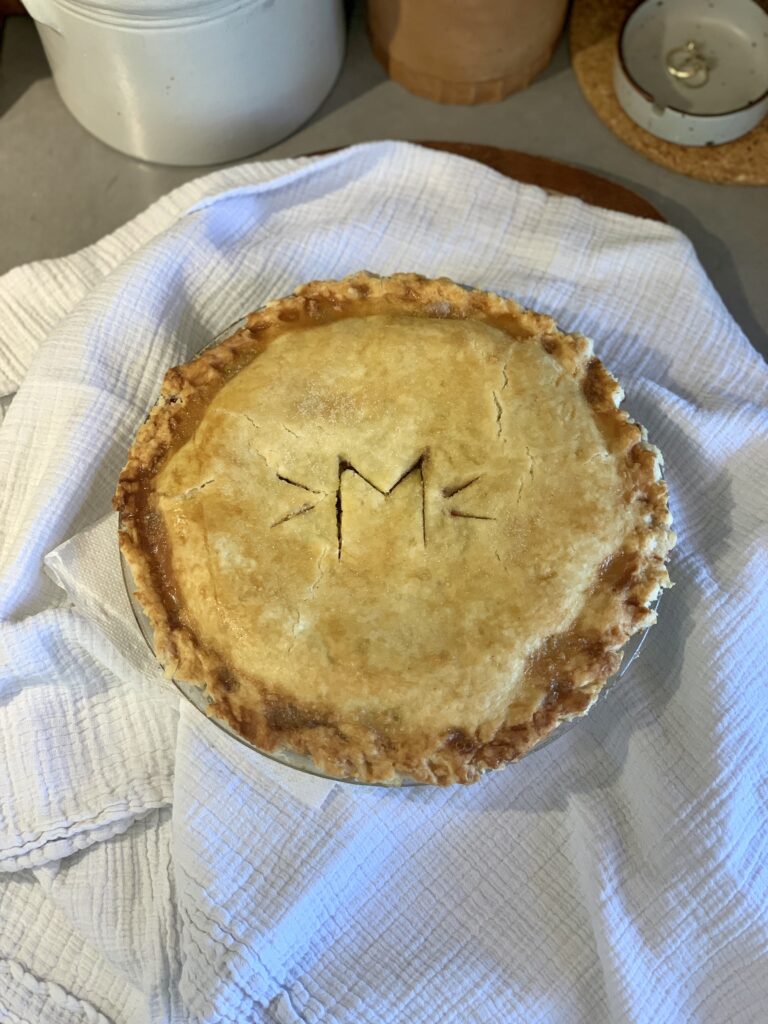
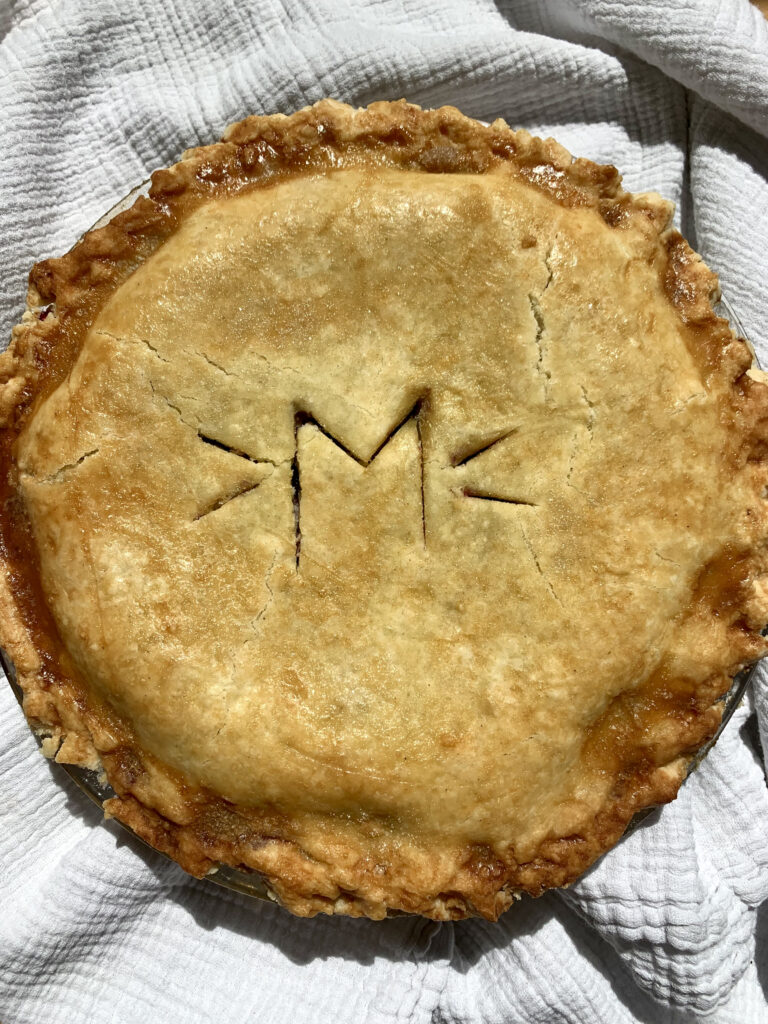
Earlier this September, we thought we would experiment and make my dad, “Papa Mike” a blackberry pie since that’s his favorite. It used to be so easy to find a locally made blackberry pie, but that’s definitely not the case anymore when you also need it to be gluten free. This was a somewhat challenging, but very rewarding Sunday experiment. If you have any experiment with making homemade pies, then this shouldn’t be such a learning curve, but working with gluten free flours isn’t the easiest, either. But here it is, the tastiest gluten free blackberry mint pie that we’ve made!
GF Blackberry Mint Pie
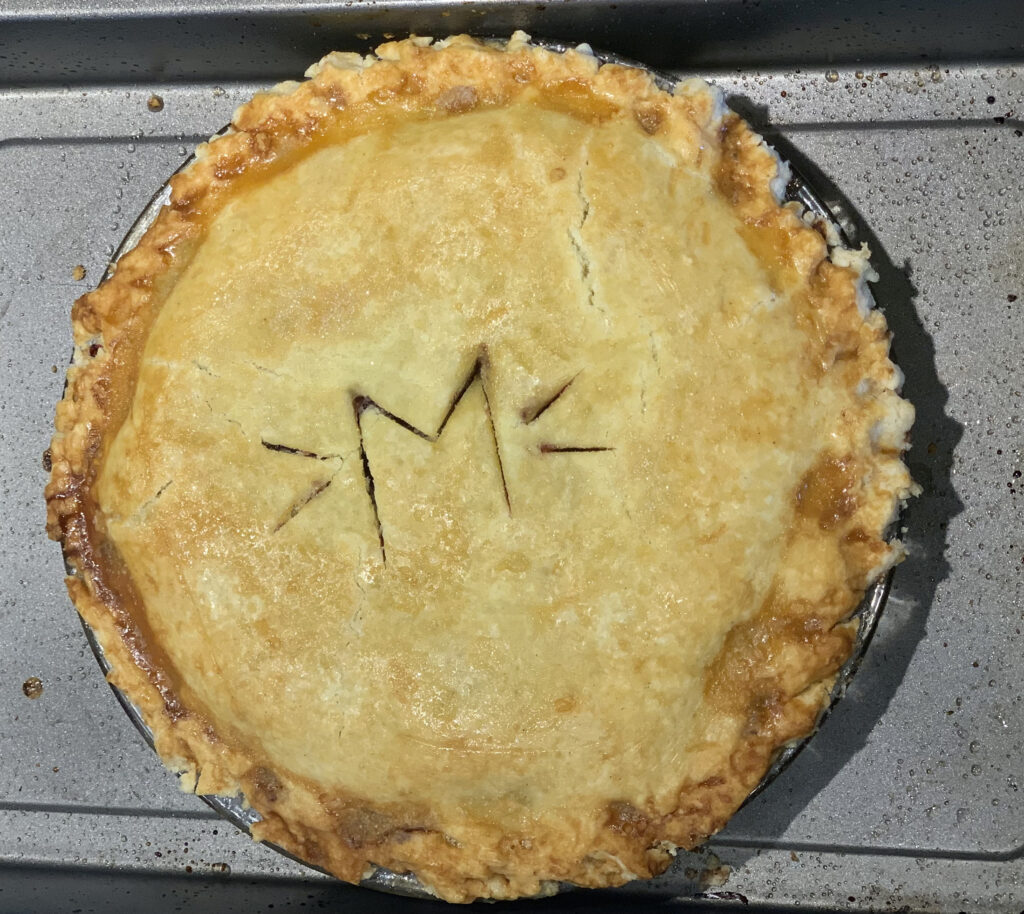
The flakiest gluten free pie crust that we've ever tried. We started with King Arthur's gluten-free pie crust and then added to it! It's definitely our favorite and best one out there. The pie came out SO crispy, golden and flakey. It doesn't get much better than that.
- October 16, 2021
- Print this
Ingredients
- For the pie crust
- 1 1/4 cups King Arthur Gluten Free AP Flour
- 1 tbsp sugar (we used Lakanto Monk fruit sugar)
- 1 tsp ground flax
- 1 tbsp tapioca starch
- 1/2 teaspoon salt
- 6 tablespoons butter, cold (we used Kerrygold)
- 1 large egg
- 2 teaspoons lemon juice or vinegar (we used apple cider vinegar + 1 tsp lemon juice)
- Filling
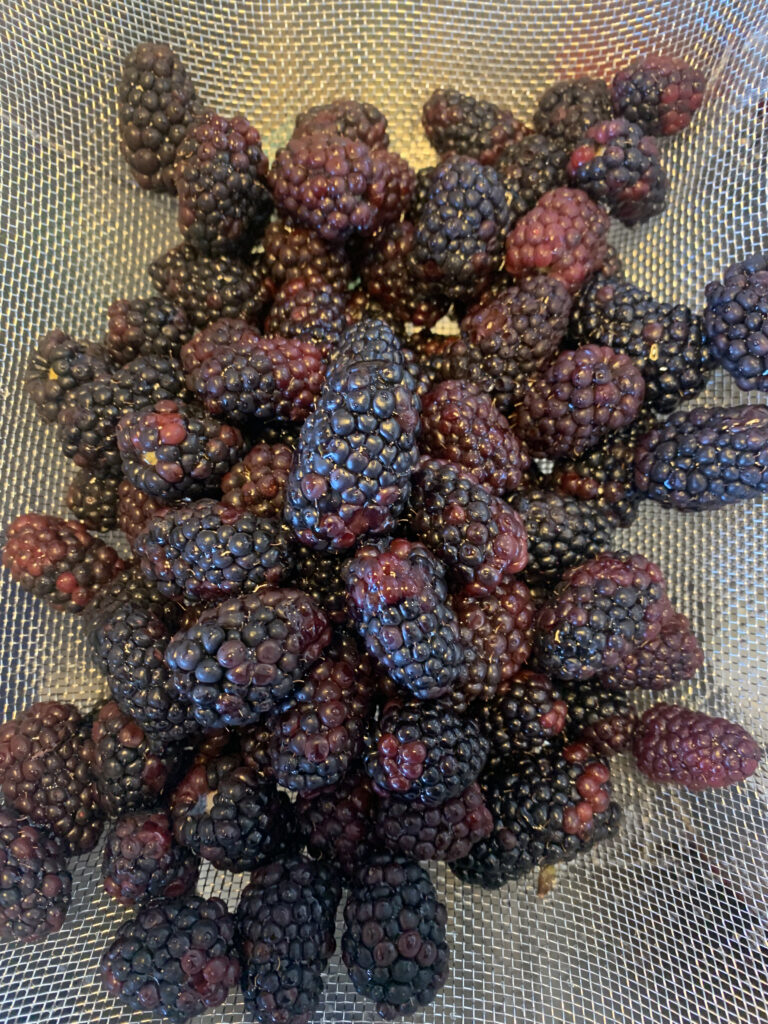
- 3 cups of fresh or frozen blackberries (about 2 pints)
- 1/2 cup monk fruit sugar
- 3 tbsp arrowroot flour
- 1 tbsp lemon juice
- 1 tbsp butter, cut into little cubes (can sub for vegan butter, too)
- 1 tsp mint extract
Directions
- Step 1
- – Preheat oven to 375 degrees.
- Step 2
- - Grease your pie pan, we used a 9″ glass pan.
- Step 3
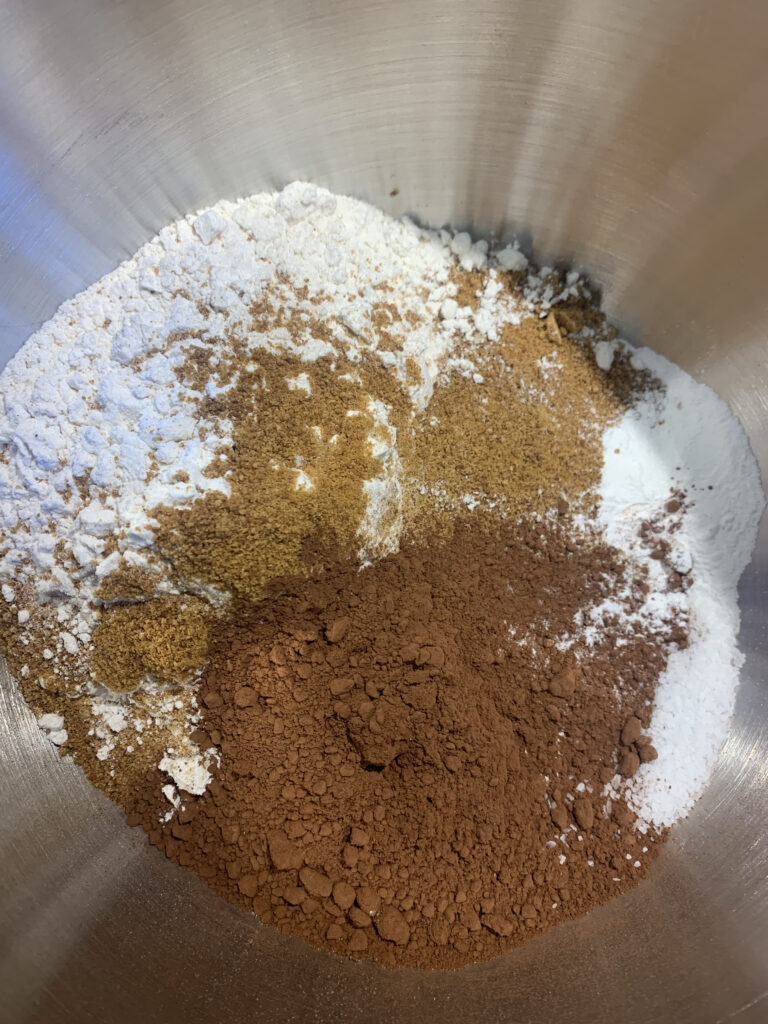
- - In a large bowl, whisk your flour blends, sugar, salt and ground flax.
- Step 4
- - Next, take your cold butter and cut it into about 1″ cubes.
- Step 5
- - Then gradually add in the butter cubes to the dry flour mix but working it in with your hands until it’s a very crumbly texture, should look like pea size chunks throughout.
- Step 6
- - After that, whisk your egg, vinegar and lemon juice until it’s a foamy mixture.
- Step 7
- - Then add it into your dry ingredients. Stir it together until it starts to hold, you might need to add some additional cold water, but I would try and hold off from adding any additional moisture to the gluten free flours since they tend to turn gummy quickly.
- Step 8
- - Once you’ve done that, then shape your dough into a ball and wrap in parchment paper or cling wrap and set in the fridge for about 30 minutes, longer if you have time!
- Step 9
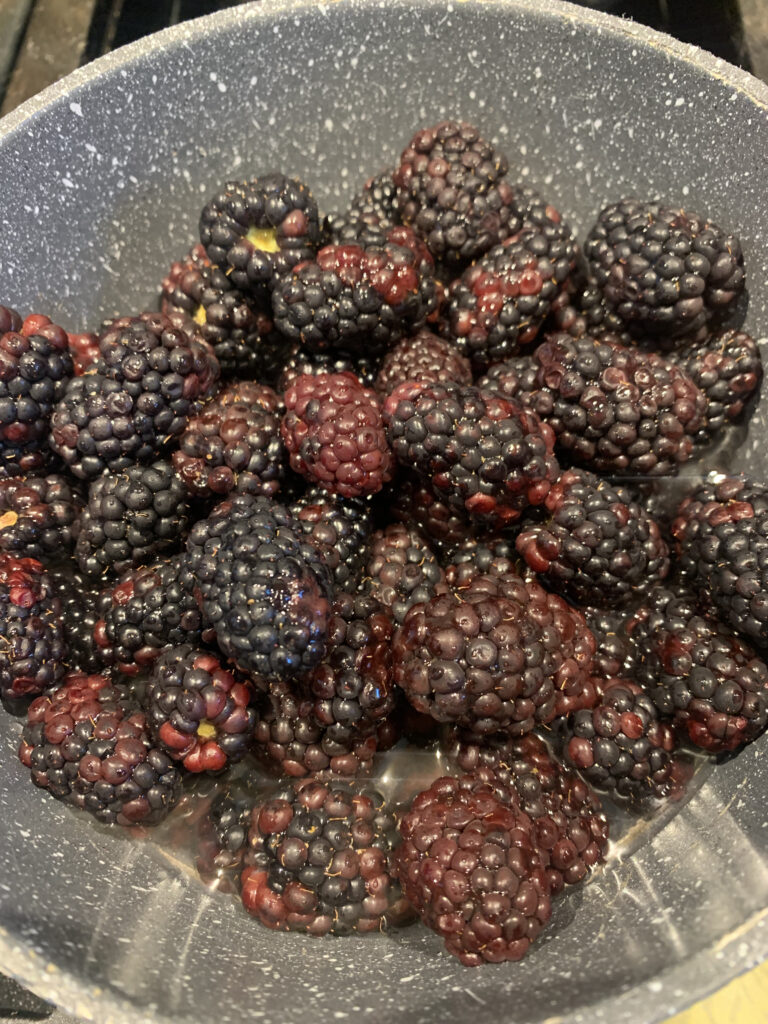
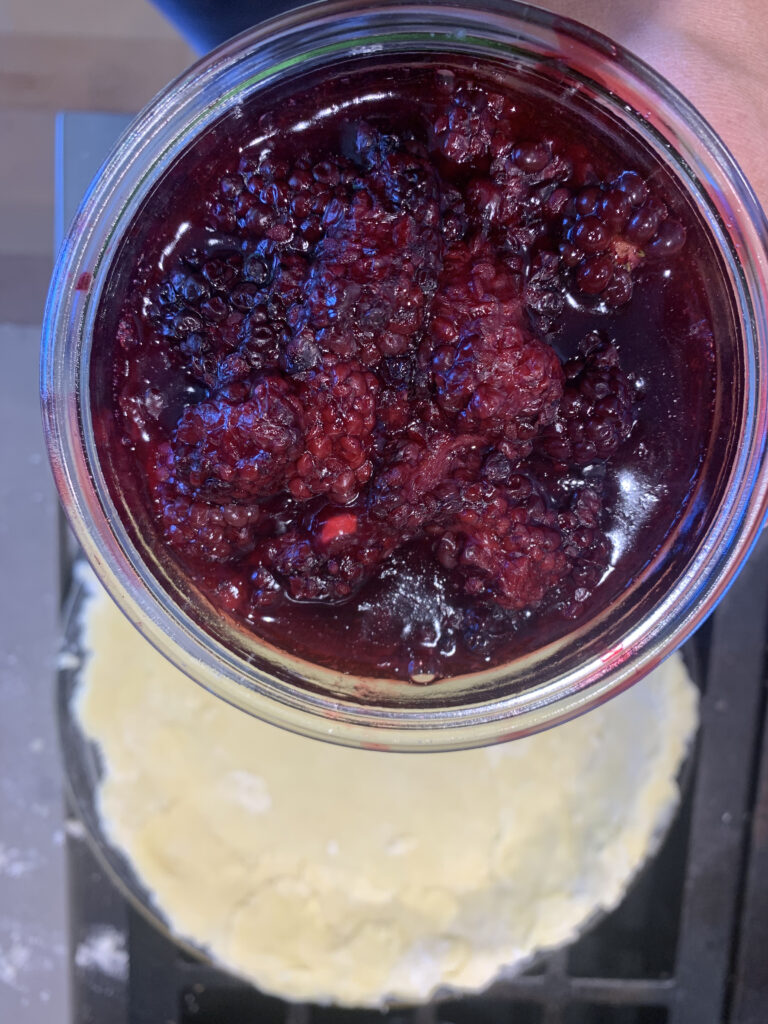
- - In a small saucepan, add your blackberries, sugar of choice, lemon juice, mint extract and arrowroot flour. Whisk all the together over low to medium heat until it comes to a simmer.
- Step 10
- - Then add in the butter cubes and continue to stir.
- Step 11
- - After that, remove from heat and let cool completely.
- Step 12
- - Now you can take your pie dough out of the fridge and let it rest on the counter for about 10 minutes before rolling it out.
- Step 13
- *I set down some parchment paper on the counter along with a hefty sprinkle of gluten free flour to roll out. It will be tricky no matter what I believe, but just a tad bit easier this way.
- Step 14
- - Take half of the dough, and roll it out to be about 10″ in diameter. Remember you will need the second half for the top crust. I just planned for it to be a little bigger than the top layer because you have to set it into the pan and push down on the sides, so allow for that.
- Step 15
- - Once it’s rolled out and then transferred to your pie pan, I then put another sheet of parchment paper over it lightly and set a bowl on top of it. Just to protect it and let the shape set a little more.
- Step 16
- - Now you can add your fragrant blackberry mint filling to the pie. So take off the parchment paper layer and transfer all the filling in. I tried to keep it to the center of the pie because it will expand out to the sides when it’s baking.
- Step 17
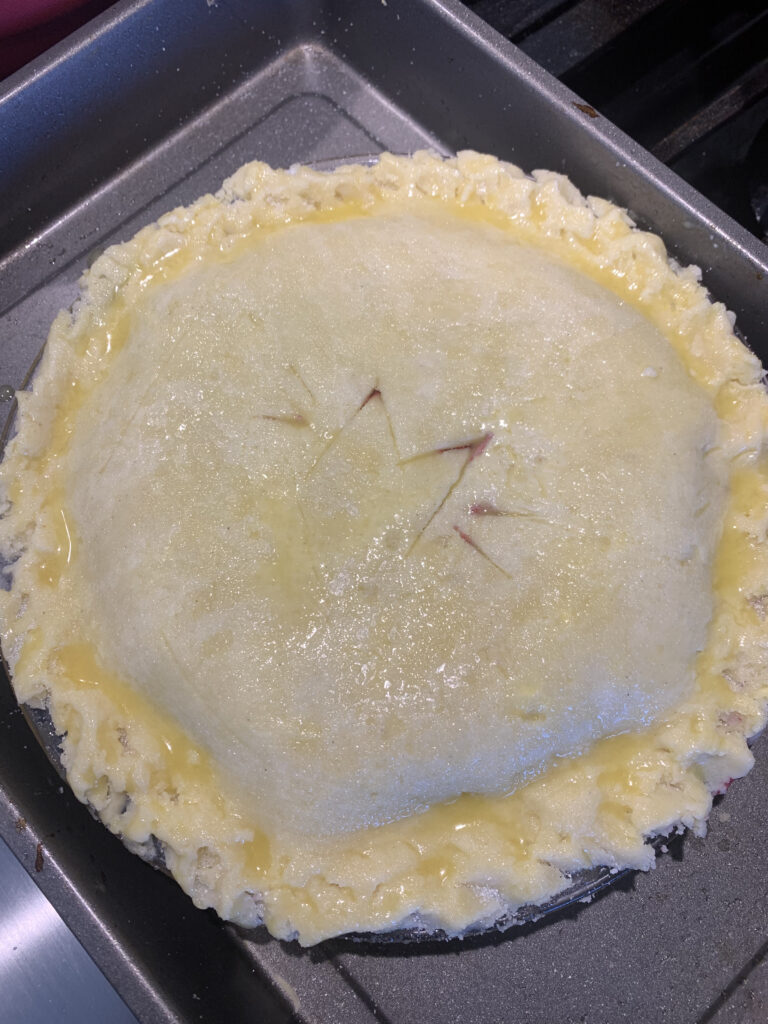
- - Take the second half of the pie crust dough and roll it out so that it will fit the top.
- Step 18
- - Then pinch the layers together, doesn’t have to be perfect. Just so that it keeps together.
- Step 19
- - After that, I took some barista almond milk and brushed it over the top. Then we sprinkled it with coconut sugar. It crisped up so nicely and had the most beautiful golden glow to it!
- Step 20
- - I also covered it with aluminum foil for the first 20 minutes then took off the aluminum foil and baked for another 25-30ish minutes. This way the crust didn’t burn!
- Step 21
- *Depending on your oven, you might need another 5-10 minutes.
- Step 22
- - After that, remove it from the oven and it should be golden and cooked all the way through.
- Step 23
- - Serve immediately or let cool and save for later.
- Step 24
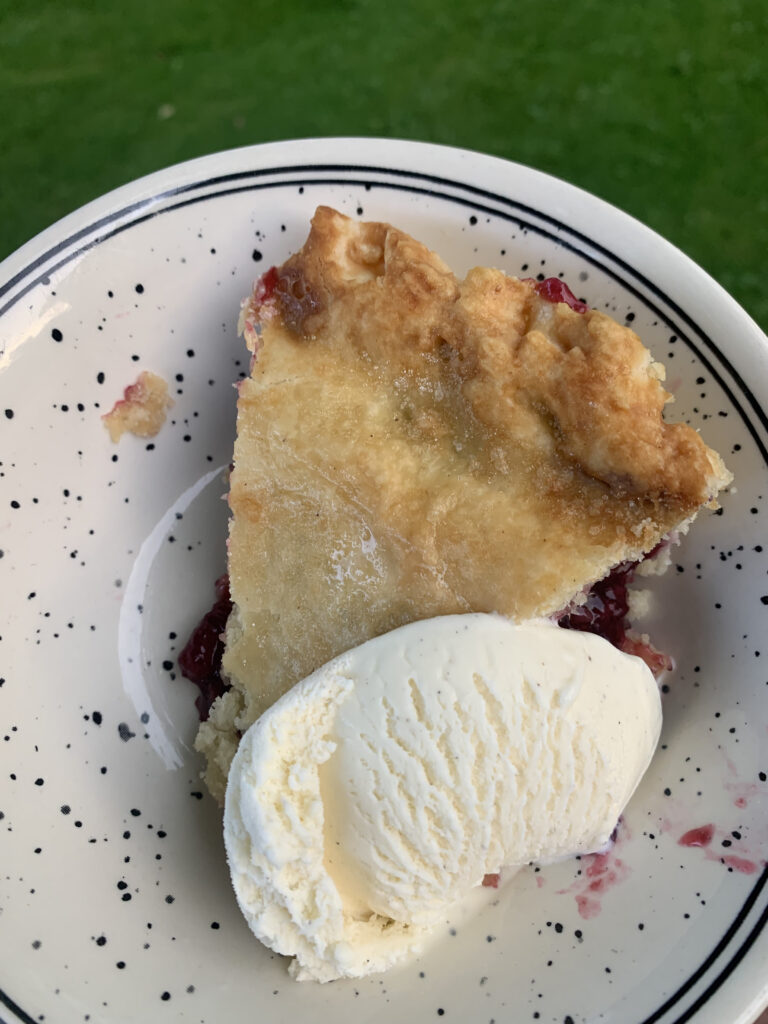
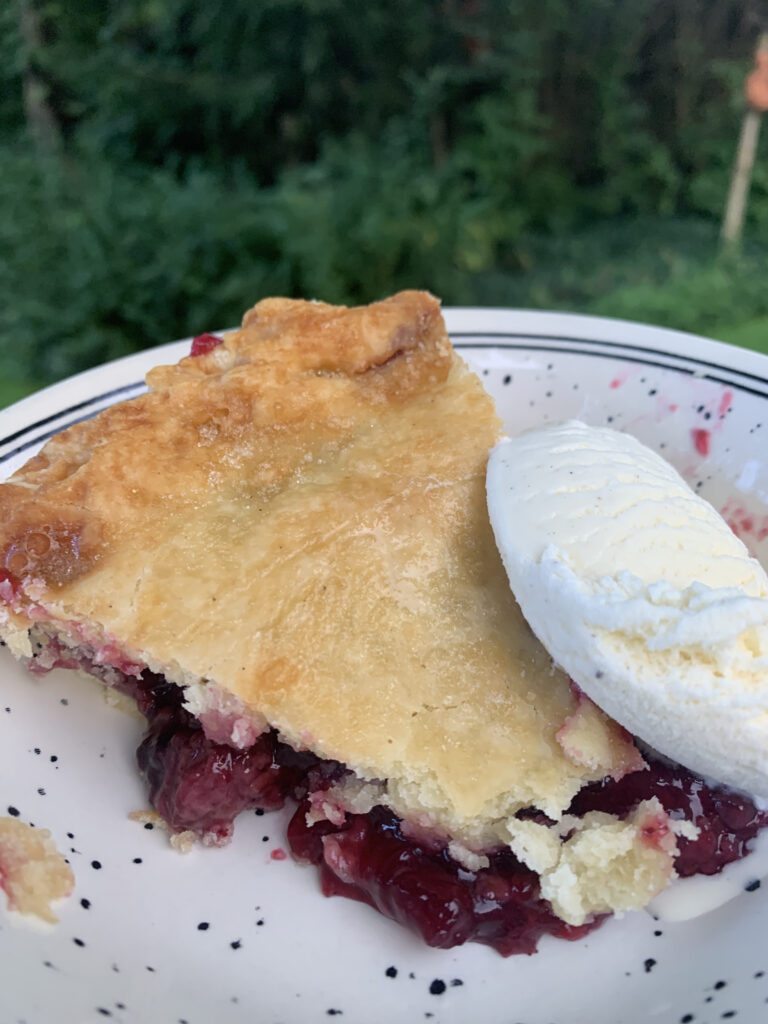
- - We brought it over to Grandma and Grandpa’s house and served it with Alden’s vanilla bean ice cream and fresh mint leaves on a Sunday night :).
- Step 25
- - Hope you bake yourself one of these delightful blackberry mint pies, soon!
