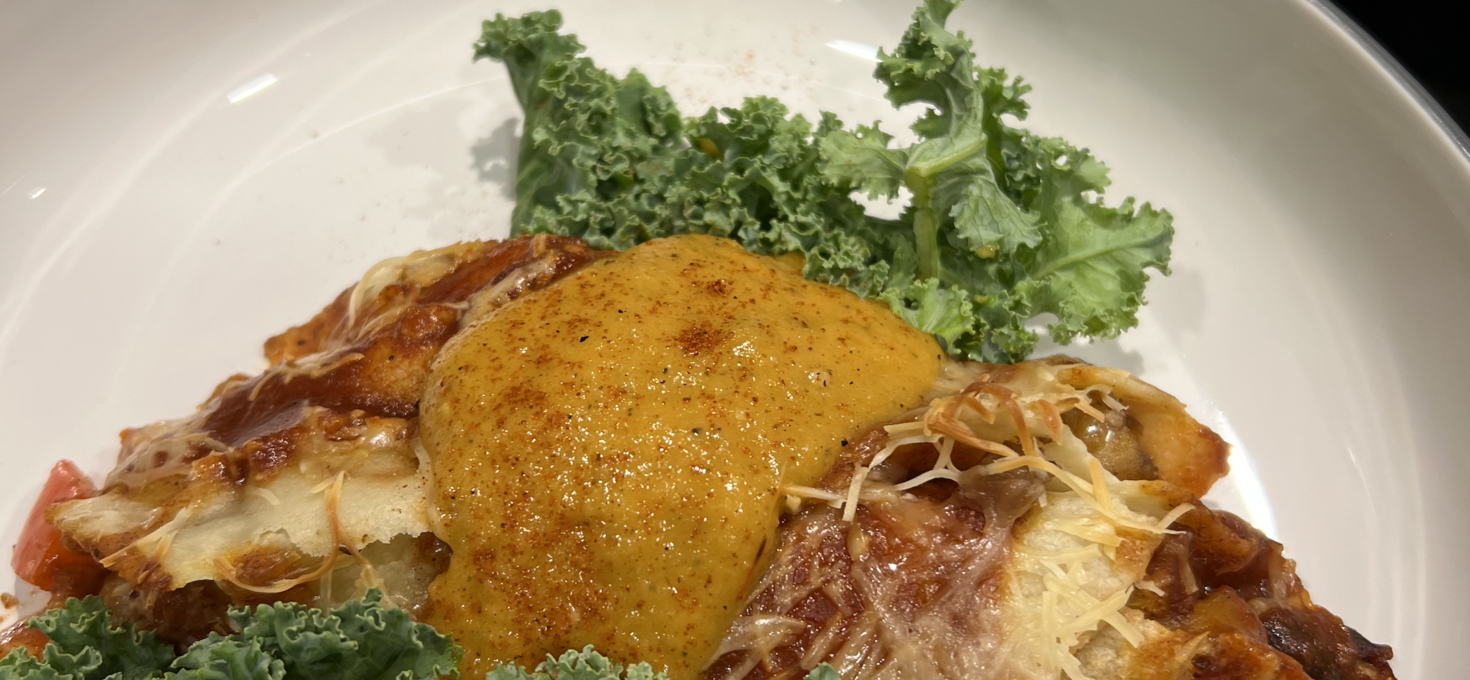
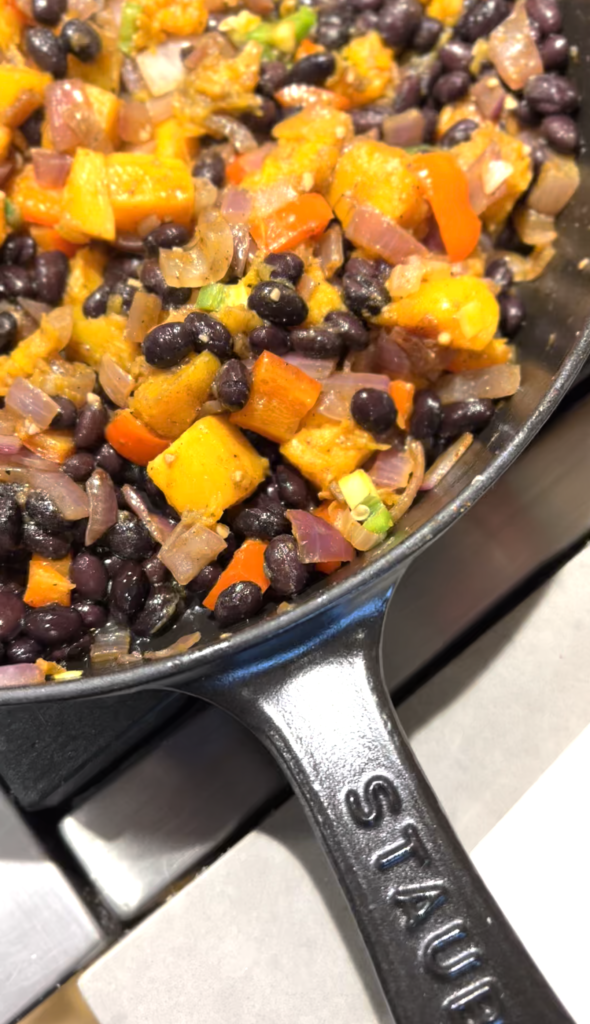
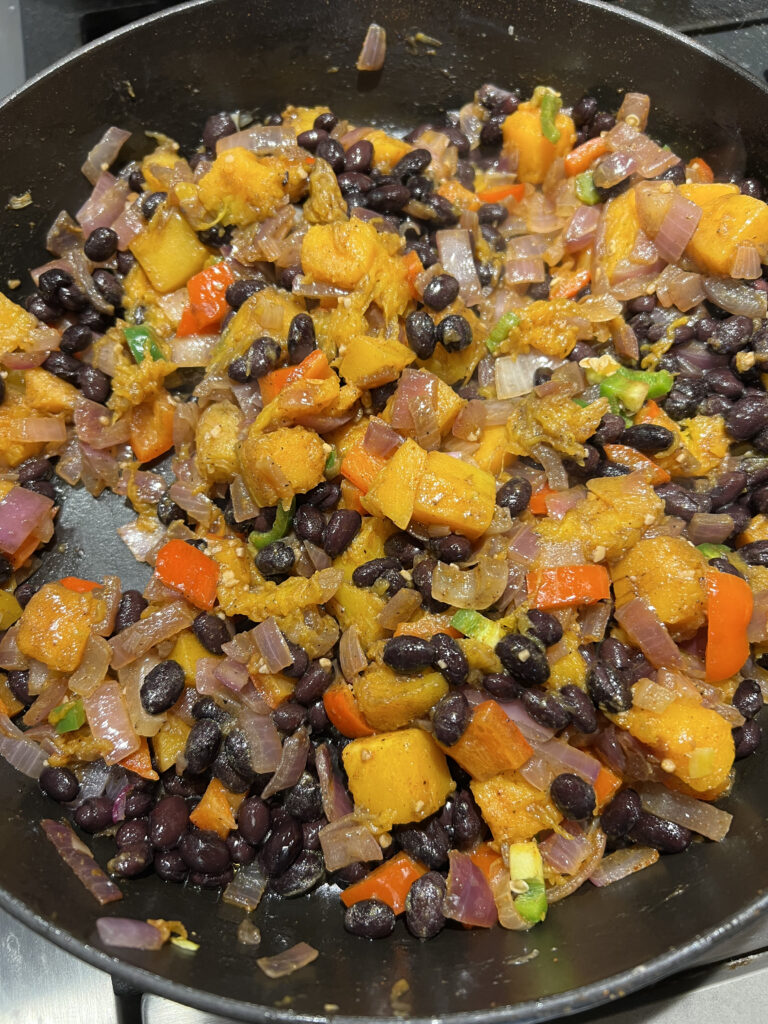
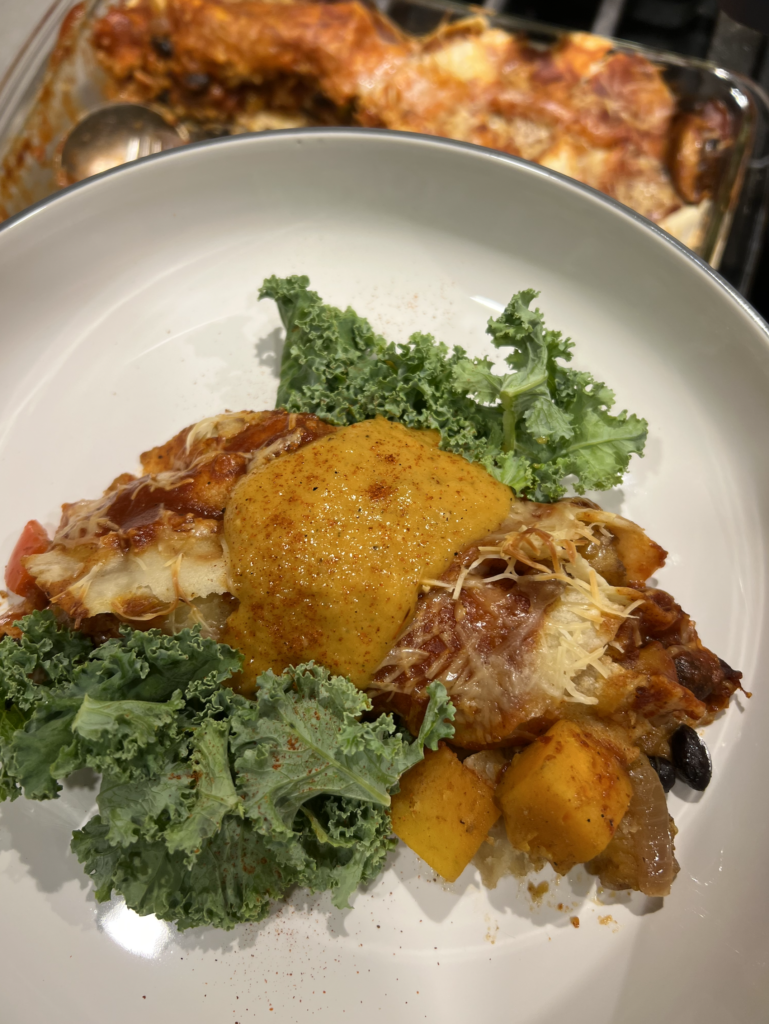
The easiest enchiladas you will ever make. I was always afraid to make enchiladas because I thought they were so much work and didn’t think they would actually turn out. These are seriously then complete opposite. You can also customize them to your own liking so if there’s something you would rather substitute, it’s so easy to do that with this recipe. I have made this recipe handfuls of times and each time I have swapped out different vegetables, just to get a “new” dish. I really love this combination of seasoned butternut squash with the caramelized onions and peppers. You can easily add in your own favorite protein if you’d like. I will typically add in some veggie meat crumbles, or even TVP (my favorite for enchiladas). There’s already black beans, but I get it, sometimes you just want a little more. Pair it with my the roasted tomatillo salsa and you’re about to have the BEST meal. Give it a try, and let me know what you think 🙂 It’s definitely always a favorite over here, and I’m 100% positive that the leftovers are even better the next day!
Gluten Free Butternut Squash, Black Bean and Caramelized Onion Enchiladas w/ Roasted Tomatillo Salsa
- November 11, 2021
- ~9-12
- 40 min
- Print this
Ingredients
- ENCHILADAS
- 1 butternut squash (either an entirely whole butternut squash that you then peel the skin off and slice and dice into about 1
Directions
- Step 1
- – Preheat oven to 400 degrees.
- Step 2
- - Line a large baking sheet with parchment paper.
- Step 3
- - Wash all your tomatillos and make sure all the stickiness is gone.
- Step 4
- - Add the sliced peppers of choice, head of garlic, your large onion and a light drizzle of avocado oil to the baking sheet.
- Step 5
- - Transfer to the oven and let roast for about 10 minutes.
- Step 6
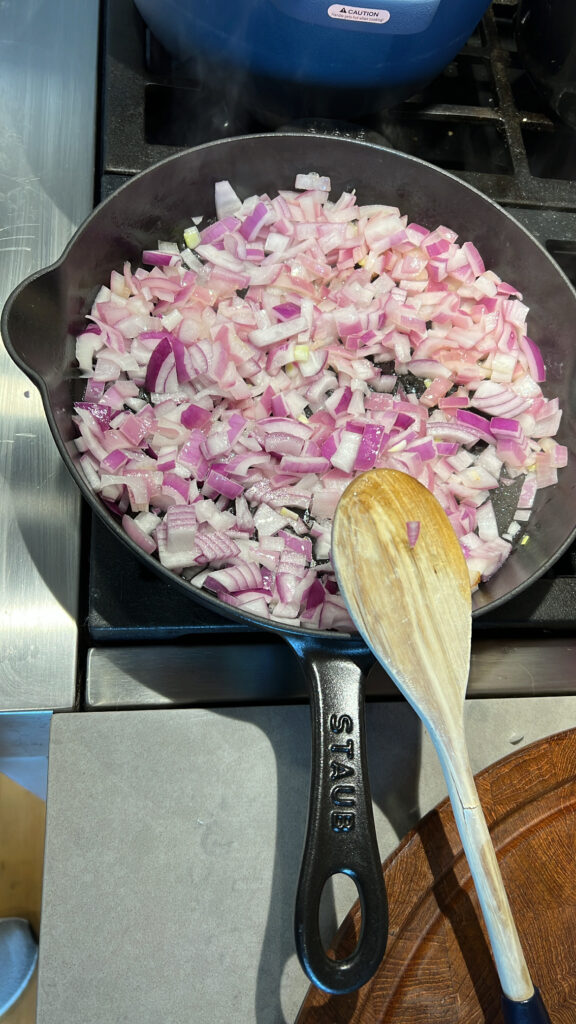
- - Next, in a large skillet over low-medium heat, add your avocado oil and diced onions.
- Step 7
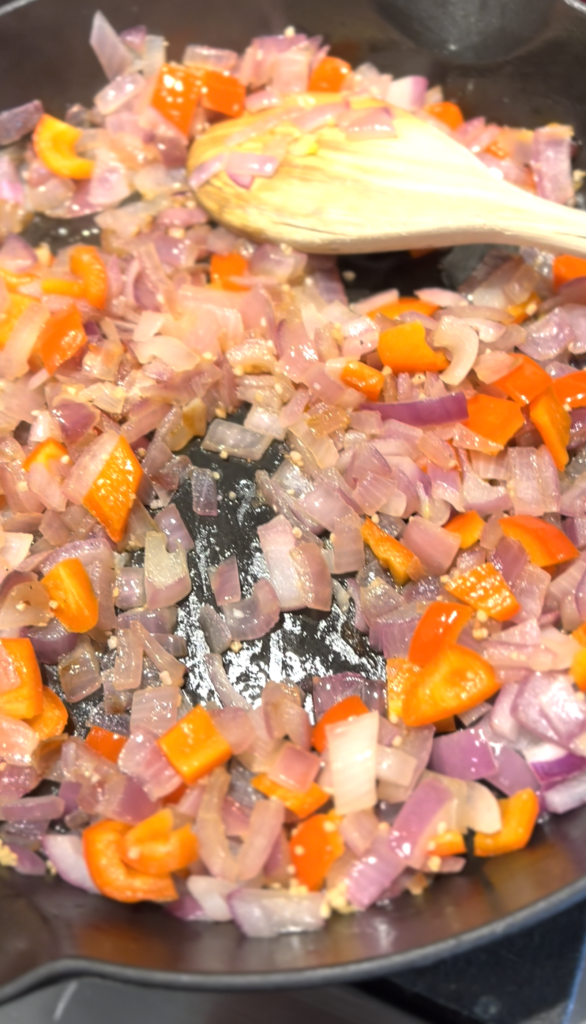
- - After a few minutes, add in the diced peppers and garlic.
- Step 8
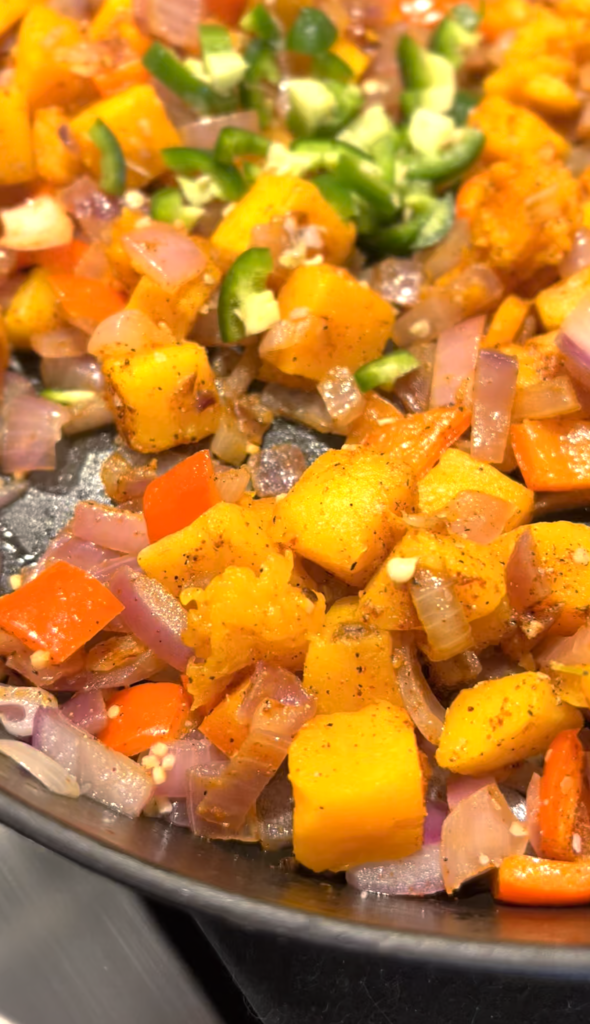
- - Then stir in jalapeño if using and the spices.
- Step 9
- - Next, add in your can of black beans and over your skillet. I let it simmer for about 3-4 minutes and in that time, I prepped my tortillas.
- Step 10
- - Grab your 9×12 pan (or pan of choice) and lightly spray with nonstick spay, I used avocado oil spray.
- Step 11
- - Prep your tortillas by warming them up on your stove top, or even microwave for about 10 seconds per side.
- Step 12
- - Then, taking a spoon, add in a few hefty tablespoons of the skillet mixture to each tortilla.
- Step 13
- - Carefully roll up your tortilla and place it in the lightly greased pan. I lay a fork or something with a little weight over the top so that they don’t unravel!
- Step 14
- - Repeat these steps until all of your enchilada mixture is used up.
- Step 15
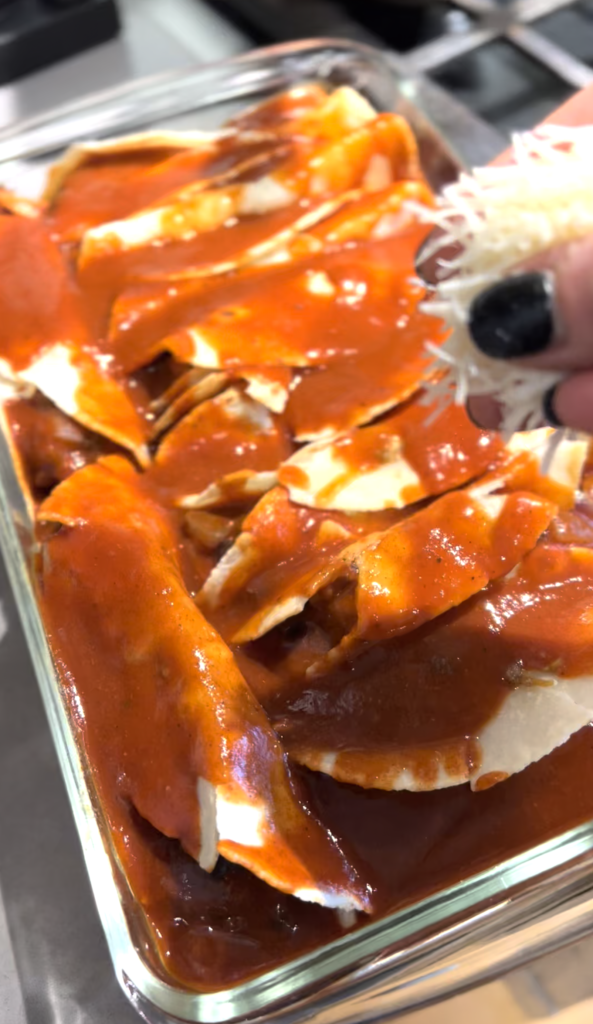
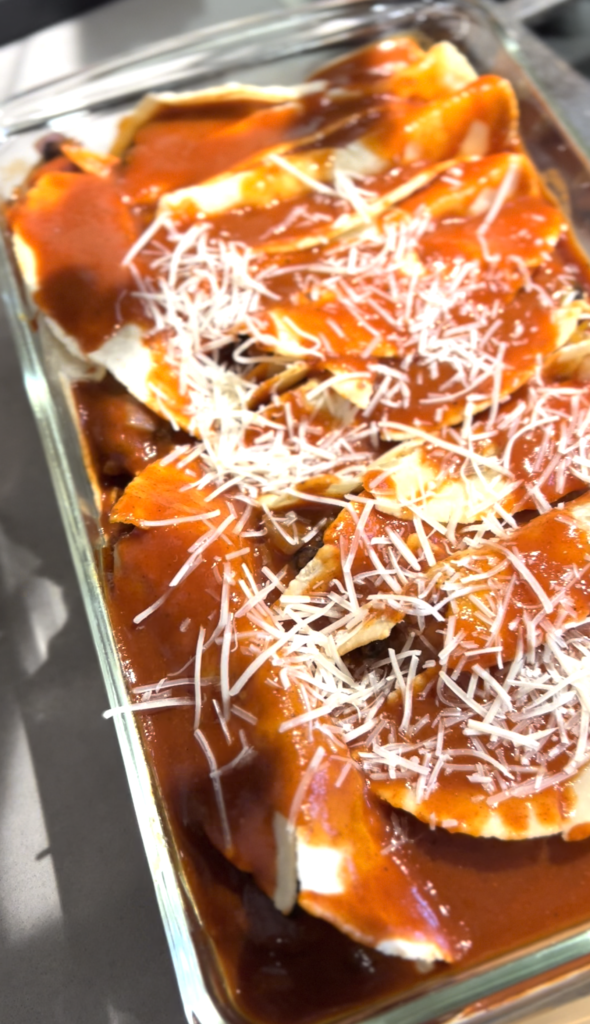
- - Once all the tortillas are “stuffed” inside the pan, drizzle with enchilada sauce.
- Step 16
- - I have made my own before and used the canned stuff. Both work really well! For this time, I used Hatch mild red enchilada sauce.
- Step 17
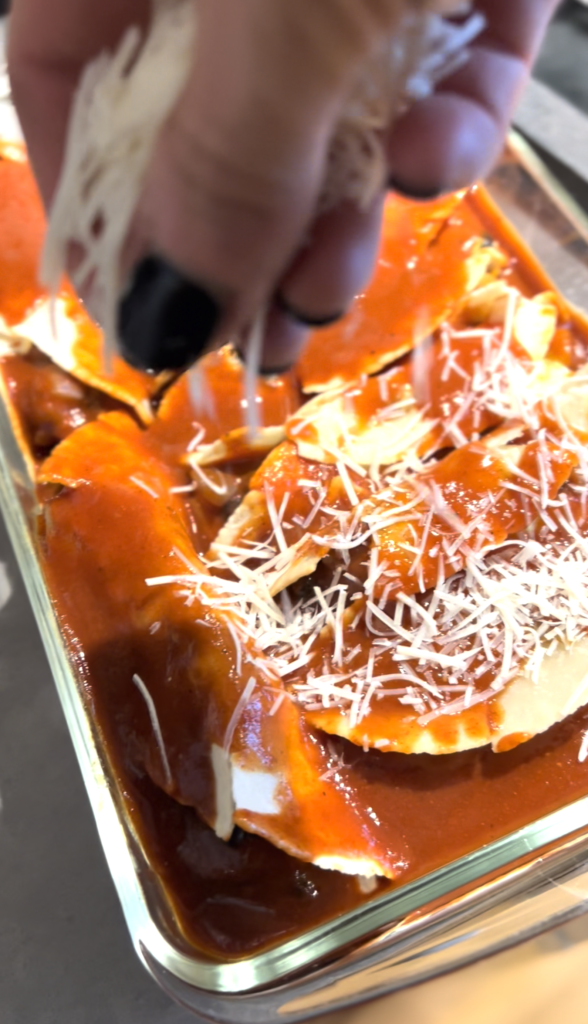
- - Once the sauce is covering your rolled up enchiladas, sprinkle with cheese!
- Step 18
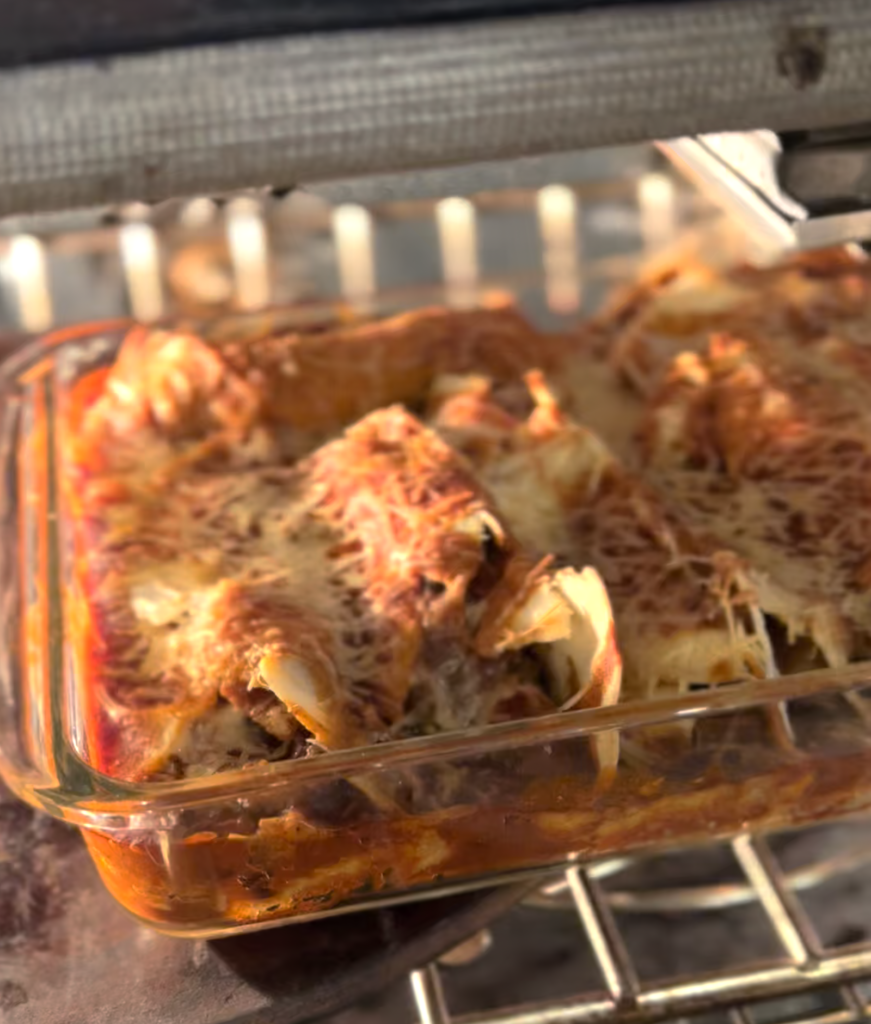
- - I covered my pan with foil before placing in the oven for about 20 minutes. For the last 5ish minutes, I removed the foil and let the cheese bubble and bake a little more.
- Step 19
- - While your enchiladas are in the oven, it’s time to make your roasted tomatillo salsa to pair with them.
- Step 20
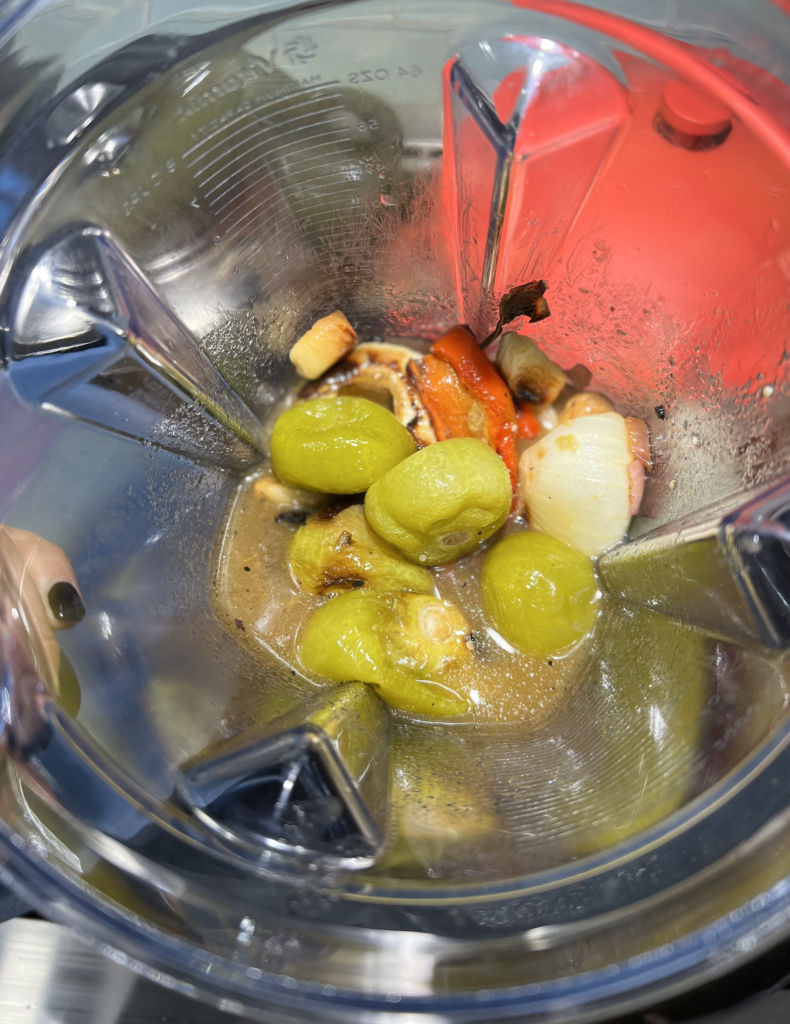
- - In a high speed blender, add your roasted tomatillos, garlic, onion and peppers.
- Step 21
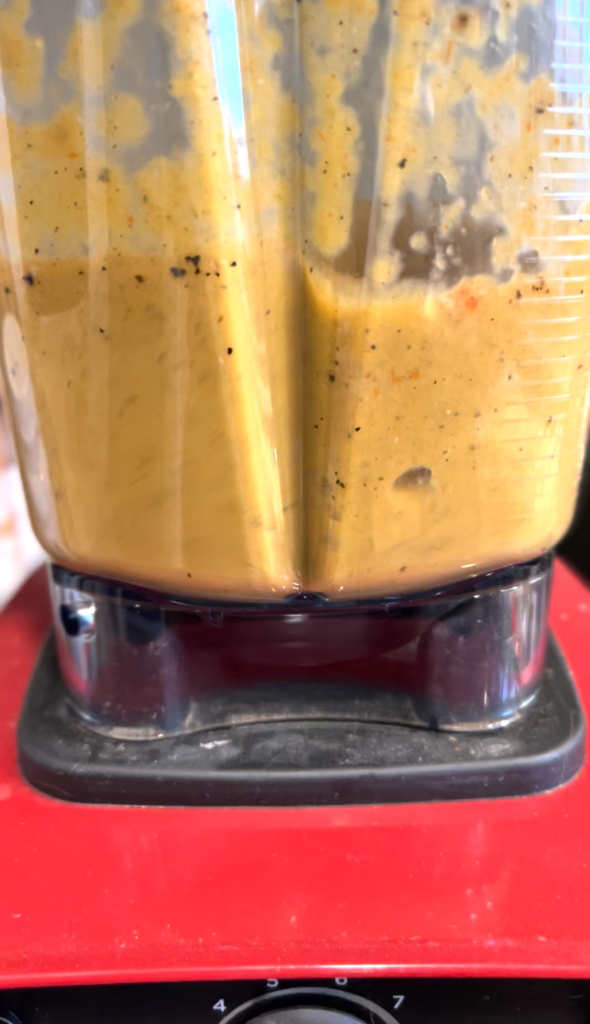
- - Blend for about 1 minute on high until the mixture is thick and creamy!
- Step 22
- - Remove enchiladas from the oven.
- Step 23
- - Make your plate by layering with greens (optional) and then placing a couple enchiladas on top, and topping with a good amount of homemade salsa!
- Step 24
- - I hope you absolutely love these and enjoy them just as much as we always do.
