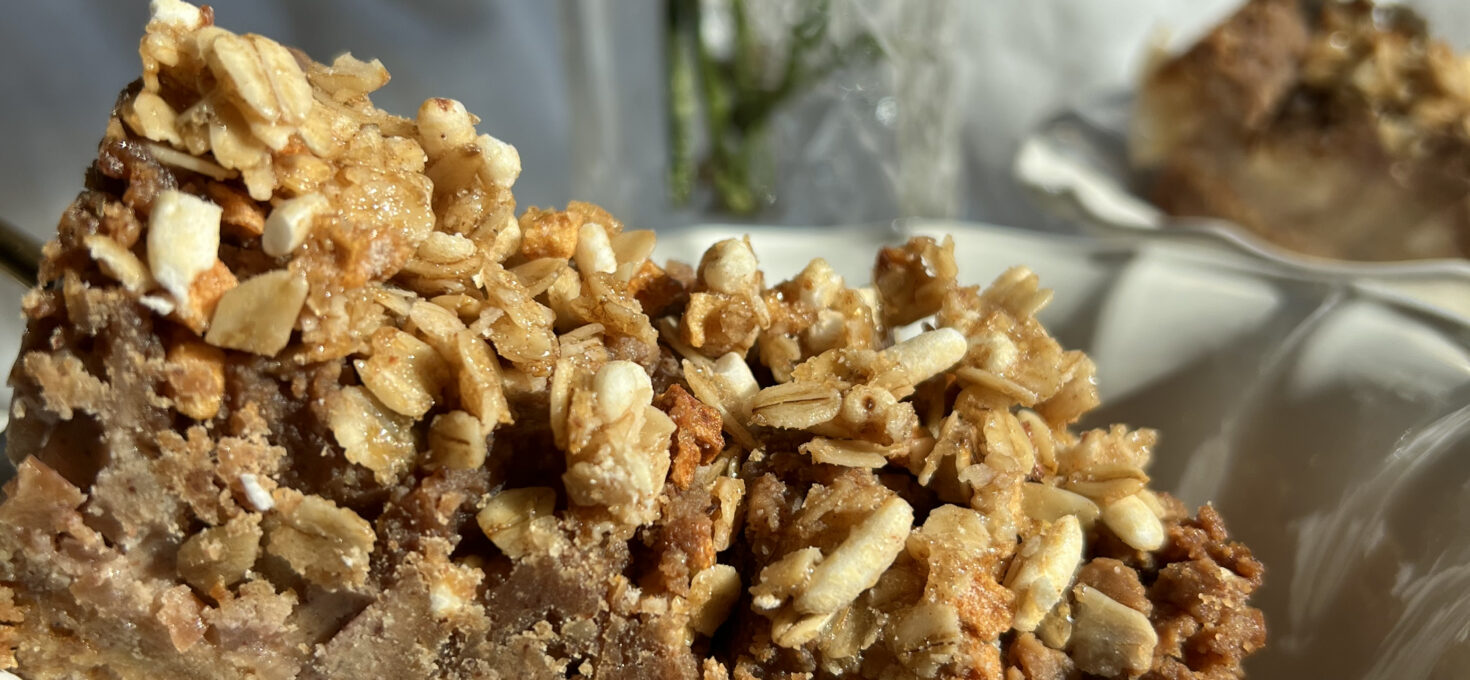
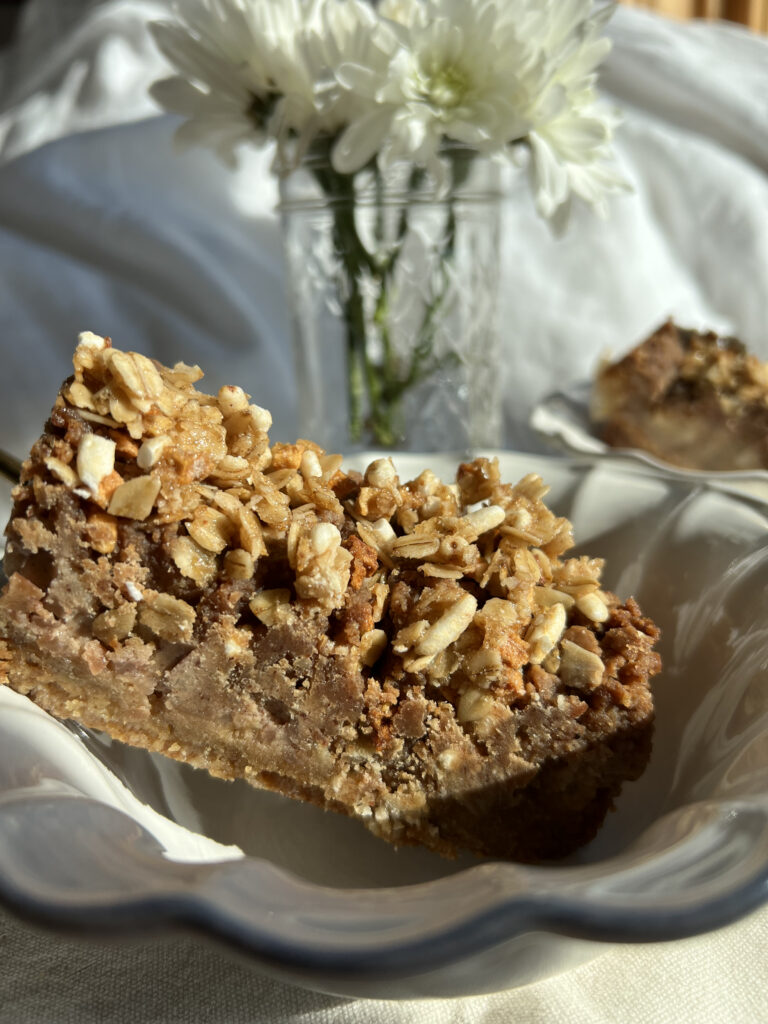
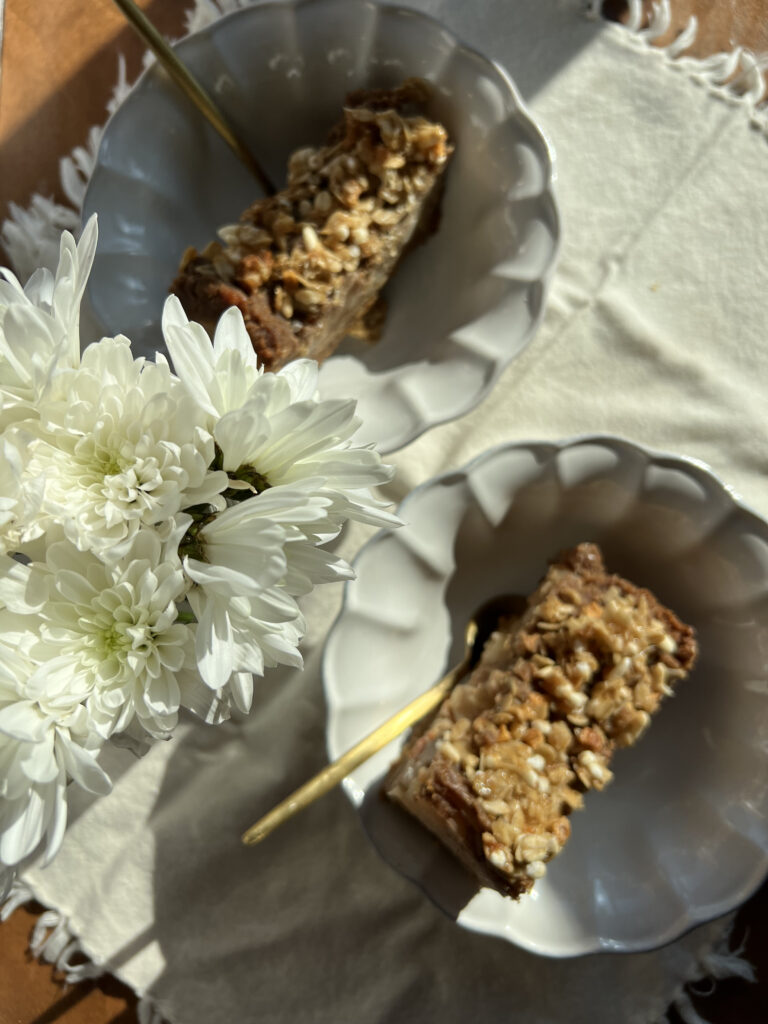
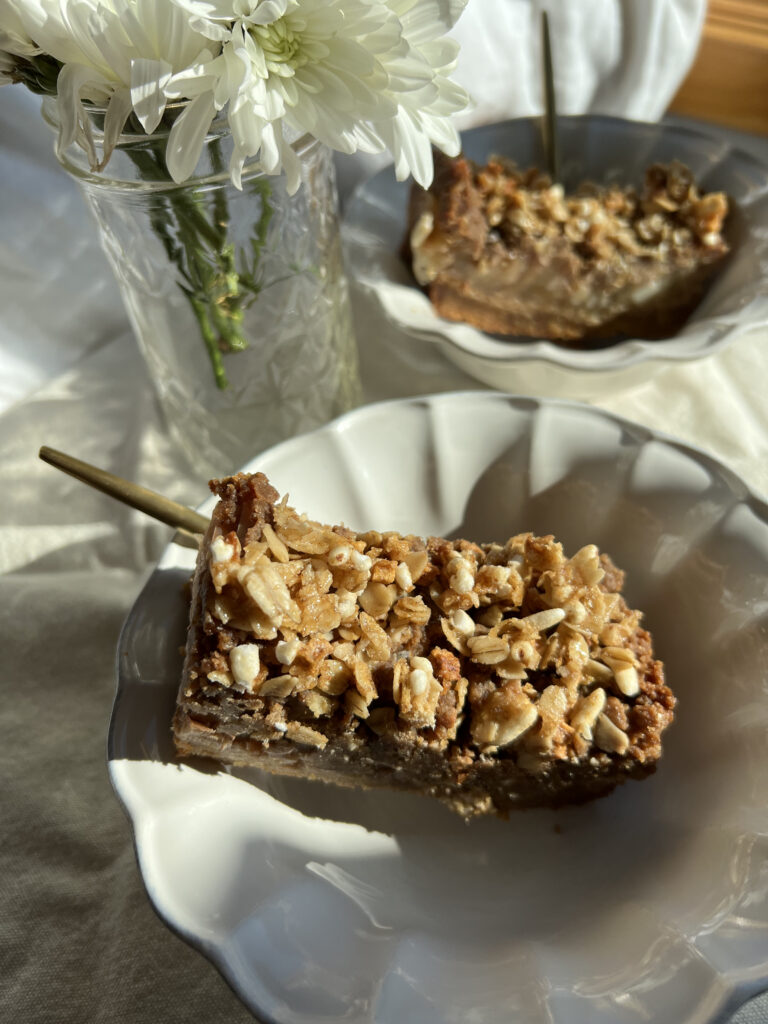
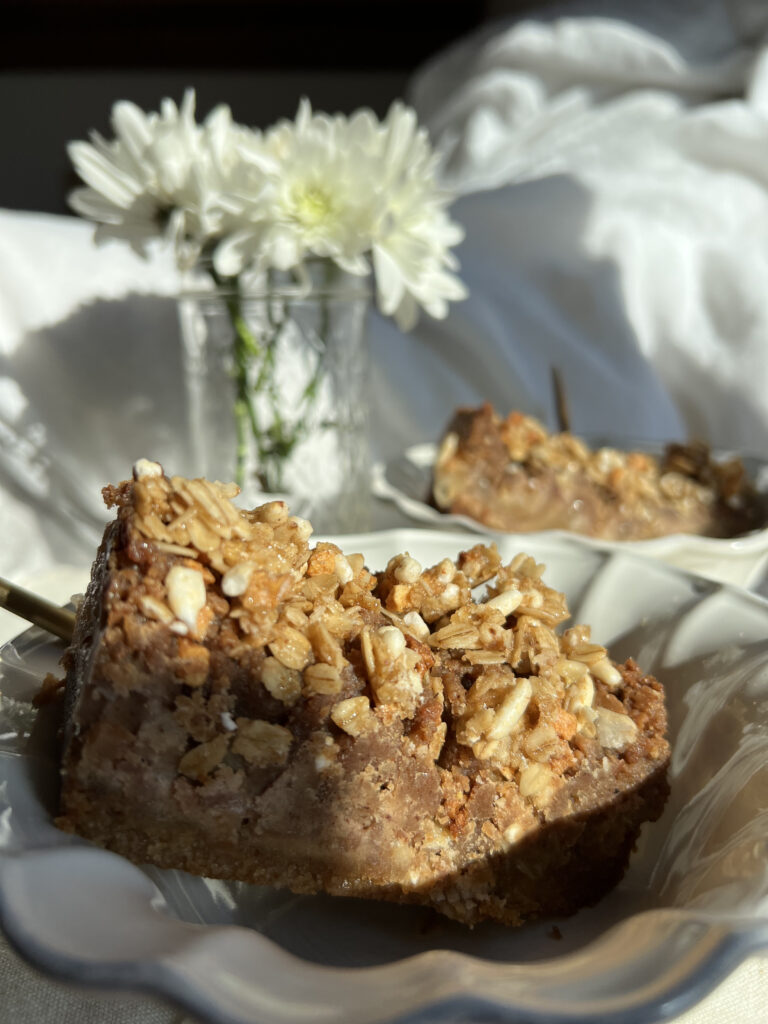
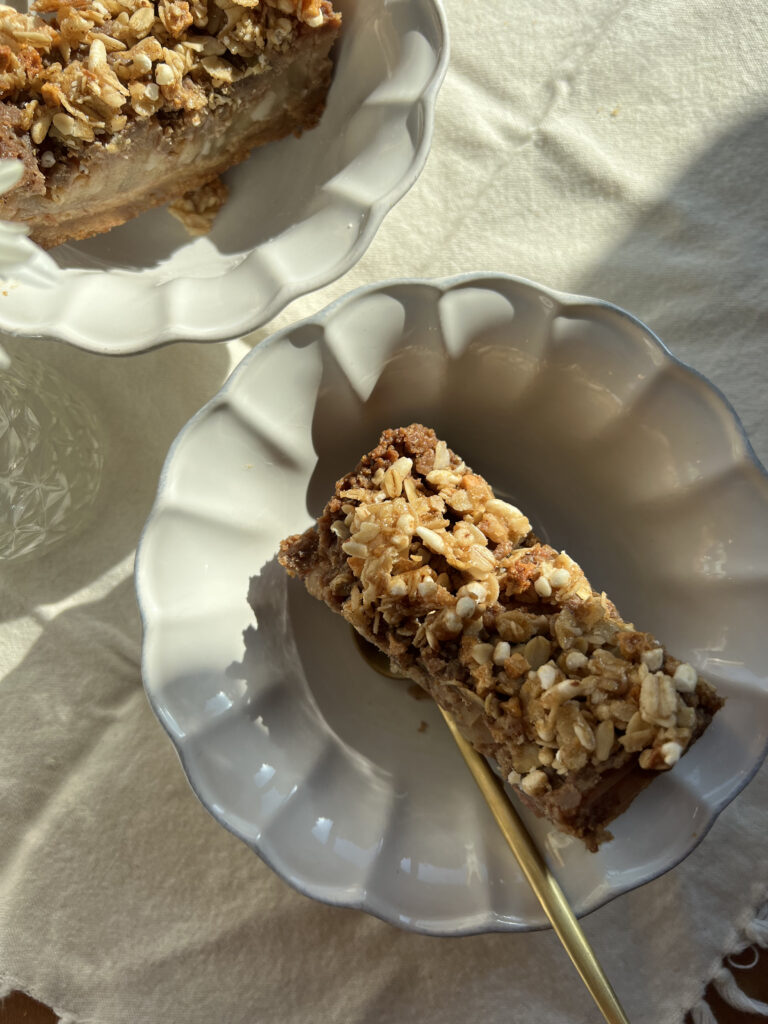
Here’s your sign that you need to make these today. It’s the perfect recipe for a snowy Sunday. They are such a cozy, comforting dessert, or even breakfast if you pair with some greek yogurt, etc! These would also be the most ideal additional to your holiday table spread. I am not a crazy pumpkin pie fan, but I love a simple but still over-the-top apple pie. Bonus points if it’s gluten free :). The oat layer on the bottom, paired with freshly sliced apples, drizzled with a hefty amount of homemade chai spiced dairy free caramel sauce, and then topped with gluten free granola is the absolute winner of an apple pie, in my eyes.
I picked up this new honey crisp gluten free granola at Costco, but feel free to use whatever you have handy! Also, do not skip on the caramel sauce, and this dairy free one is a new favorite. I also have a fabulous go-to caramel sauce that I normally always use, but switched it up for these because Ella’s best friend is allergic to peanuts and my the other sauce is peanut based. So here we go and let’s make these so we can get snacking!
Gluten Free Caramel Apple Pie Bars
- November 14, 2021
- 8 bars
- Print this
Ingredients
- BOTTOM OAT LAYER
- 1 cup oats, gluten free if needed
- 1/4 cup coconut sugar
- hefty pinch of sea salt
- 1/2 cup butter (vegan or regular), I used Kerrygold because it's pure gold.
- 3 tbsp or so of water
- APPLE FILLING
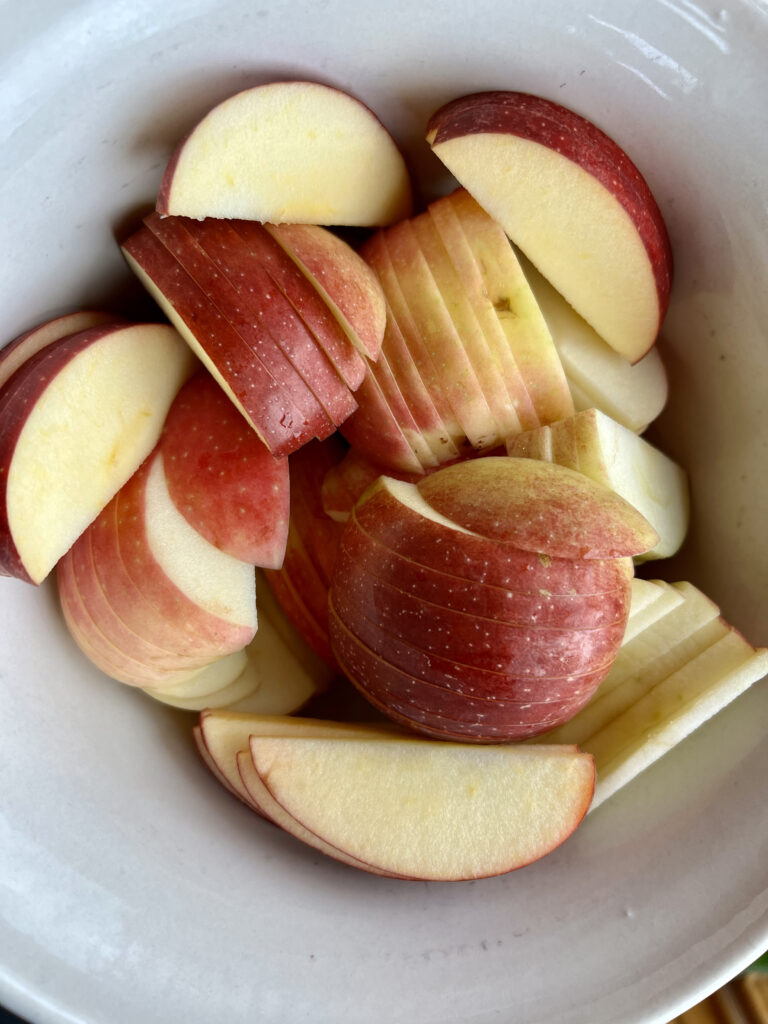
- 3-4 large apples, washed and sliced into very thin pieces.
- 2 tsp cinnamon
- 1 tsp nutmeg
- 2 tbsp maple syrup
- DAIRY FREE CHAI SPICED CARAMEL SAUCE
- 1 cup coconut sugar
- 1 can of full-fat canned coconut milk
- 1 tsp vanilla extract
- 8 tbsp dairy free butter/ regular butter (or coconut oil)
- 1 tbsp homemade chai spice blend (check pear overnight oats recipe for my easy go-to chai spice blend)
- 2 tbsp arrowroot powder + 2 tbsp water in a small bowl, whisked together.
- 1/2 tsp sea salt
- GRANOLA TOPPER
- I used Honeycrisp Gluten Free Granola from Costco, but feel free to use any you have!
Directions
- Step 1
- BOTTOM OAT LAYER
- Step 2
- - Preheat over to 350 degrees.
- Step 3
- - Line a bread pan or 8×8 brownie pan would work well, too. Line with parchment paper and set aside.
- Step 4
- - Using a food processor (definitely recommend if you have one!), add in the oats, coconut sugar and salt and pulse a few times until the oats have turned into a flour.
- Step 5
- - Add in your choice of butter, but make sure the butter is cut into small cubes. Add 2 at a time and pulse your food processor. Then add in about 1/2 tbsp or so of water at a time and pulse again.
- Step 6
- - Do this until the oat mixture is starting to form and you have a soft consistency. *You may not need all the butter.
- Step 7
- - Then add your oat mixture to your lined baking dish and lightly press down with a rubber spatula until it’s evenly distributed.
- Step 8
- - Place in the oven and bake for about 15 minutes. You will want the edges to be browned but middle to look golden.
- Step 9
- - Remove from oven and set aside.
- Step 10
- - Add your sliced apples, cinnamon, nutmeg and maple syrup to a large bowl and toss together until apples are fully coated.
- Step 11
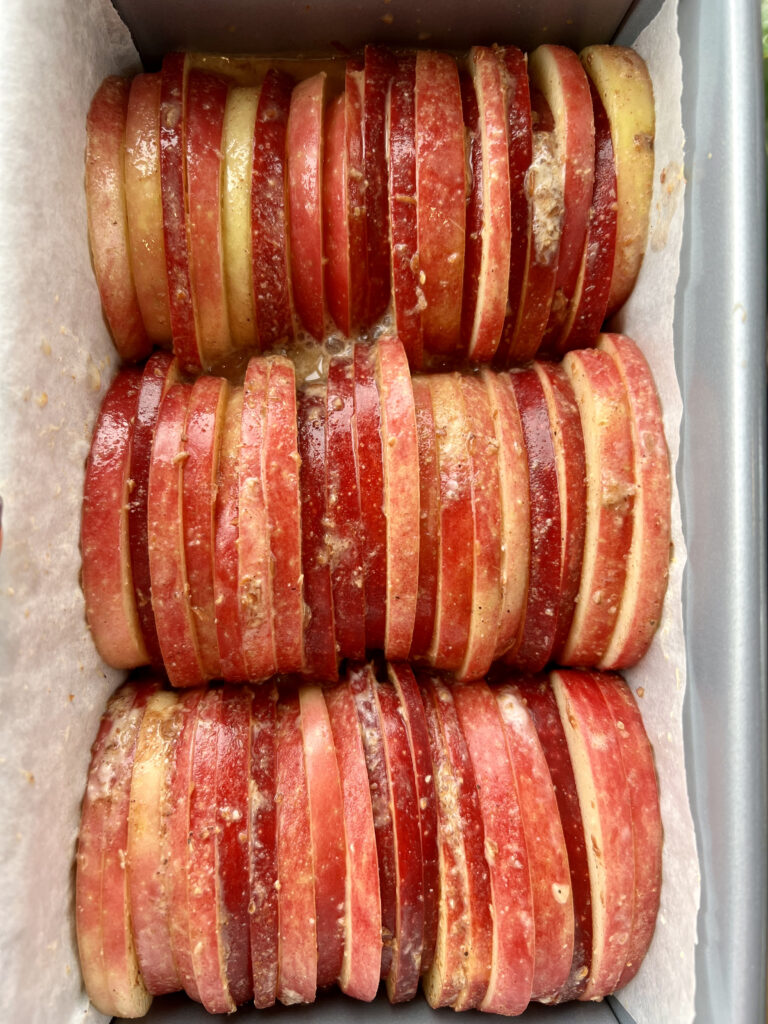
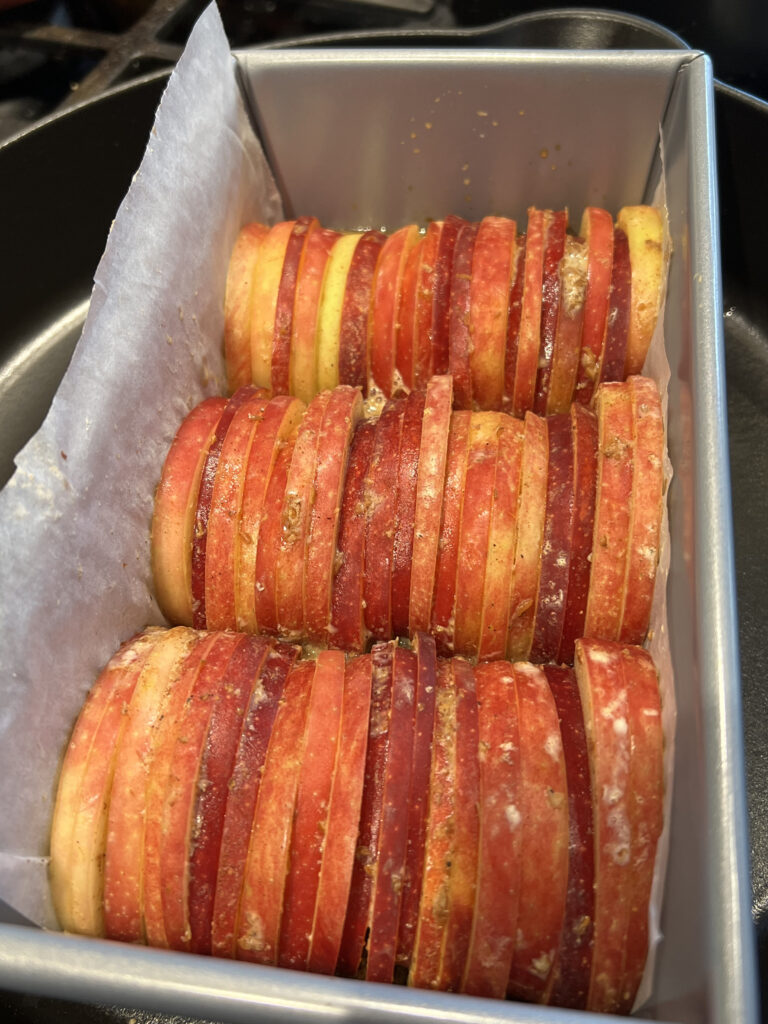
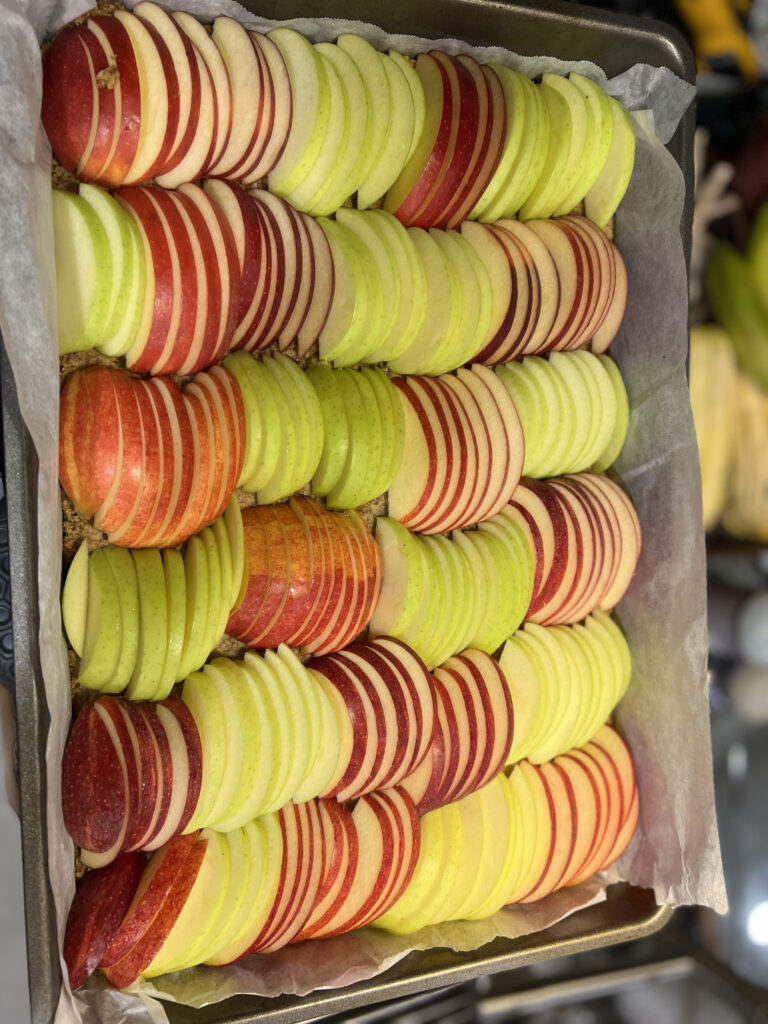
- - Then layer your apples length wise into your baked oat layer. I “stacked” my apples (check photo for reference).
- Step 12
- - Then make your DF chai spiced caramel sauce.
- Step 13
- CARAMEL SAUCE
- Step 14
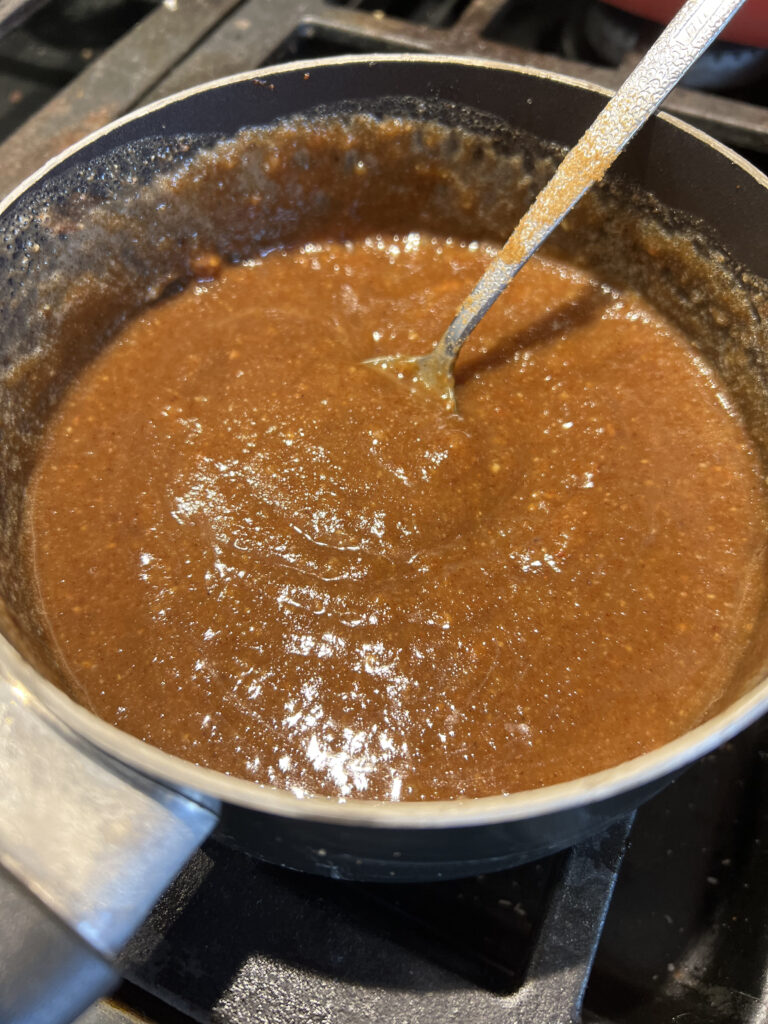
- - Mix all the ingredients except for the vanilla extract together in saucepan over medium heat.
- Step 15
- - Once the mixture is bubbling, add in the vanilla extract.
- Step 16
- - Next, slowly add in the arrowroot powder + water mixture to the saucepan and continually stir.
- Step 17
- - The mixture should begin to thicken immediately.
- Step 18
- - Turn the heat to low and let thicken for about another minute.
- Step 19
- - Remove from heat and let cool.
- Step 20
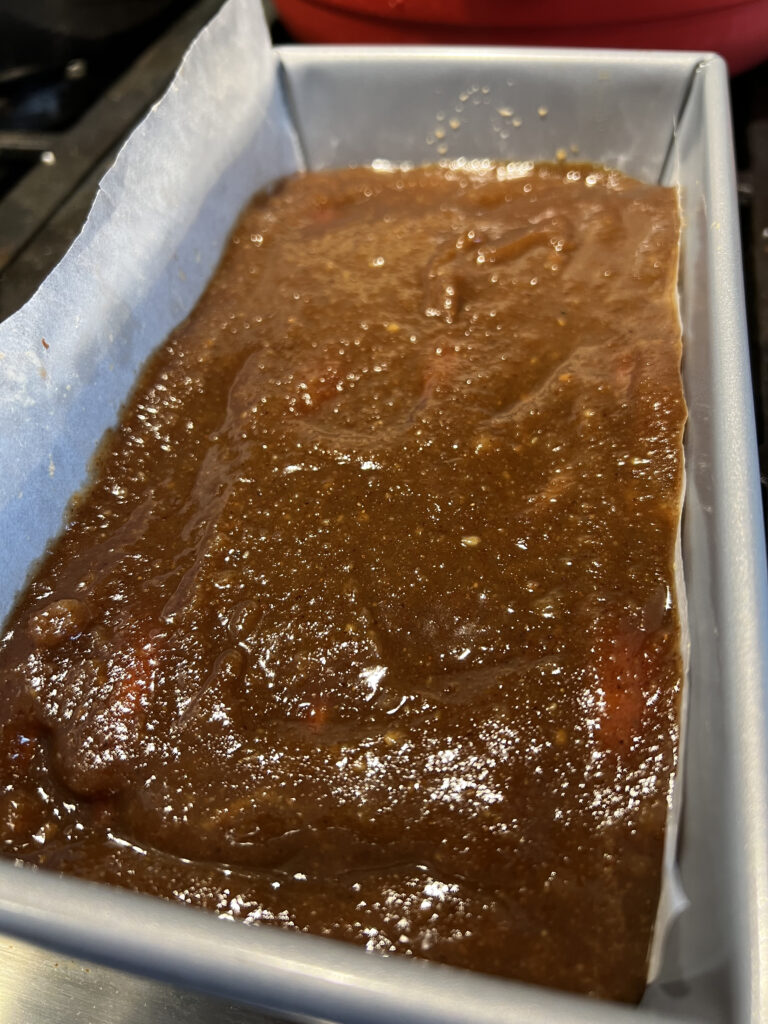
- - Then drizzle the caramel sauce over the top of the apples.
- Step 21
- - Place back in the oven and bake for about another 20 minutes.
- Step 22
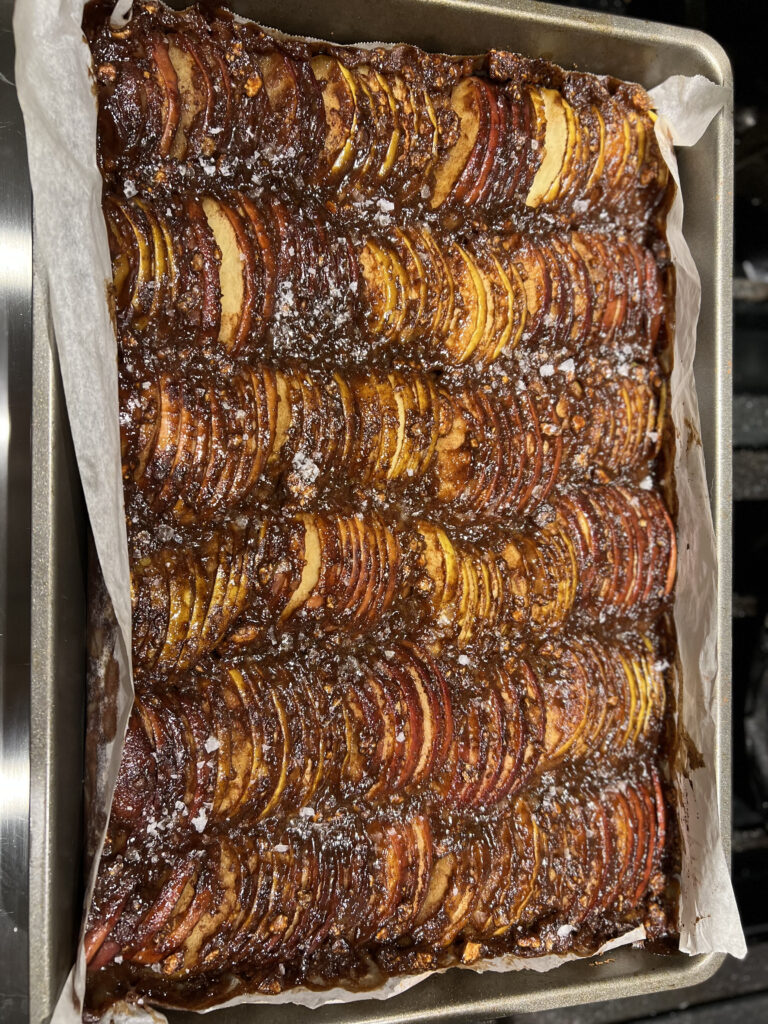
- - Remove from oven once the caramel sauce looks like it’s settled over the top of the apples and has started to caramelize.
- Step 23
- - Let cool and then sprinkle with sea salt flakes.
- Step 24
- - After about 15 minutes, or however long you CAN wait, remove from baking dish and peel back parchment paper.
- Step 25
- - Carefully slice and enjoy warm or even chilled.
- Step 26
- - I hope you make these for the upcoming holidays!!
