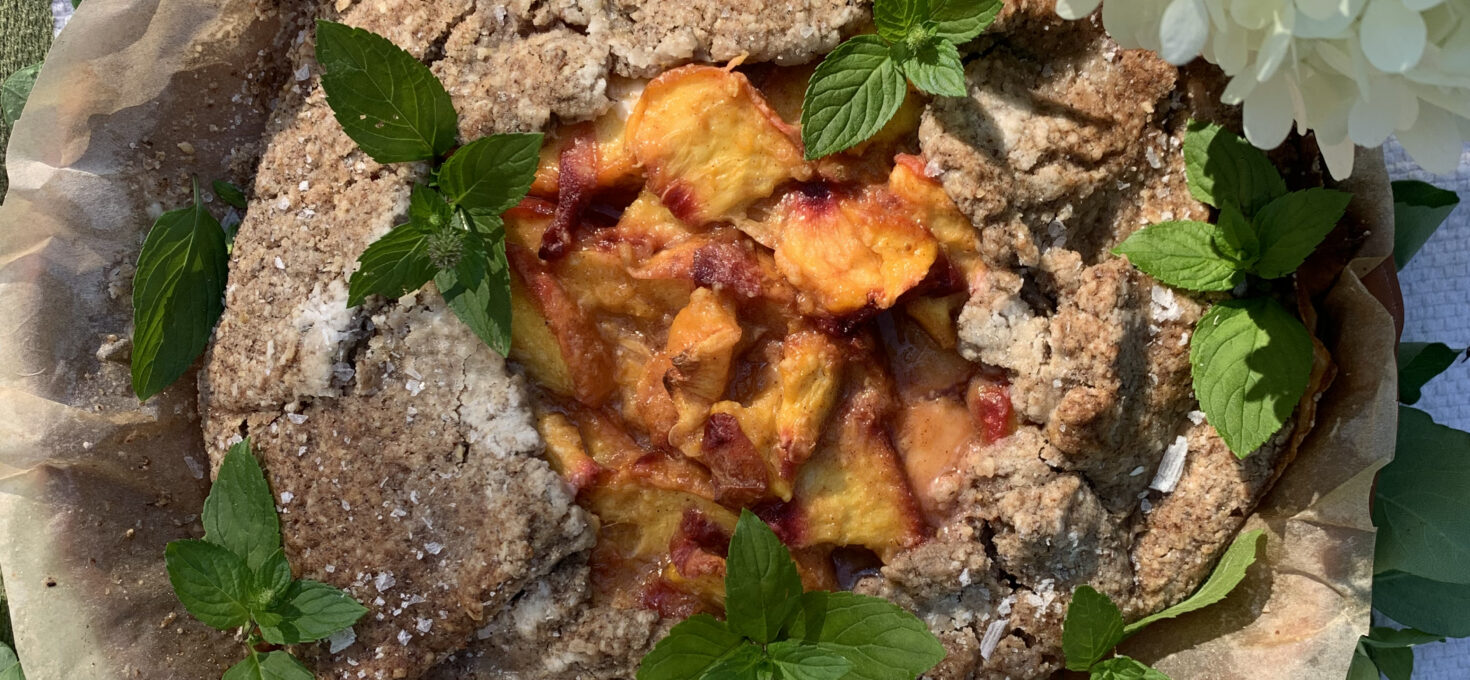
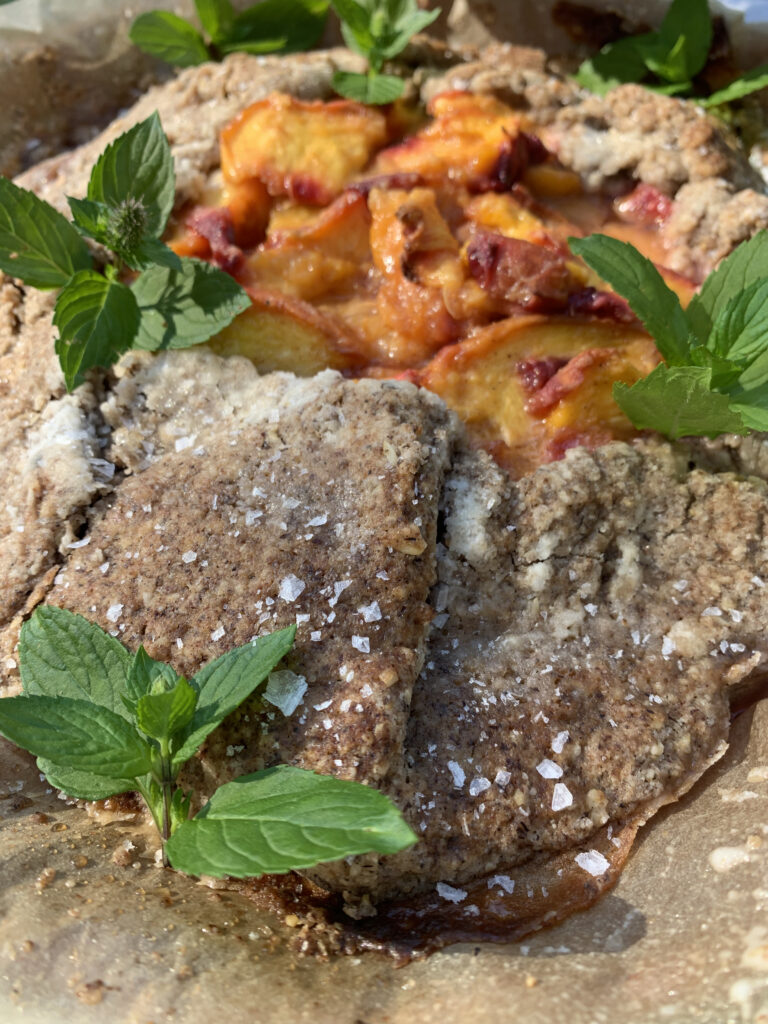
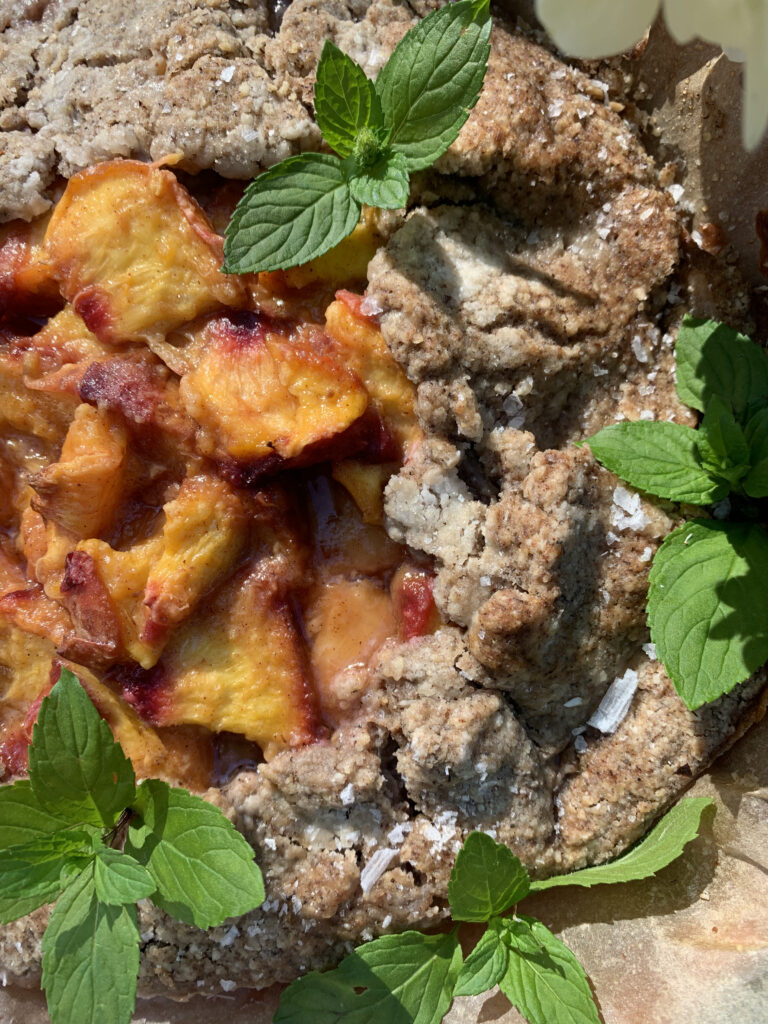
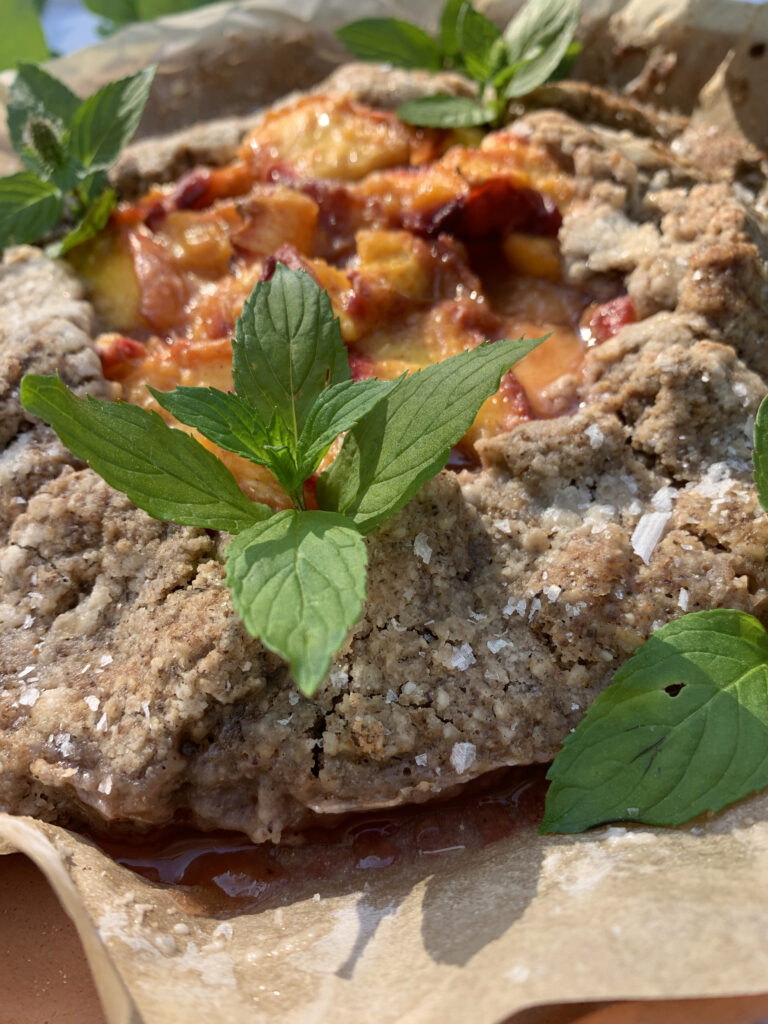
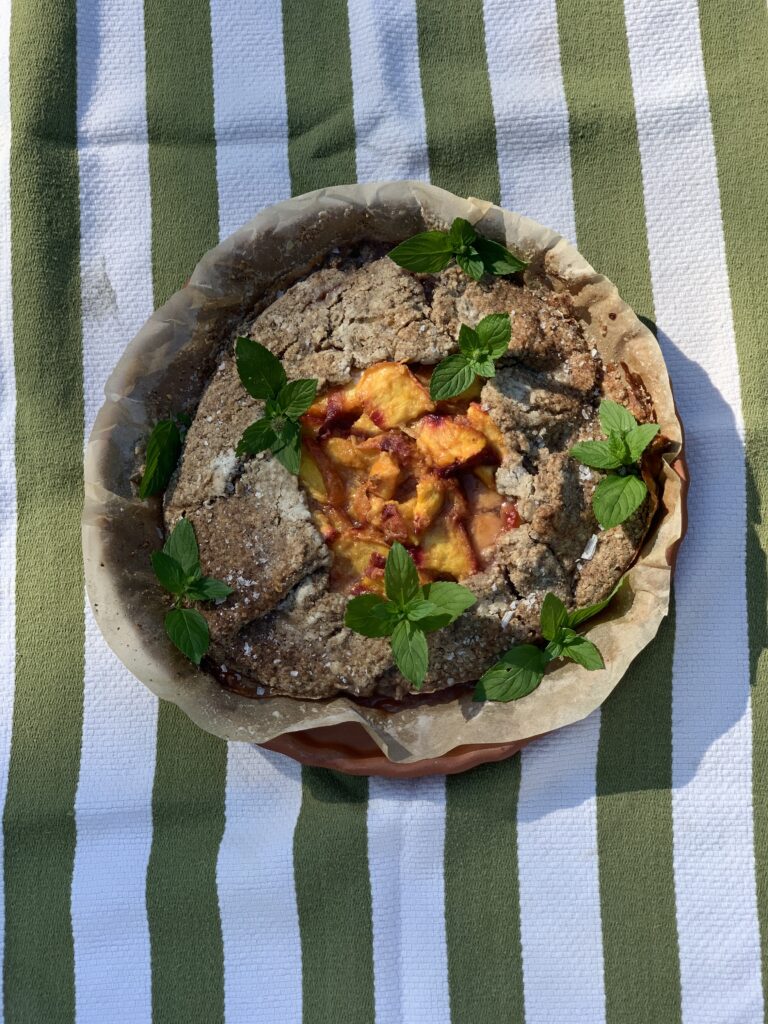
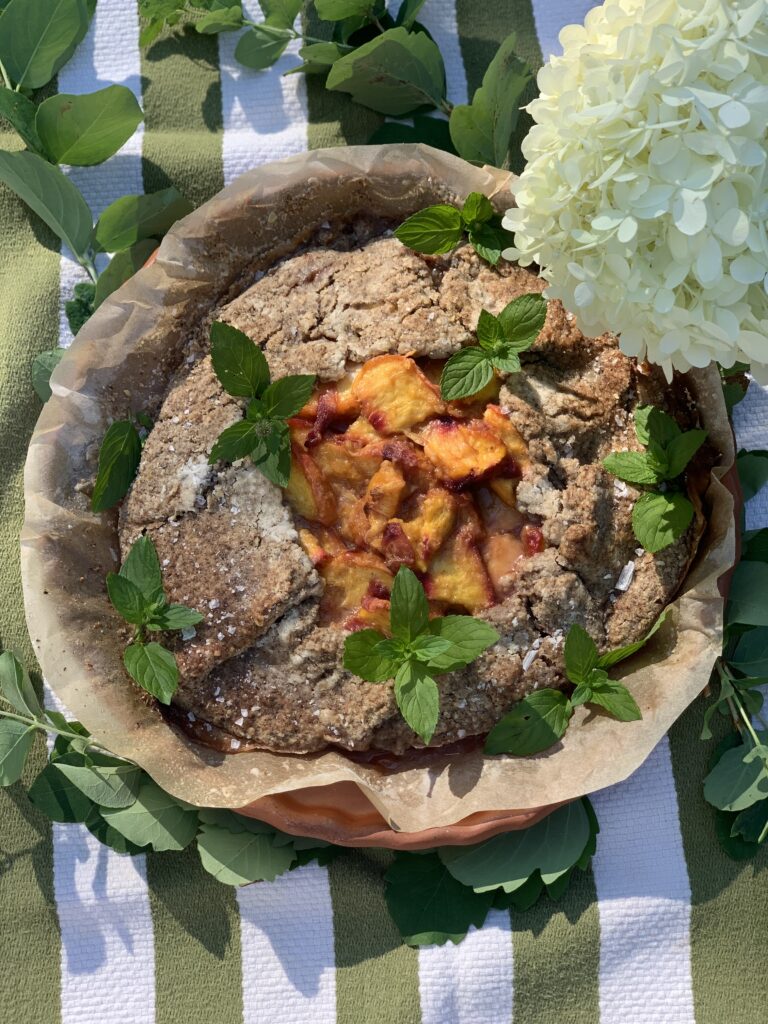
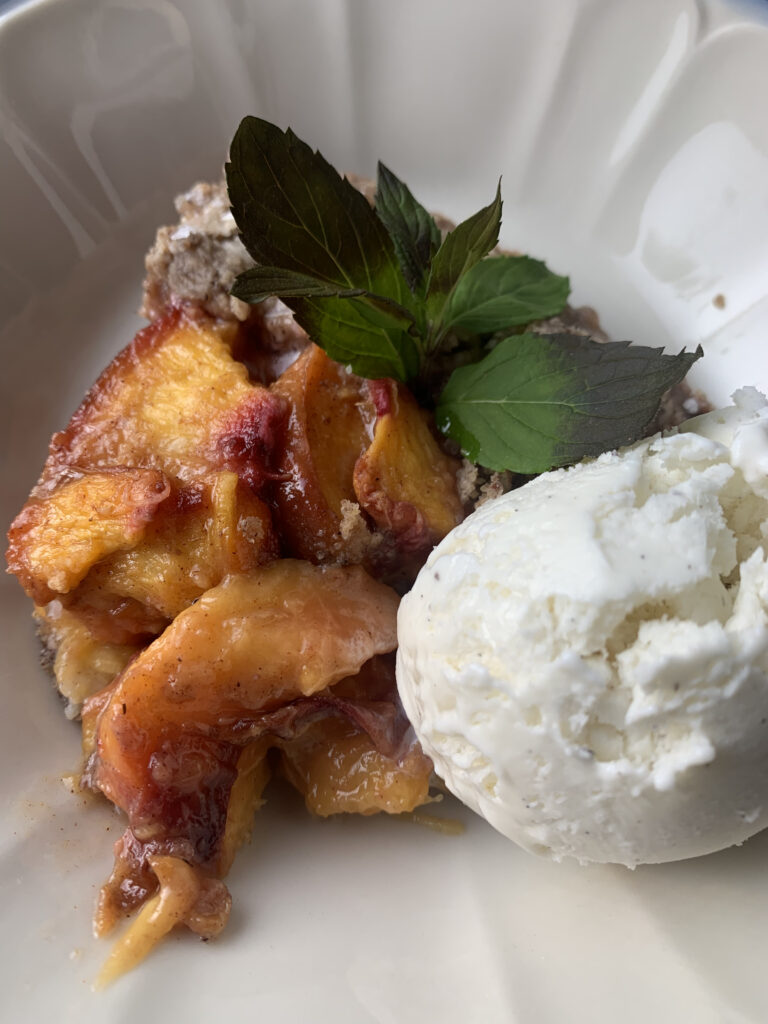
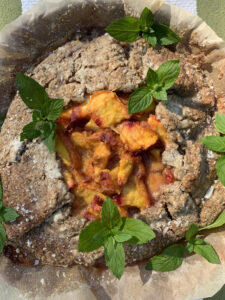
The gluten free peach honey galette that you didn’t know you needed! What exactly is a galette you may ask? It’s basically a savory pancake but made out of different forms of flour, usually buckwheat. I was extremely nervous that this wasn’t going to turn out well, mainly because I don’t get enough opportunities to really experiment with buckwheat enough. A lot of people get turned off when they hear buckwheat in a description, but it’s actually a highly nutritious whole grain/superfood! It’s been lined to improve heart health and is a good source of protein, fiber and energy! Another huge plus, it’s naturally gluten-free, despise it’s name having the word gluten in it. So here’s your chance to make this delicious Peach Honey GF Galette 🙂
Gluten Free Peach Honey Galette
- October 14, 2021
- ~8 slices
- Print this
Ingredients
- Crust/Pastry dough
- - 1 cup of coconut oil
- - 1 flax egg (1 tbsp ground flax seed combined with 3 tbsp hot water and whisk together). Set aside for a few minutes to thicken.
- - 1 tbsp avocado oil or olive oil
- - 1 tsp vanilla extract
- - 2/3 cup organic buckwheat flour (we love Arrowhead Mills)
- - 1/2 cup brown rice flour (Arrowhead Mills for this too!)
- - 1/4 cup tapioca flour or arrowroot flour
- - 3 tbsp coconut sugar
- - 1.5 tsp baking powder
- - pinch of sea salt
- - 1 tbsp iced water (make sure it's rather freezing, not just cold)
- Peach Honey Filling
- - 6 large fresh peaches, sliced thinly
- - 1/4 cup coconut sugar or Lakanto monk fruit sugar
- - 2 tbsp local honey
- - 1 tsp lemon juice
- - pinch of salt
- - 1 tbsp arrowroot flour or cornstarch
Directions
- Step 1
- – Preheat oven to 350 degrees.
- Step 2
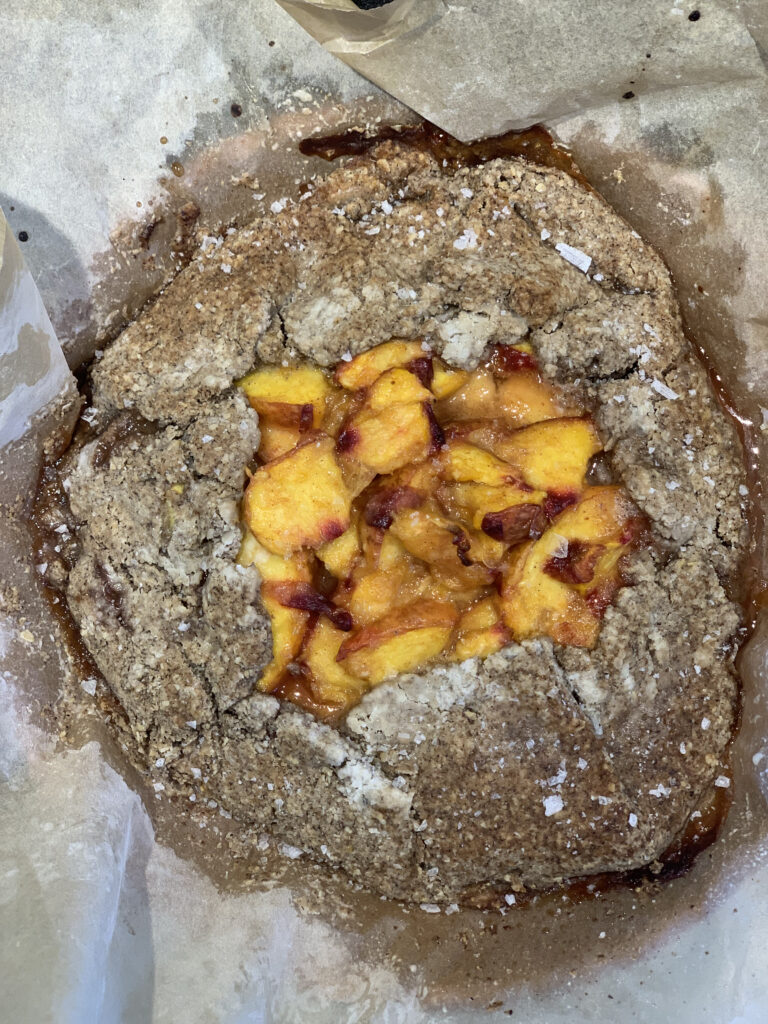
- - Line a baking sheet with parchment paper as this crust tends to “breathe” and definitely create a rather sticky mess underneath while cooking.
- Step 3
- - Then measure out 1 cup of coconut oil and form into a ball. Place in the freezer for about 20ish minutes, until it’s completely harden.
- Step 4
- - Next, add the avocado oil or olive oil to your flax egg along with your vanilla. Whisk together.
- Step 5
- - Then, grab your food processor because things are about to get real. Add your buckwheat and brown rice flours to the food processor. Then add in the coconut sugar, tapioca flour, baking powder and salt. Press down and pulse it for about 5 times until it’s fully combined.
- Step 6
- - Then, carefully add in the flax egg mixture and harden coconut oil. I cut my coconut oil ball into about 9 pieces and dropped them in one at a time.
- Step 7
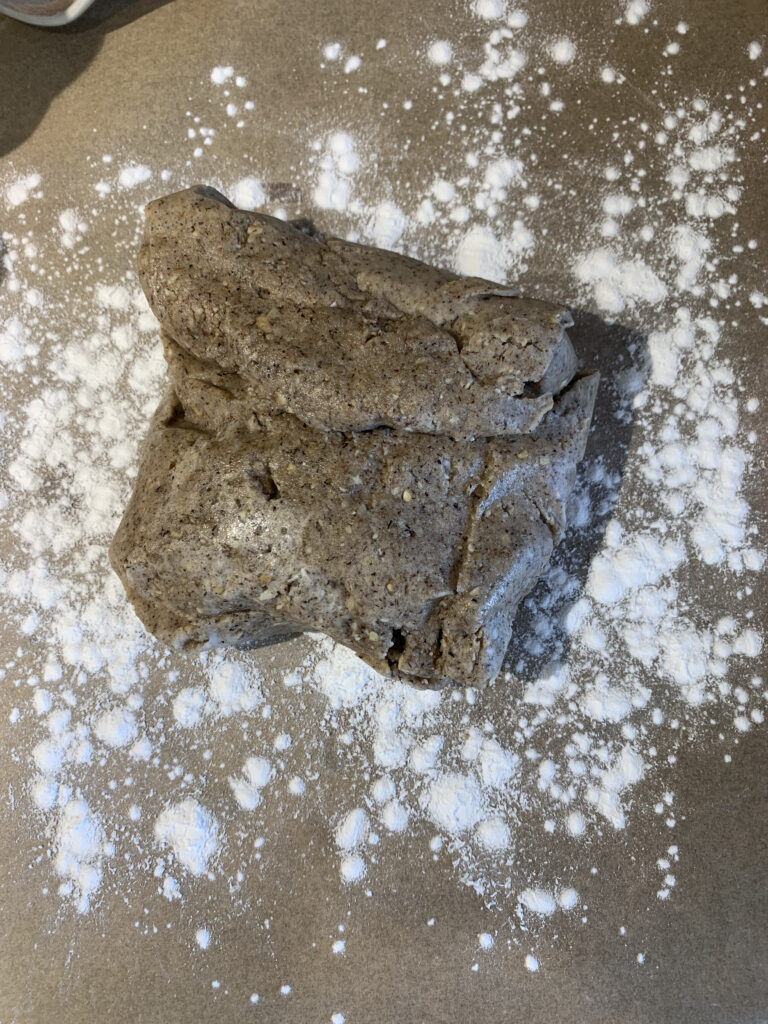
- - Each time you add in a piece of the harden coconut oil, make sure to pulse two or three times. You’ll know you’re on the right path when the mixture looks rather damp but also like there’s little pieces not fully combined. That’s all part of the process!
- Step 8
- *You might think this doesn’t look right, but after a summer of prepping a ridiculous number of pies, cakes and other desserts in a kitchen for a really busy restaurant, I finally got the hang of things. This time it just happens to be gluten free
- Step 9
- ).
- Step 10
- - Once you’re to this point, immediately add the iced water, but make sure the food processor is running. This can be tricky if you have a smaller, more compact one. I have a smaller one, but I turned it off and then added the water and quickly turned it back on and it definitely was a learning curve, but worked out overall! After about 40 seconds or so, the mixture should be fully combined.
- Step 11
- - Next, taking a piece of parchment paper, place your pastry/crust mixture into a ball and then folding the parchment paper around it. Cling wrap would also work well here.
- Step 12
- - After that, transfer it to the fridge so it can harden up and set, should be about 20ish minutes.
- Step 13
- - While that’s in the fridge, make your peach honey filling.
- Step 14
- - In a large bowl, add your freshly sliced peaches (my favorite), sprinkle in your 1/4 cup sugar (either coconut or Lakanto monk fruit). Then add your lemon juice, honey, salt and arrowroot flour or cornstarch. Just keep tossing the fruit until all the slices are evenly coated.
- Step 15
- - Now things are going to get messy (and fun!)
- Step 16
- - Put down a piece of parchment paper and dust with extra tapioca flour. Once you get the pastry dough out of the fridge, it will start to “thaw” quickly and get super hard to work with. That’s the coconut oil melting.
- Step 17
- - So as fast and efficiently as you can, place your pastry ball in the middle of the dusted tray. Make sure to have tapioca flour near by to keep dusting it off so it doesn’t stick to you, but clings more so to the parchment paper.
- Step 18
- - I used a second piece of parchment paper to lay on top of the ball to flatten it out with my hands so that it would be easier to work with. I couldn’t find a rolling pin, so I used a wine bottle (be careful
- Step 19
- ) if you decide to do it this way…)
- Step 20
- - Flatten out the pastry dough so that it’s about the size of a pie pan or so. Doesn’t need to be perfect, just enough room to fill with your fresh peaches!
- Step 21
- - Next, add in your coated peaches to the center of the pastry dough.
- Step 22
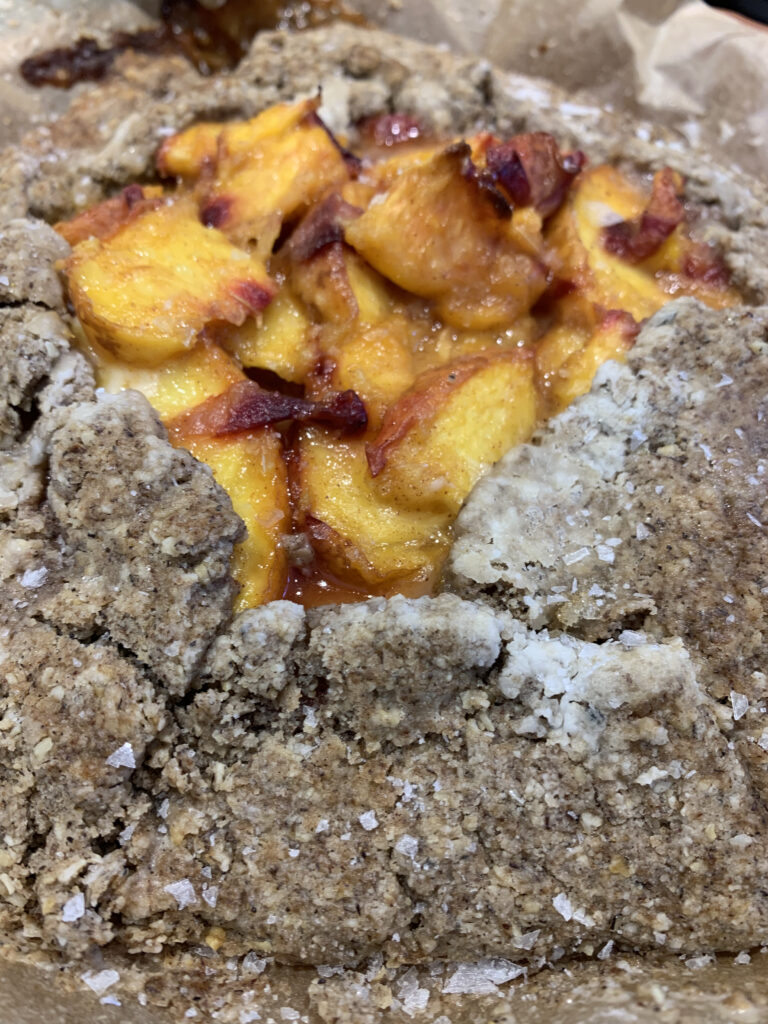
- - Then, using your fingertips, gently fold over the edges of the dough. You cant to create a rim or so, that way your peaches are secured in while baking and your edges of the rim will brown up oh so nicely.
- Step 23
- - Then, brush your beautiful pastry with olive oil, or lightly spray with avocado oil. I then added a hefty drizzle of local honey and flaky sea salt.
- Step 24
- - You can finally add your gorgeous galette to the oven and make for about 35-40 minutes, or until it looks very golden. *Your house will smell sooo wonderful.
- Step 25
- - Lastly, remove from oven, but make sure to serve warm! For optimal happiness, top with Alden’s vanilla bean ice cream and enjoy with loved ones.
- Step 26
- - Hope you love this one, it’s definitely a process the first time, but I guarantee it’s worth it and will be so much easier after that!
