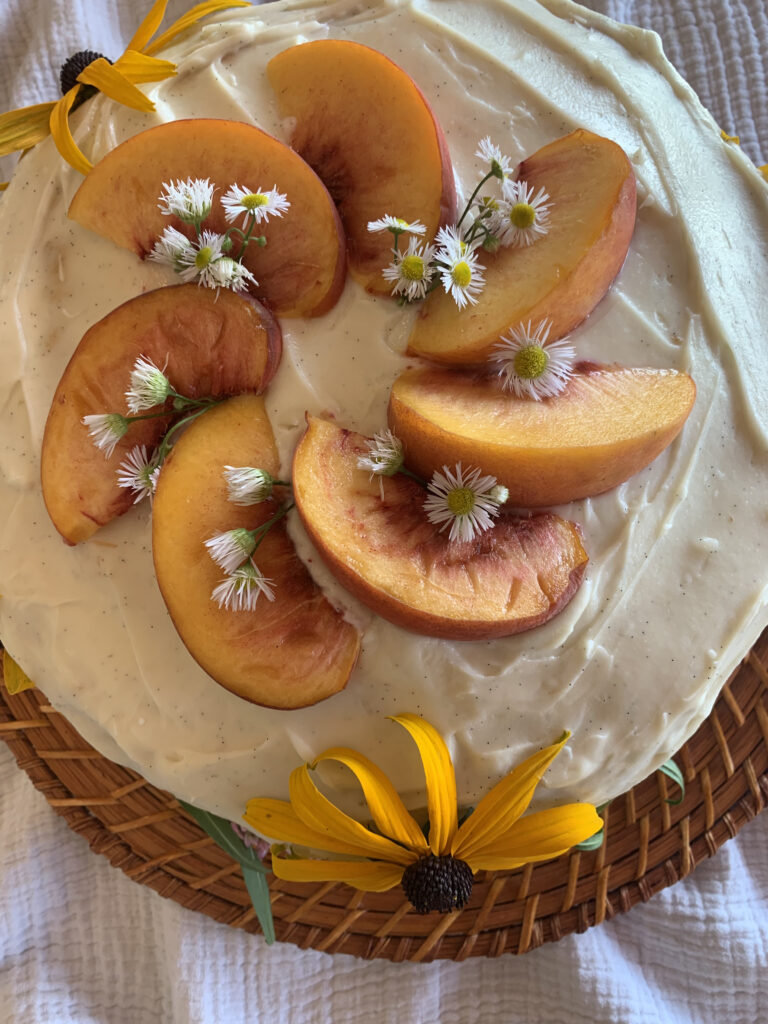
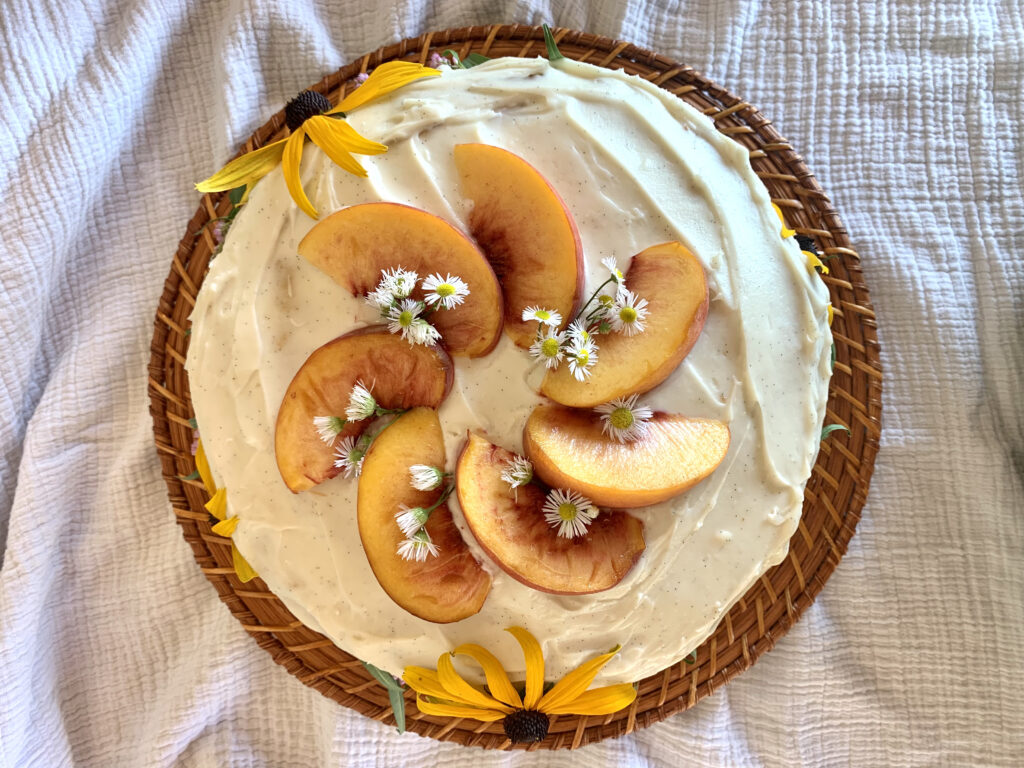
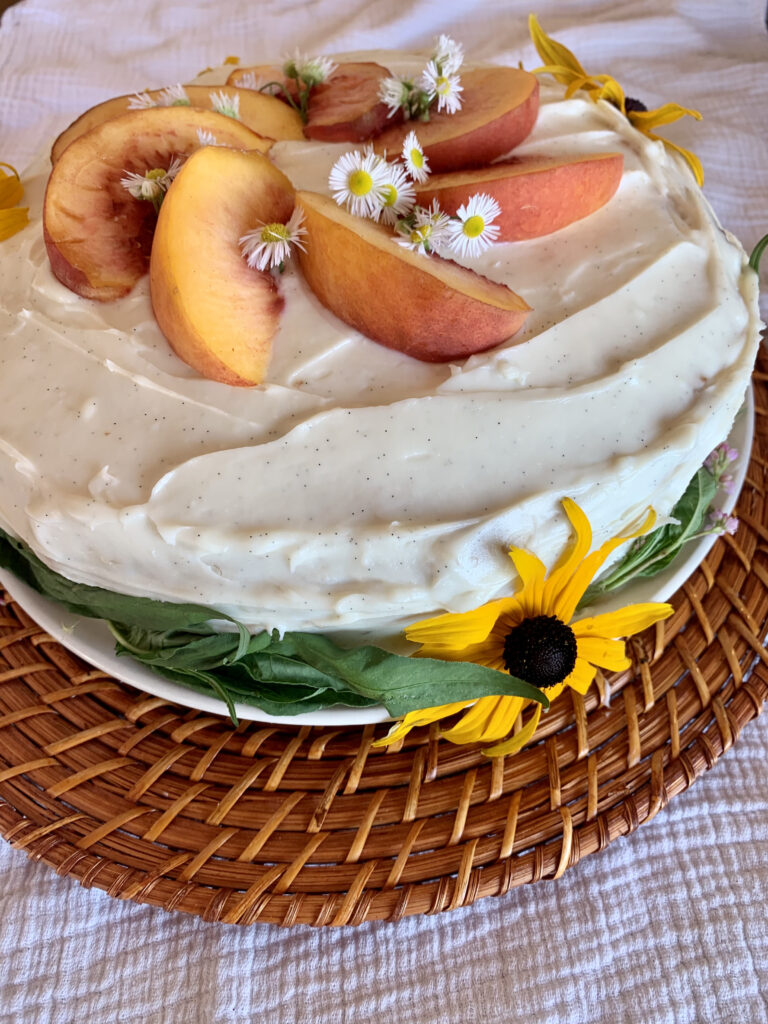
This was a super last minute and fun creative experiment for a someone who randomly reached out and asked if I could bake her a gluten free and dairy free cake for her birthday. I was completely shocked at first and then super honored that she would ask me to commission a birthday cake for her, without even meeting me . To sum it up, she just asked for a delicious cake that her and her family would enjoy and told me to pick out some of my favorite flavor combinations. Sooo, this was pretty fun ;). When it comes down to flavors, I think it’s pretty hard to pass up anything chocolate and peanut butter, especially when vanilla beans are involved. Here’s the cake and all the details that go along with it. I hope this gives you some creative inspiration next time a loved on has a birthday coming up and you perhaps want to make a homemade cake! Everyone knows that homemade cakes > store bought cakes ;).
And to be honest, I was really hoping she might back out last minute because I really wanted to keep this cake! Oh well, another reason to make it again :).
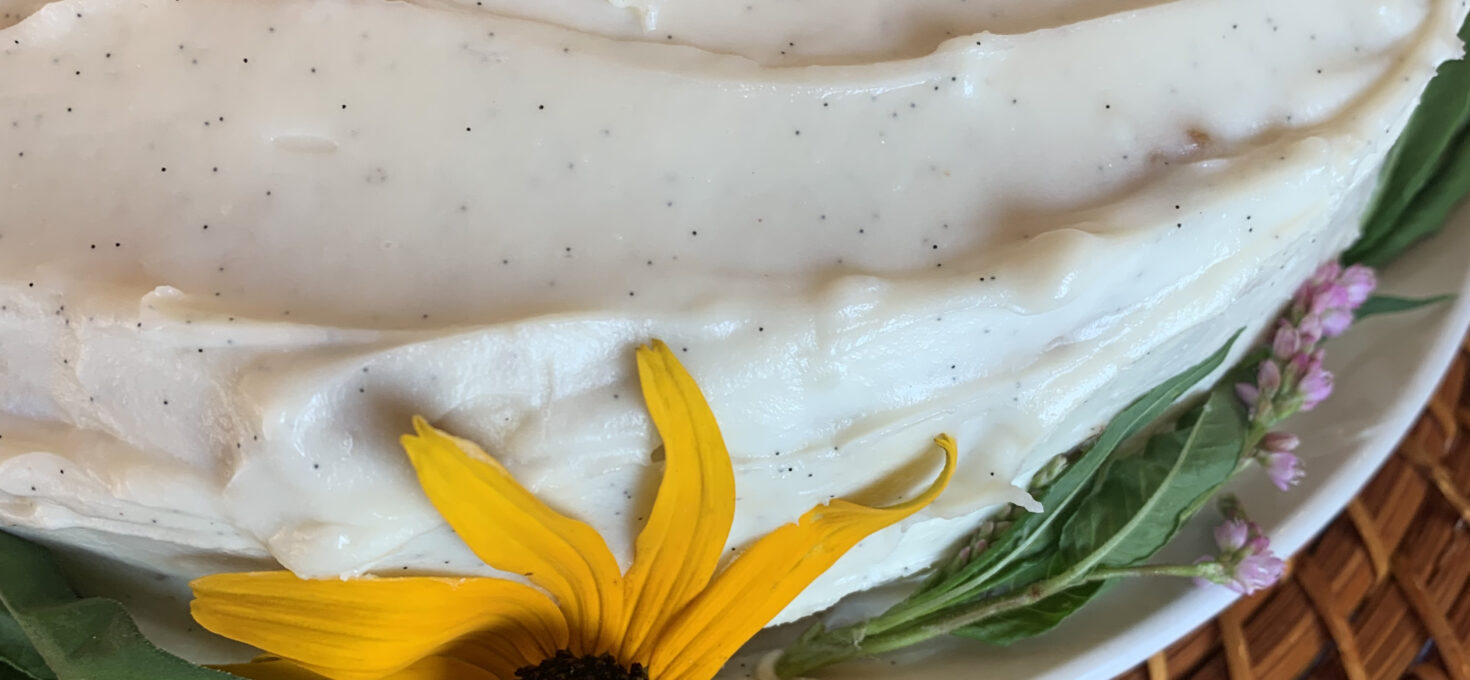
Gluten Free Vegan White Chocolate cake w/ Peanut Butter Hazelnut Filling + DF Vanilla Bean Cream Cheese Frosting
- October 16, 2021
- Print this
Ingredients
- GF White Chocolate Cake
- - 1 1/4 cup almond milk
- - 1 1/2 tsp apple cider vinegar
- - 1 tbsp vanilla extract
- - 1/4 cup coconut oil, melted
- - 2 cups gluten free AP flour (I used and love Bob's Red Mill 1:1 flour)
- - 1 tbsp baking powder
- - 1/2 tsp salt
- - 1 cup monk fruit sugar
- - 1 cup white chocolate chips (make sure they're vegan if that's what you're needing)
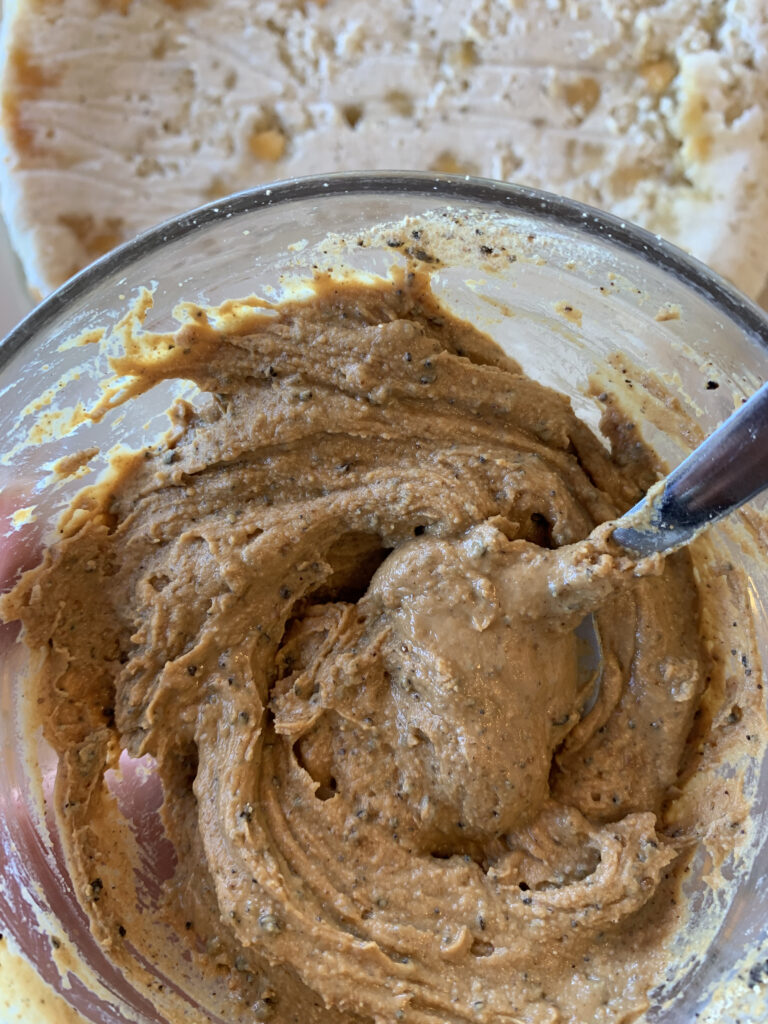
- Peanut Butter Hazelnut Filling
- - 1 cup of creamy natural peanut butter (can sub for almond butter, too)
- - 1/2 cup plus little extra of Hazelnut Coffee
- - 2 tsp Instant Espresso powder or two packets of Instant Coffee (I love using the packets from Thrive Market in a pinch, and they work so well!)
- Dairy Free Vanilla Bean Cream Cheese Frosting
- - 1 container of room temperature Miyokos vegan cream cheese (this stuff is so good even if you're not DF)
- *I would pull this out of the fridge at the beginning when you start making your cakes so that it will be ready in time to make the frosting.
- - 1/4 cup or so of Lakanto powdered sugar
- - 2 tbsp or so of almond milk
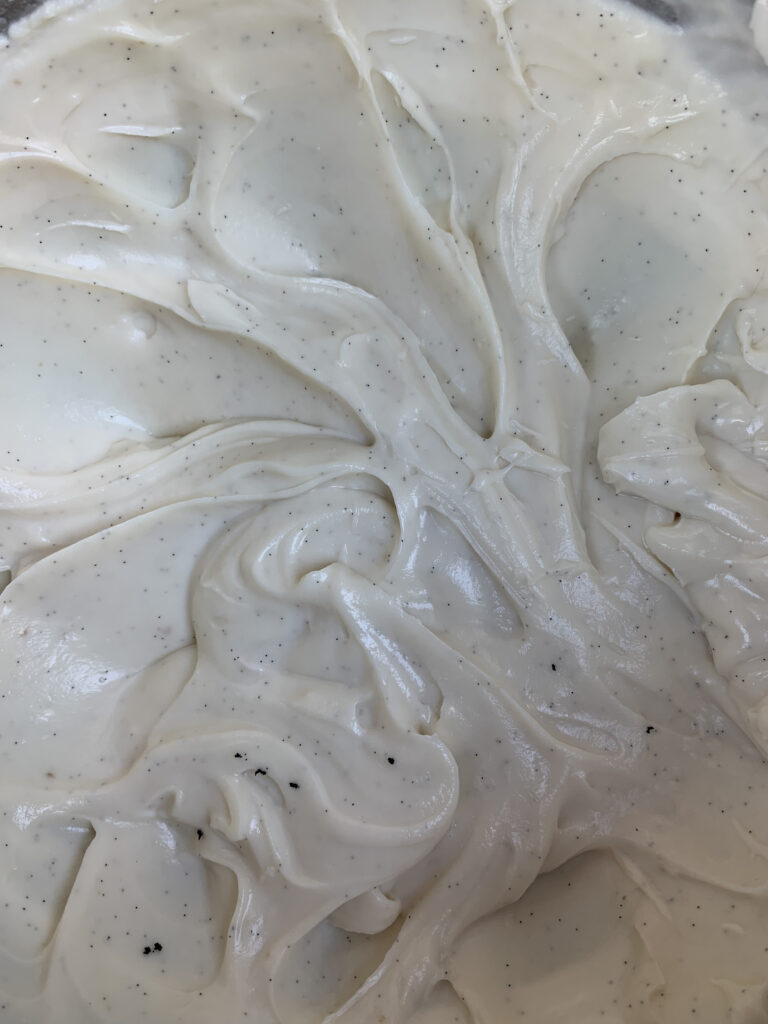
- - 1 whole vanilla bean (cut it down the middle and scrape out the inside with a spoon. This stuff is incredible and really makes the cake that much extra!)
- Decorations!
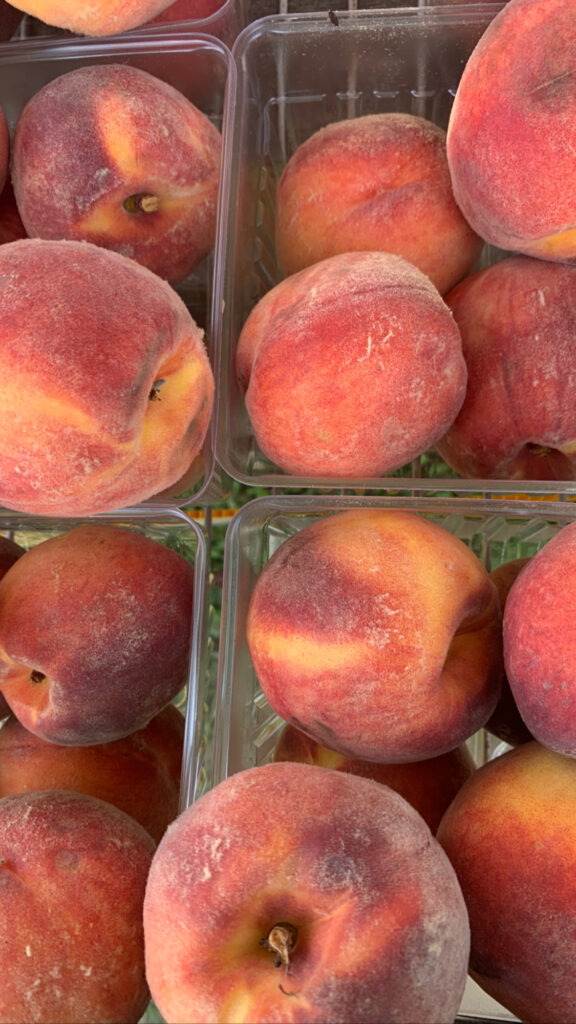
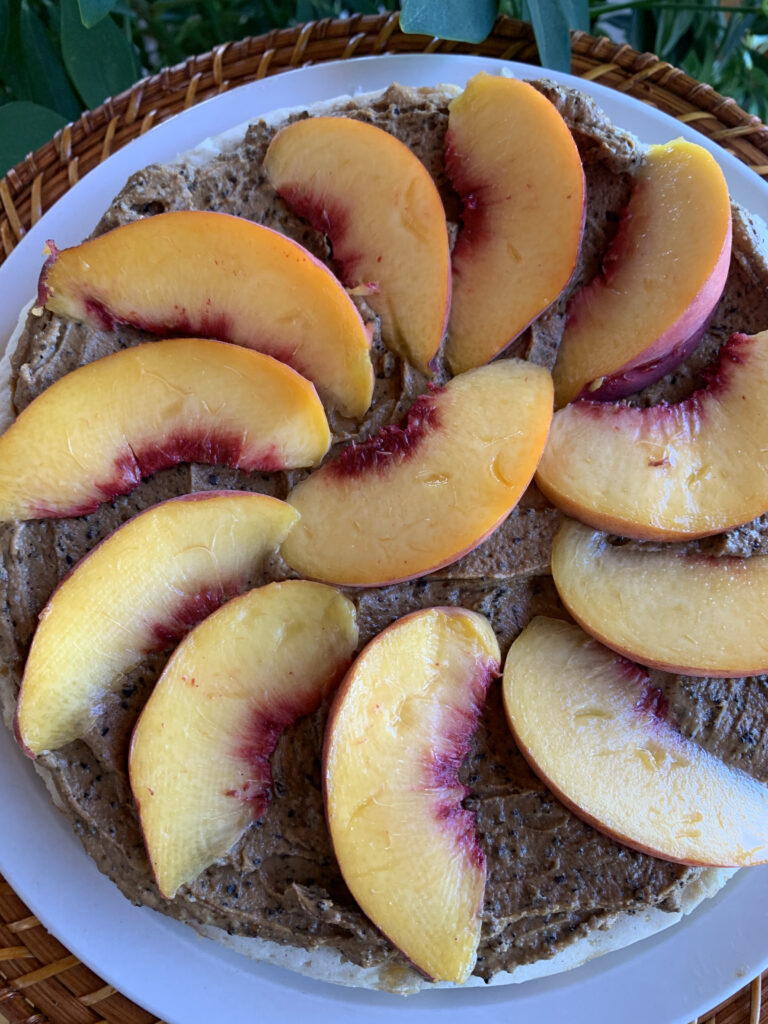
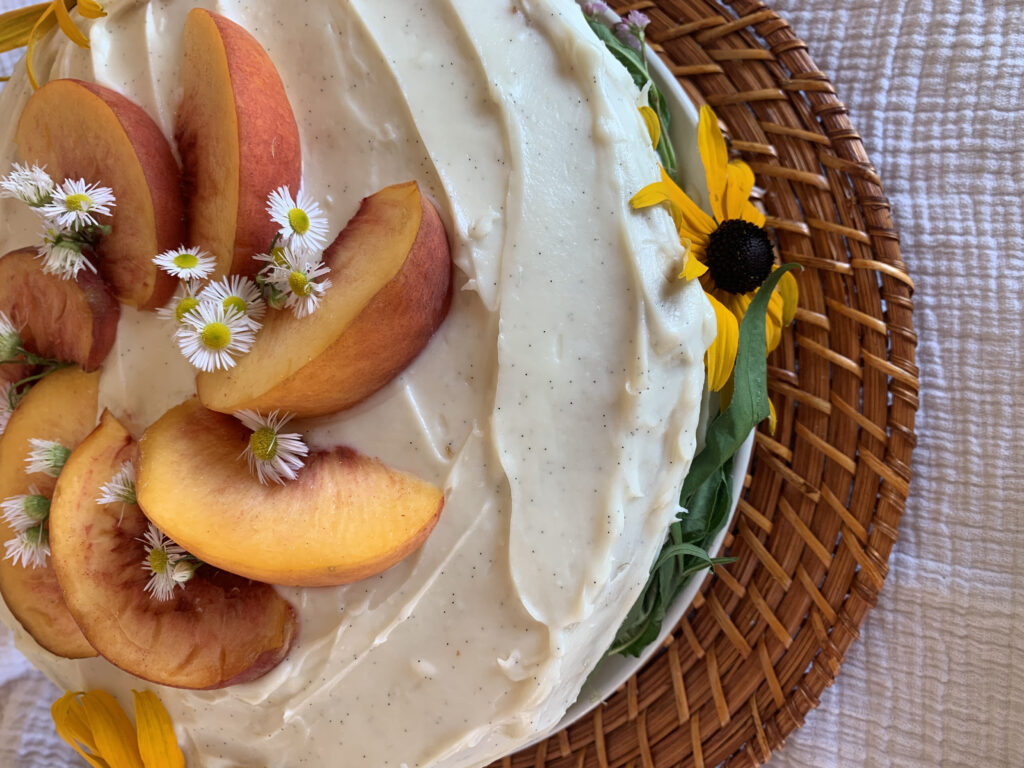
- - Fresh peaches
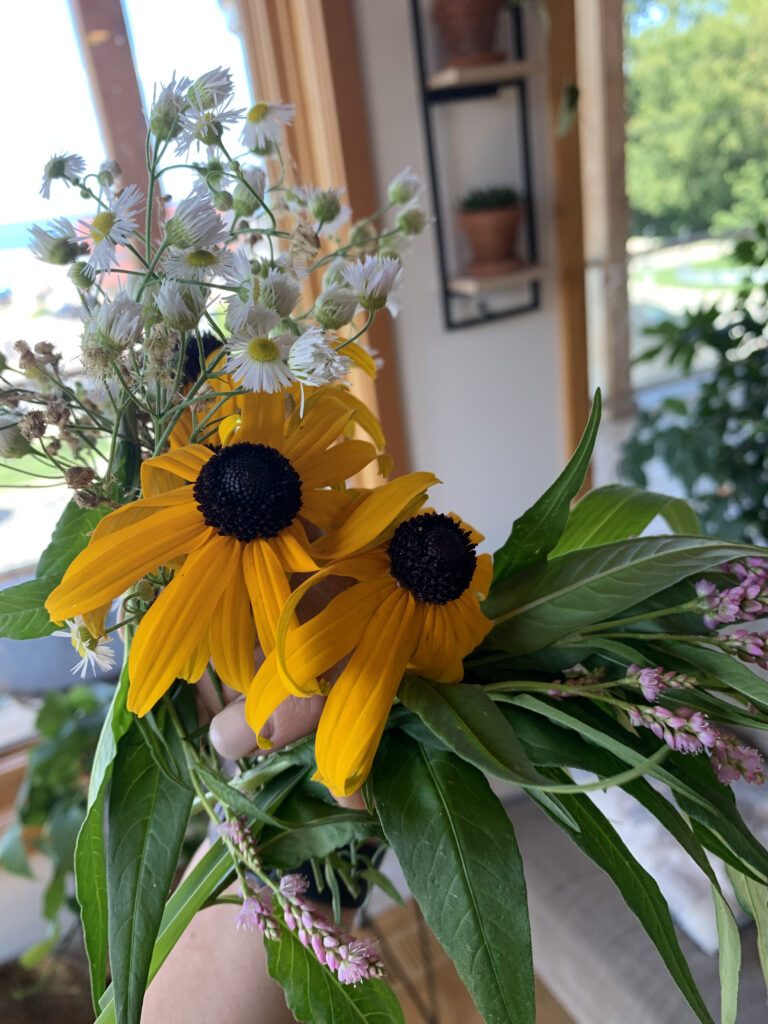
- - Edible flowers
- - Greenery!
Directions
- Step 1
- – Preheat oven to 350 degrees.
- Step 2
- - Prepare baking dishes, I lined two 8 inch round cake pans with parchment paper and set aside.
- Step 3
- - In a large stand mixing bowl, add your wet ingredients (almond milk, apple cider vinegar, vanilla extract and coconut oil.)
- Step 4
- - Set to the side and prepare your white chocolate. I put 1/2 the white chocolate chips into the batter).
- Step 5
- - Now add all the dry ingredients into your stand mixer. Once batter is fully combined, turn up the speed to a higher setting and let it really whip for about 30 seconds.
- Step 6
- - Then transfer the batter between the two lined cake pans.
- Step 7
- - Sprinkle the remaining 1/2 cup of white chocolate chips among the two pans.
- Step 8
- - Transfer the two cake pans into the oven for about 30 minutes. Make sure to check frequently to ensure that the cake doesn’t burn. You want it to be golden and fully cooked but not hard/too soft.
- Step 9
- - Once they are fully baked, remove from the oven and let cool for the remainder of time while you work on the rest.
- Step 10
- Now time for the Peanut Butter Hazelnut Filling!
- Step 11
- - In a medium bowl, add 1 cup of creamy natural peanut butter with cold hazelnut coffee (I love making extra coffee and then setting it in the fridge to use for times like these, or for making a delicious afternoon cold brew!)
- Step 12
- - Then add in the instant espresso powder and whip the mixture together until it’s thick and creamy!
- Step 13
- - Set this aside and it will thicken even more, which is what you want for the delicious filling.
- Step 14
- Lastly, it’s time to make the dairy free vanilla bean cream cheese frosting!
- Step 15
- - In the stand mixer, add the room temp dairy free cream cheese.
- Step 16
- - Then add in the powdered sugar. You might need a little more or less, but I think I used about 1/4 cup or so.
- Step 17
- - Turn on the mixer and let it really whip for 30 seconds or so.
- Step 18
- - Then add in a tablespoon of almond milk. Remember to go slow on the almond milk.
- Step 19
- - Turn the speed up on your mixer and add a little more powdered sugar, if needed.
- Step 20
- - Then add in your vanilla bean paste and whip it more.
- Step 21
- - You may need the last bit of almond milk, but also may not. You should be able to tell by the consistency that’s forming.
- Step 22
- - After it’s fully mixed, set the entire mixer bowl in the fridge to let it set a little more.
- Step 23
- Now it’s time to put it all together! Your cakes should be cooled by now and ready to assemble.
- Step 24
- - Carefully transfer one of the white chocolate cakes to the cake stand/plate that you’ll be using. Definitely be gentle since these will be fragile, but definitely doable.
- Step 25
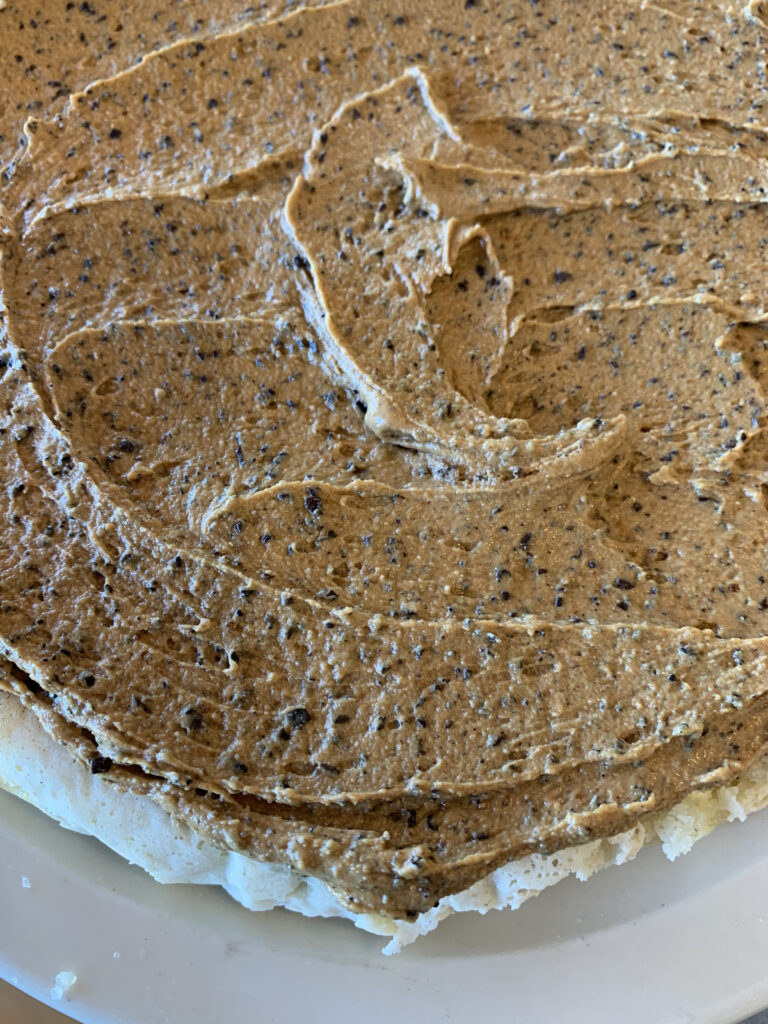
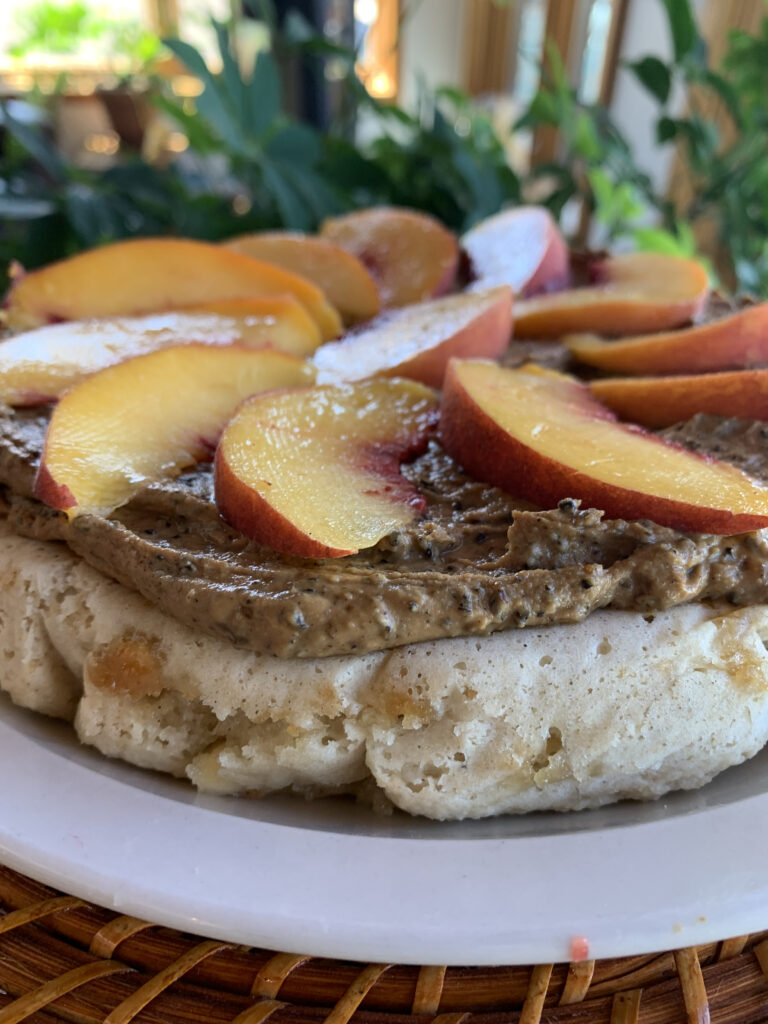
- - Once you have one of the layers secured, add the peanut butter hazelnut filling all over the top of the first layer. It should be thick and delicious!
- Step 26
- - I then added a layer of thinly sliced peaches, but that’s optional.
- Step 27
- - Next, add the second white chocolate cake layer. This one will be even more fragile since you’re possibly adding it to a layer of unleveled peaches, but just be mindful of that. It doesn’t have to be perfect, but it will be amazing!
- Step 28
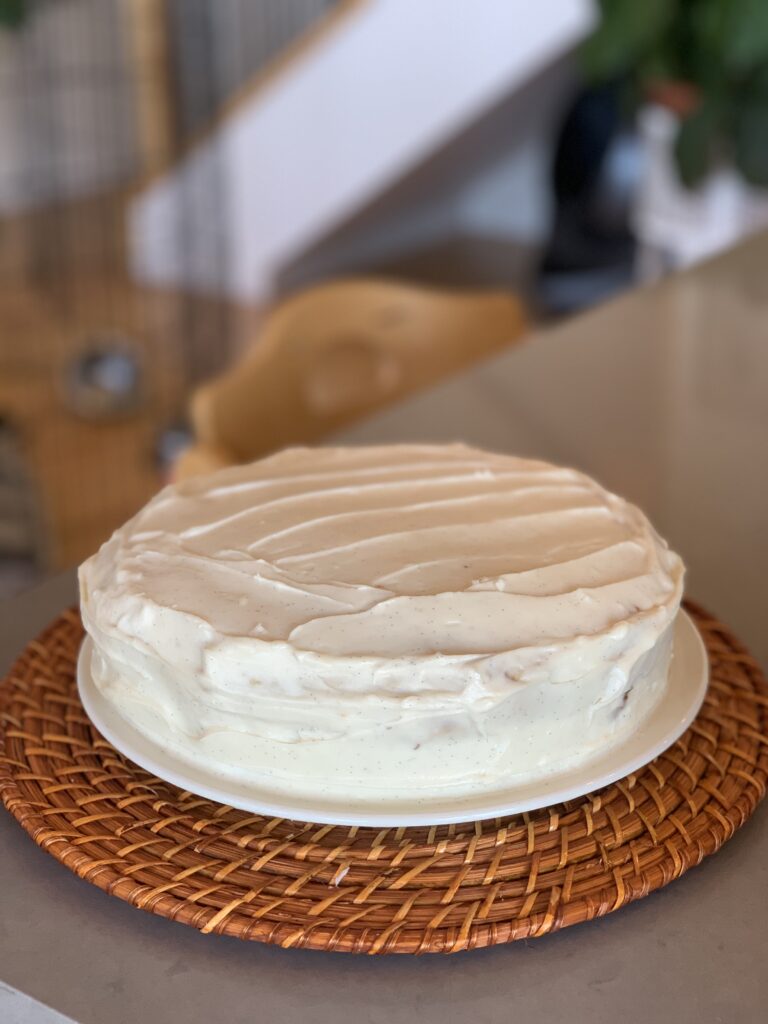
- - Once that’s on top, add the chilled DF vanilla bean cream cheese frosting. I add as much on top and then direct it over to the sides and continue spreading out and blending until the entire cake is coated.
- Step 29
- - After that, you can add any decorations that you wish, or even leave it bare. I just love adding decorations to cakes!
- Step 30
- - I made this cake in August so we had so many options for fun, beautiful flowers that could be put to use!
- Step 31
- - Once you’ve done all of this, your beautiful cake is complete! Let me know if you end up making this one because it was hands down one of my favorite cakes I’ve ever made, and I didn’t even get to taste it…!
- Step 32
- - Happy baking, friends 🙂
